Author Archives: ramin assadollahi

locomotion in VR

I just came across this video on Facebook:

and found the original on youtube:

The original video is from 2009, we had the Computer Vision breakthrough in 2012 with Deep Learning. All the new technologies understanding human body posture and movements have been developed further since then. See for example this research from ETH Zurich predicting body movements:

Also, moving tiles are in production already at huge warehouses:

I was a supporter in the kickstarter campain of the Omni by Virtuix, but didn’t get one as the machine is so heavy that the developers decided to only ship it to professional companies, not private persons and/or also not internationally. The Omni is a treadmill:

Treadmills try to keep you in place physically, they are not really good at sensing where you are. In contrast, the tiles concept above is actually working around you as it has to understand where you are going. It is a real interface between the virtual environment (as it has to know what comes next) and your movements (and thus has to track you decently). It may be clumsy (what if the person is running?) and inefficient right now, but in my eyes, it has all the potential to make you feel running as you like and feeling the environment.

Improvements necessary:

  • It has to become smarter in seeing and predicting the body movements
  • it has to become faster, maybe even smaller then.
  • possibly the plates have to tilt in directions to emulate environments better (going up a hill).

I would love to see this concept advancing. That said, I’m still in love with the bionic chair by Govert Flint as it would work in constrained spaces, i.e. for consumer use.
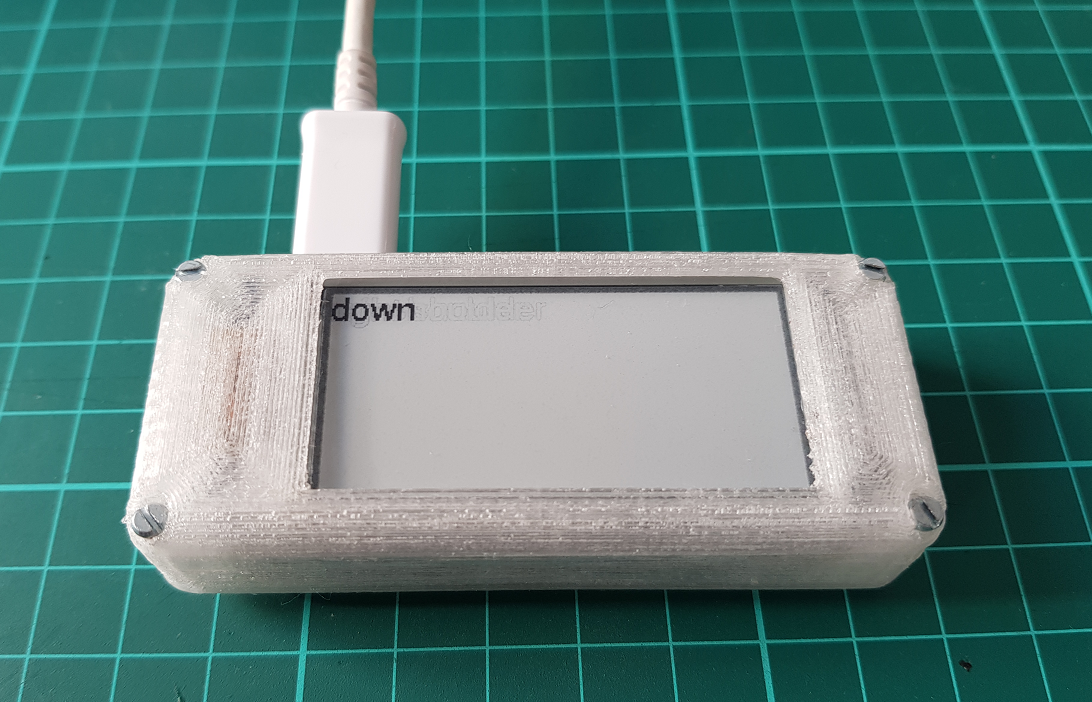
StickPi – a Raspberry Pi Zero W with GPIO buttons and an e-paper display

UPDATE: HACKAYDAY featured StickPi! So honored!

I always wanted to have a sturdy and rigid Raspberry Pi that is mobile and as small as possible. Recently I designed a Raspberry Pi 3 plus 5 inch display, built-in keyboard and a battery / charging circuit. It’s nice as it’s about a DIN A5 paper sheet.

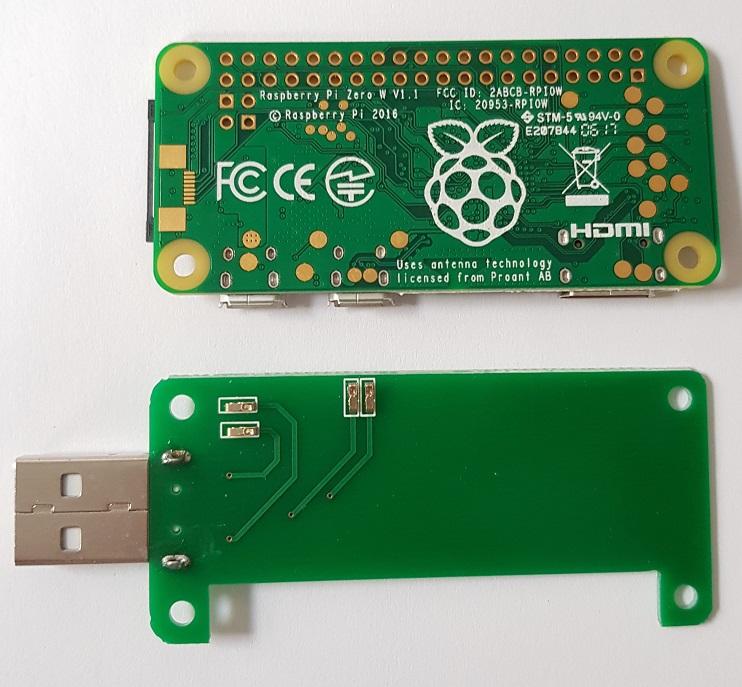
Then I came along these USB boards that you can pogo-pin to your Pi Zero which is similar in design to what the guy at NODE did.

Pi Zero and USB power board

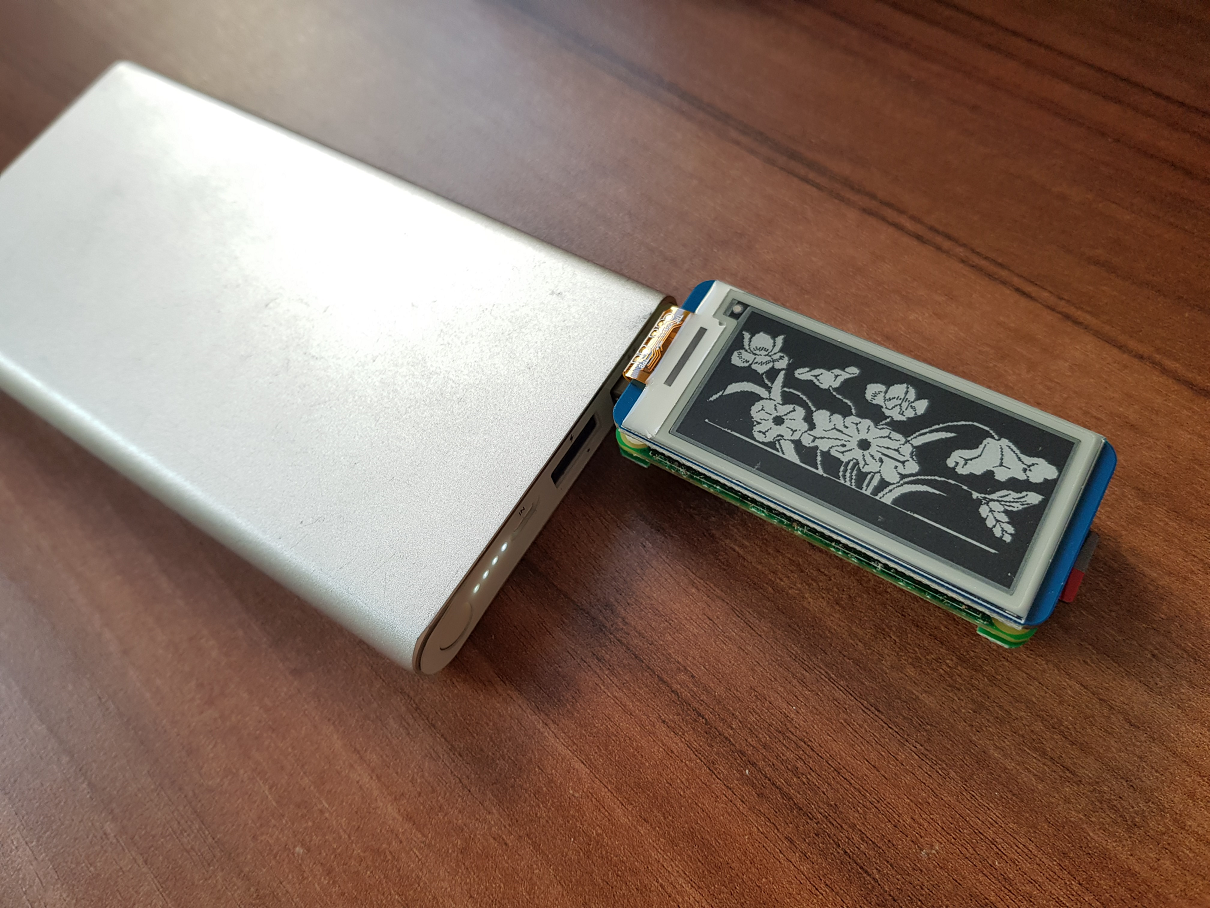
When working with a Pi Zero, I wanted to connect via VNC so I can run Pixel desktop and Geany on the Pi to develop and run software. When doing so, you quickly want the Pi to display the Wifi and IP address it’s connected to. I chose an e-paper display from Waveshare (do yourself a favor an buy the balck/white display only, not the one with three colors as they don’t support partial update, i.e. they refresh very slowly!) and bought such a USB power board and attached the Zero to a battery:

Pi Zero plus epaper plus USB board and battery

Once you have this kind of display, you learn that the physical interaction with the machine is one way: consumption. And immediately, you think that it would be nice to have interaction methods to select a WIFI or shut down the machine or select operation modes, etc.

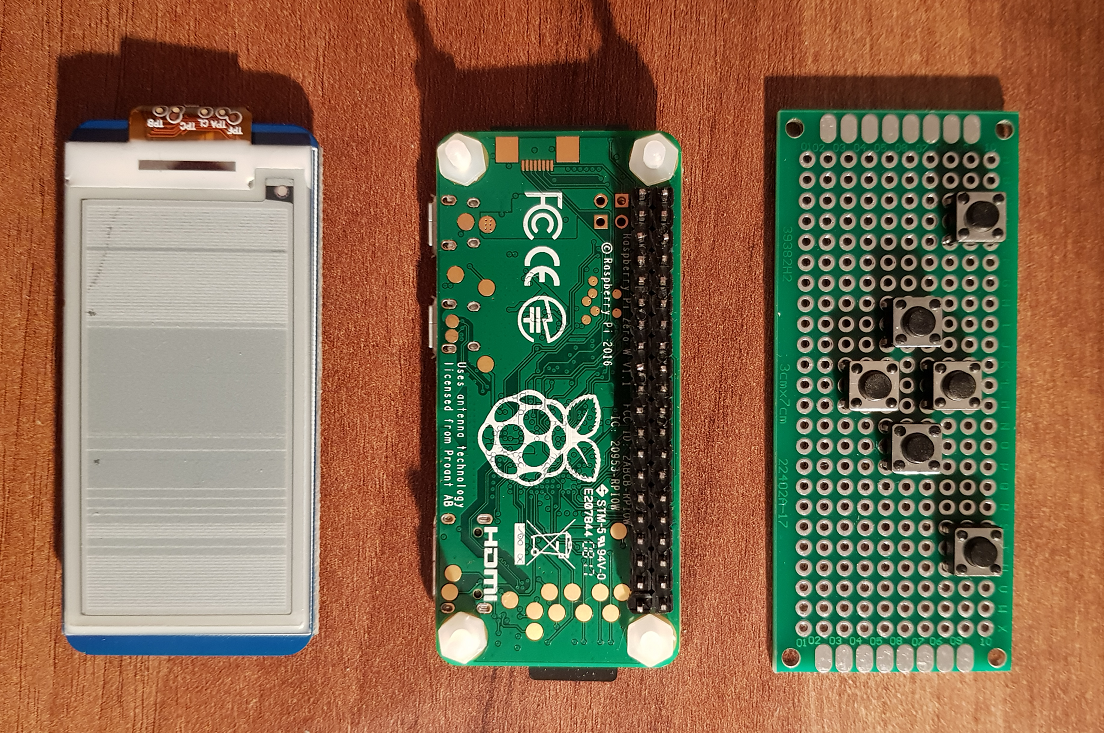
So I sat down and designed a PCB (not printed but wires on a protoboard with a pretty ideal size), to add some buttons for directions as well as two “shoulder buttons”:

three pieces 1

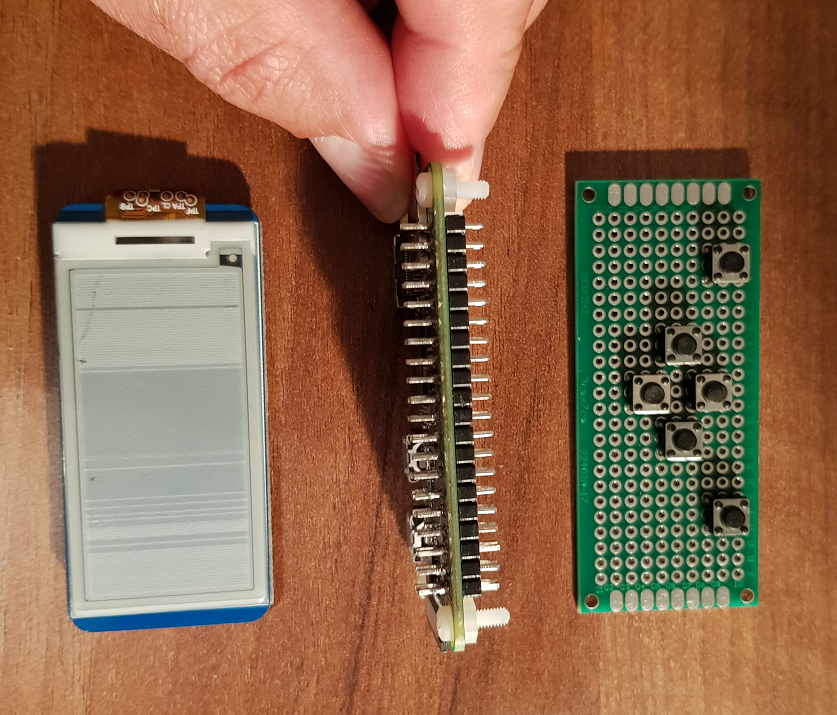
To keep the design compact and as the e-paper display would consume the full GPIO, I soldered the pins on the Pi to go through the PCB:

three pieces 2

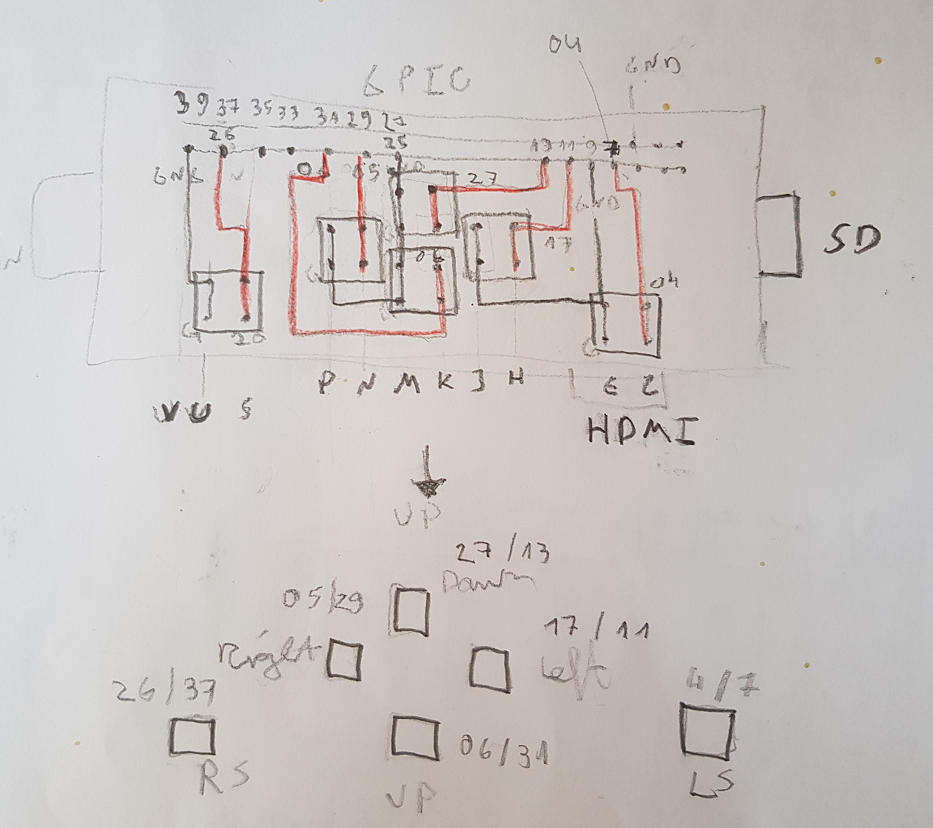
I chose a wiring that can actually use buttons without additional resistors and so the whole system works with only input ports as well as GND:

button gpio wiring

This led to a compact design alltogether, see also the first version of a PETG designed case:

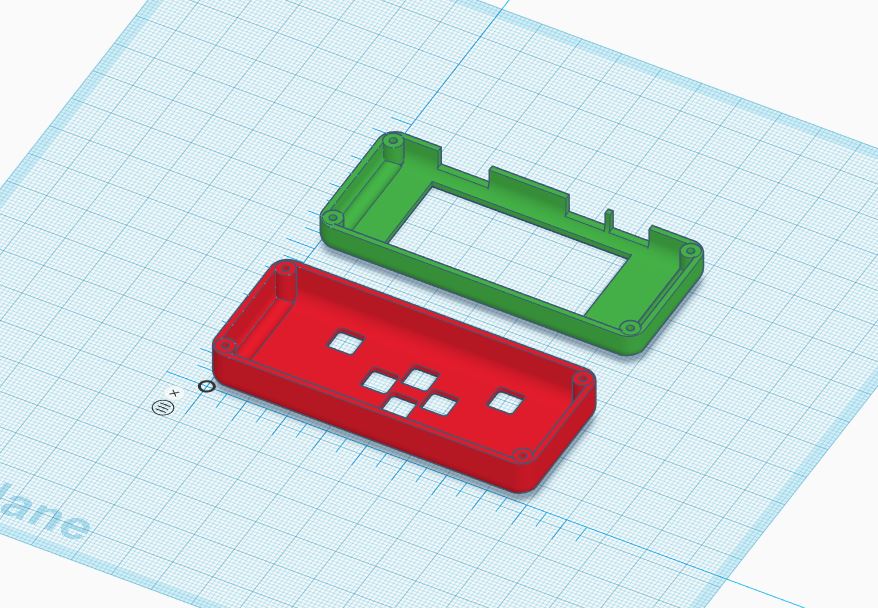
The case itself is designed in Tinkercad and I made the case available on Thingiverse:

StickPi TinkerCAD

Pi in case

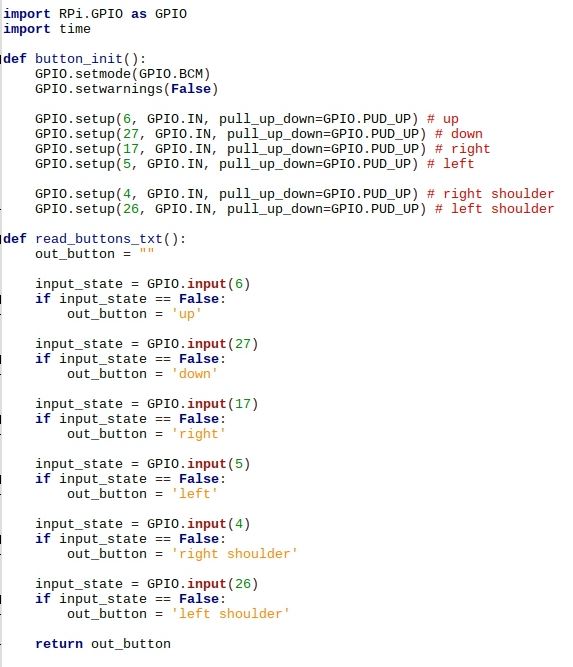
There is still room for improvement for the case but right now I’m happy enough with it to actually keep it and write software. Querying the keys is really easy:


button read  code

Finally see a little interaction of the buttons and the screen here, the software is really simple to query the buttons continually and display values on the e-paper:

(On the top left, you see the Raspberry Pi 3 case with the keyboard integrated, still not happy with that design, that’s why I haven’t published it yet.)

I may venture into actually designing (EAGLE files) and ordering PCBs for the button to make the whole thing more “defined” and better fitting the case.

quick 3d print of a toy’s helicopter rotorblades


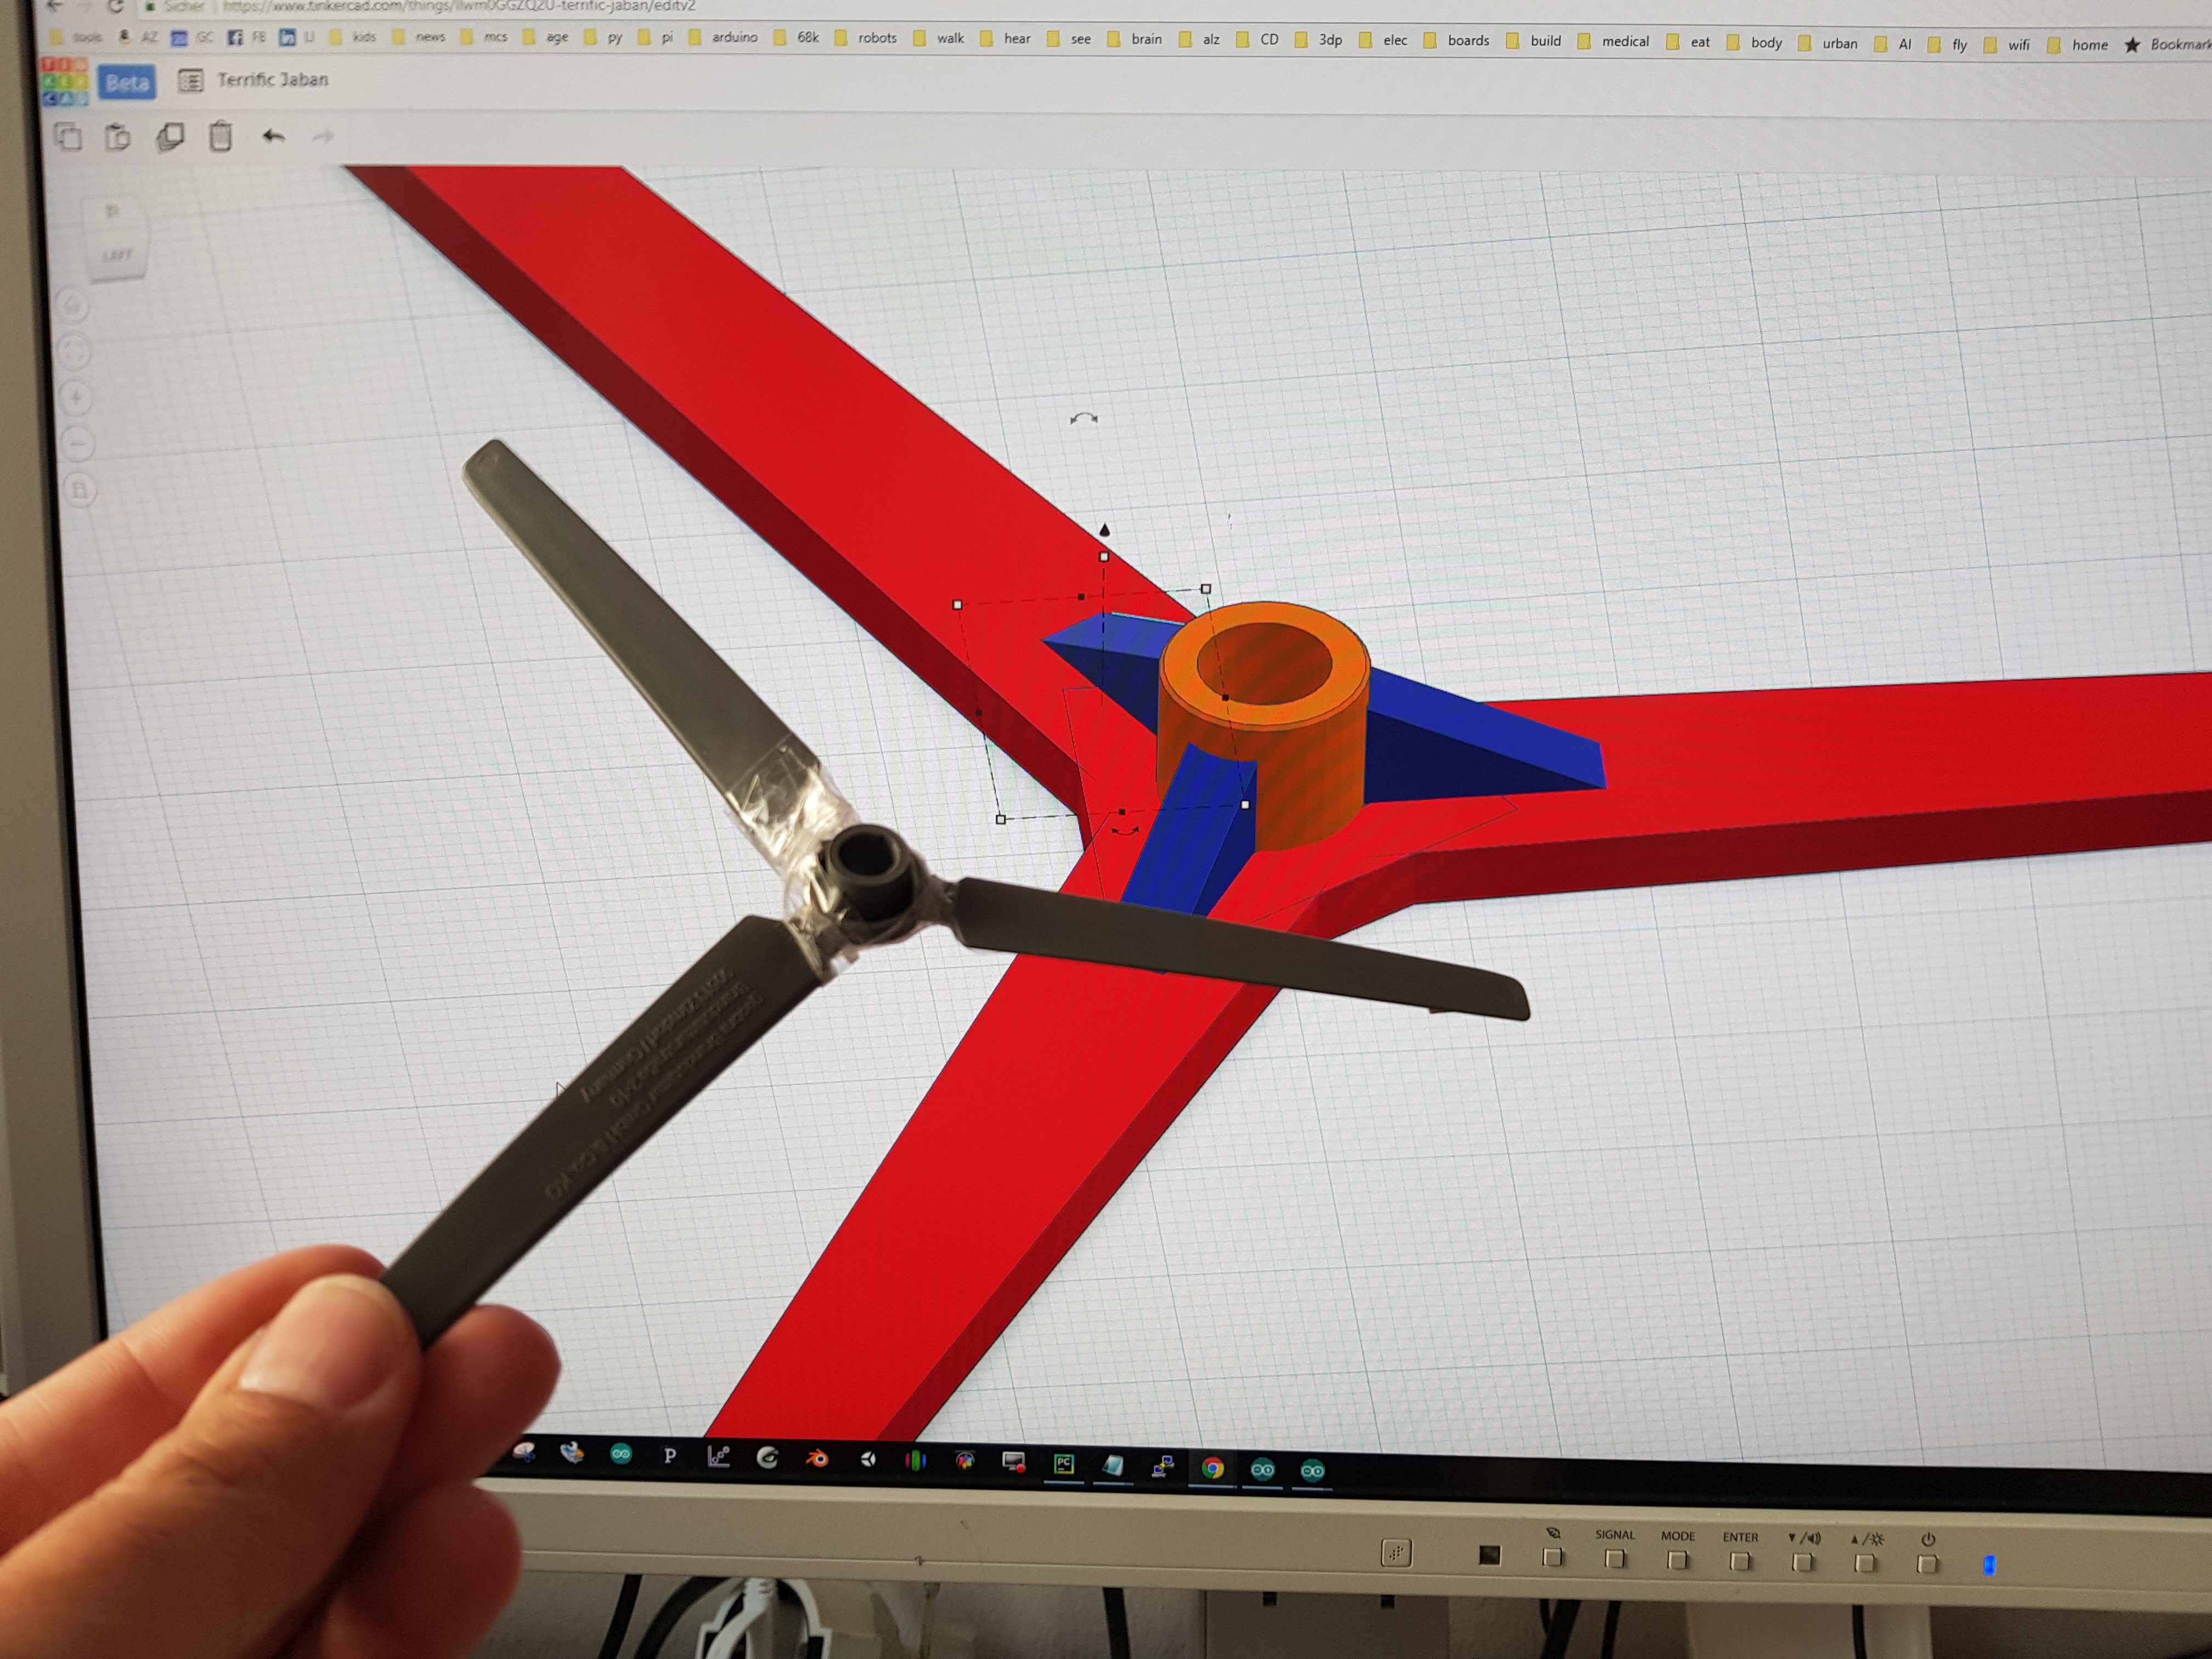
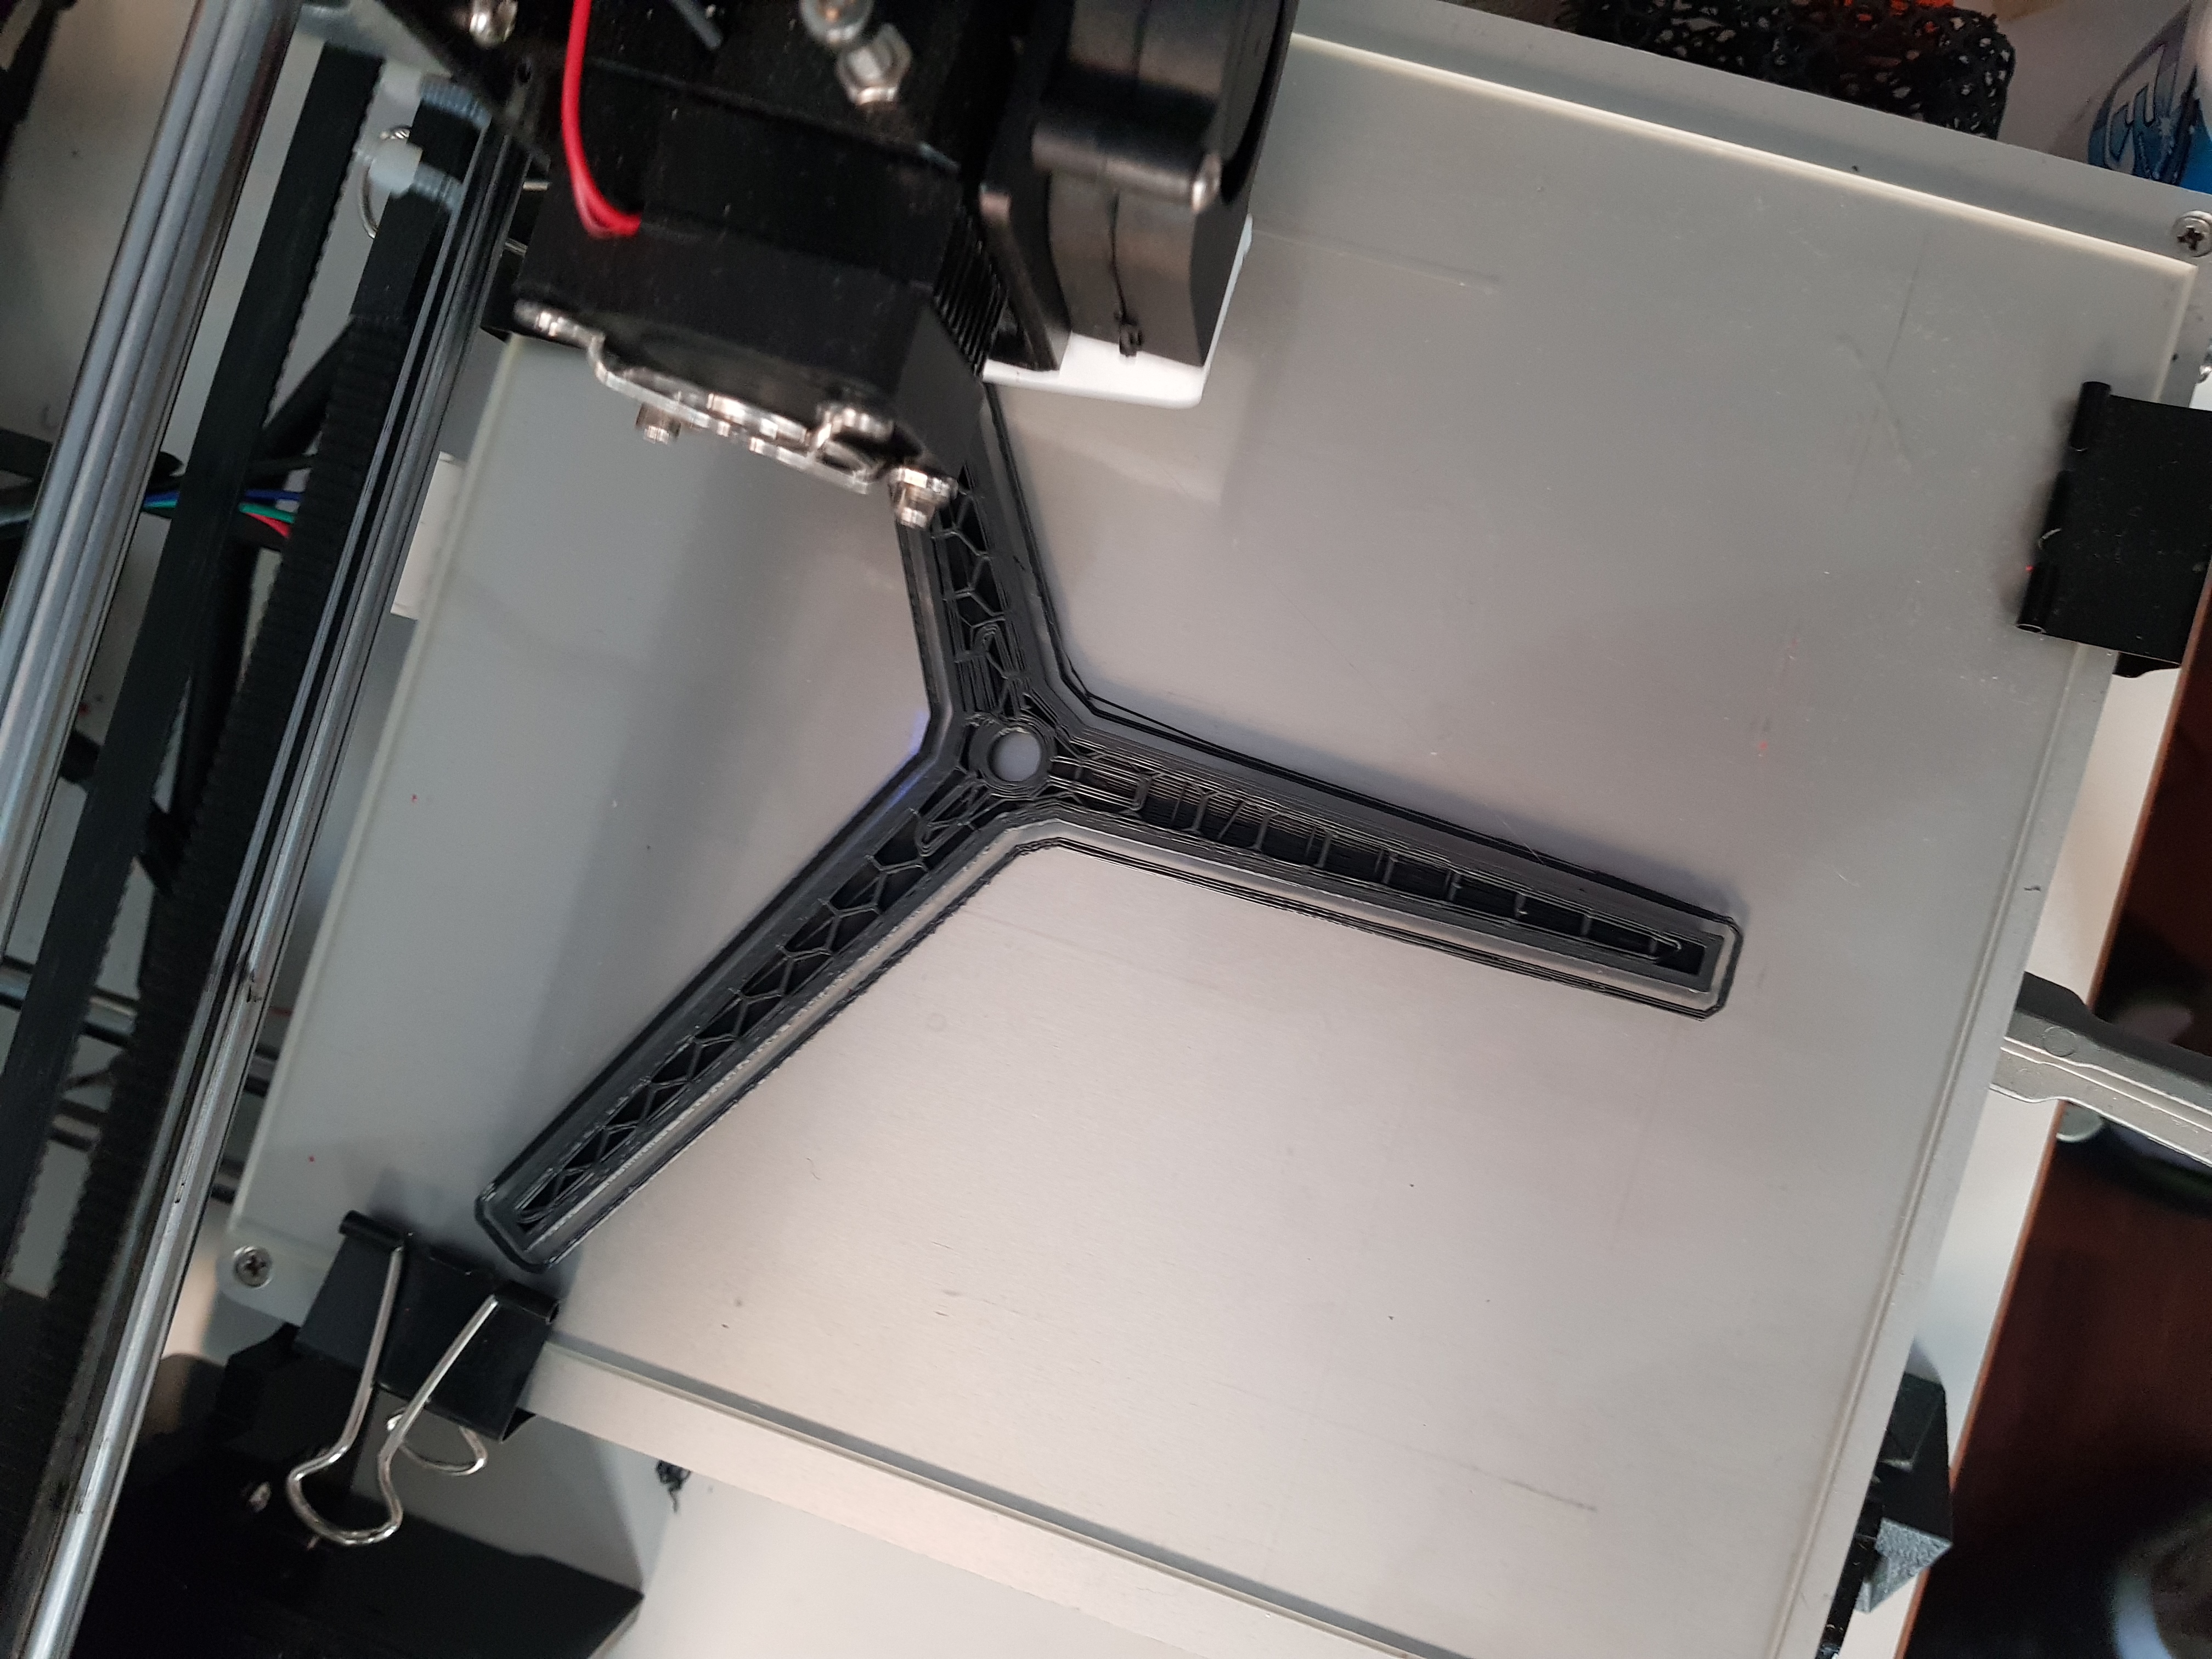
The rotorblades couldn’t resist my kids, so there was the job to 3d print them. I did this in 40min in Tinkercad, I certainly did the connection of the blades in a different manner than the original, you see that the blades are connected even around the shaft. I also added those blue supports that should give additional strength.

20170806_191419Anet A8 printing the bad boy in grey, similar to the orginal:

20170806_200055

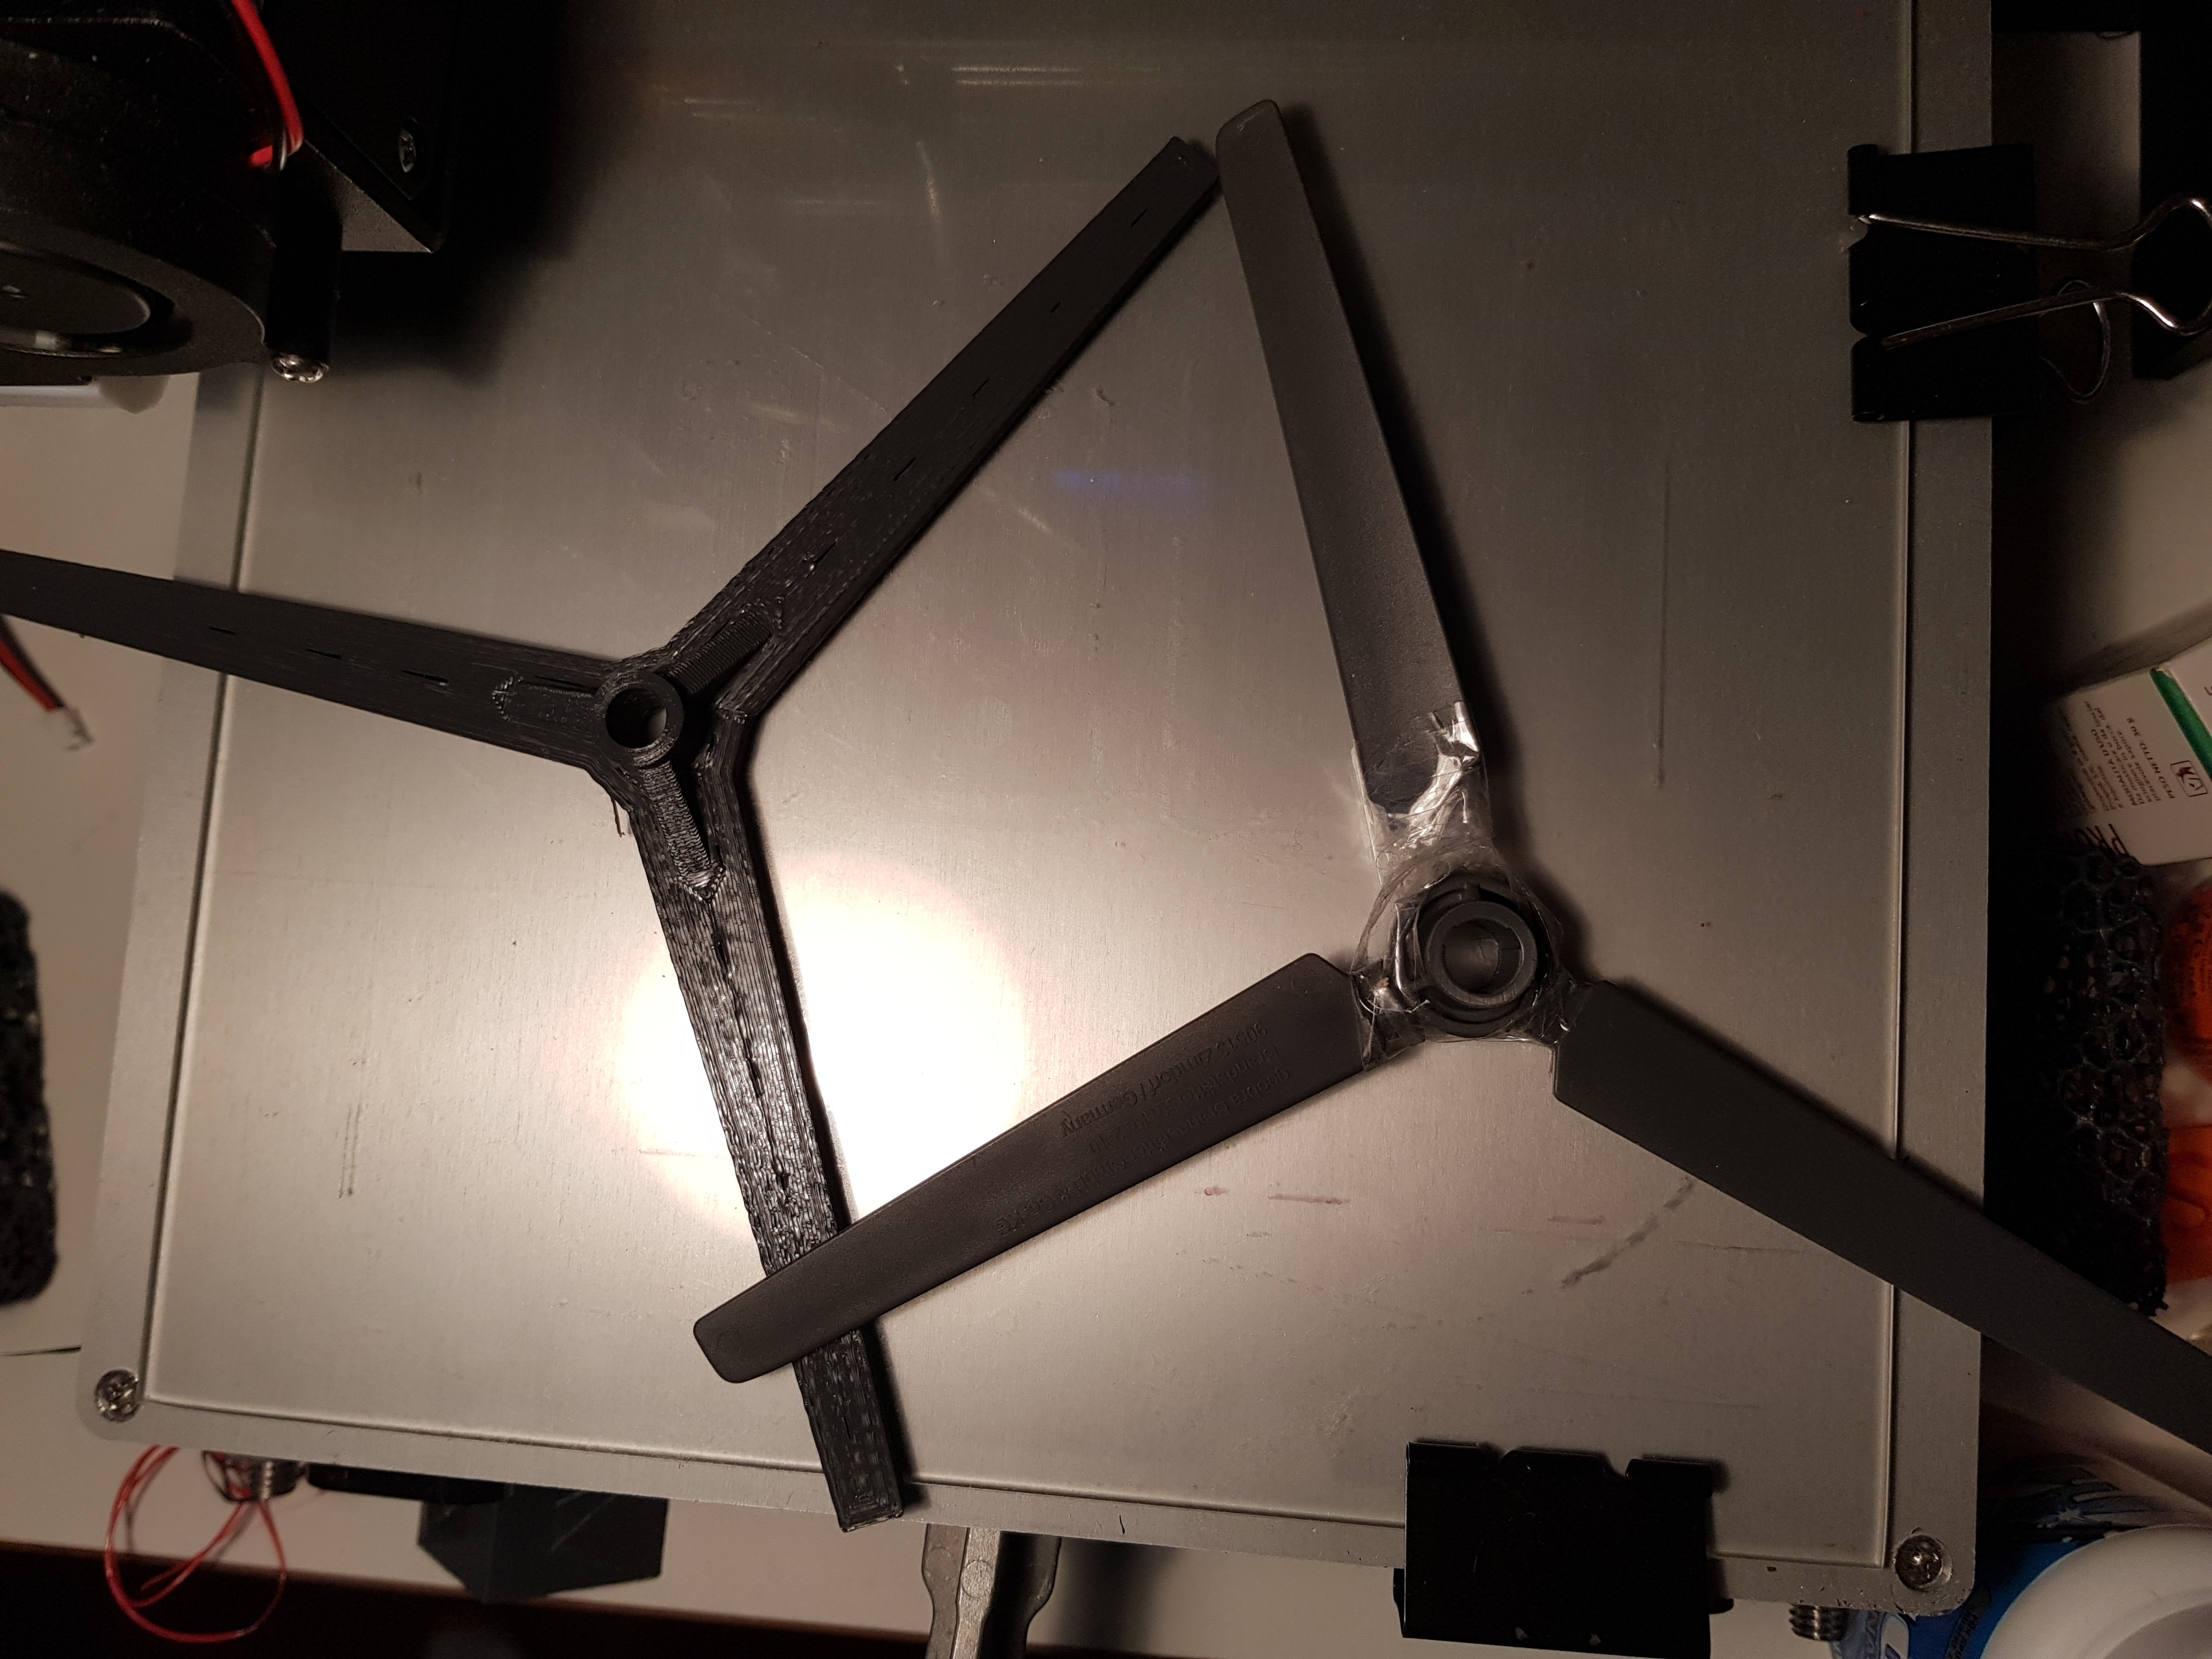
You see there is some infill structure, I hope the rotors will last better than the orgininals, I also made them 3mm thick which is about double the original. But PLA is also a bit crisper. The two together:


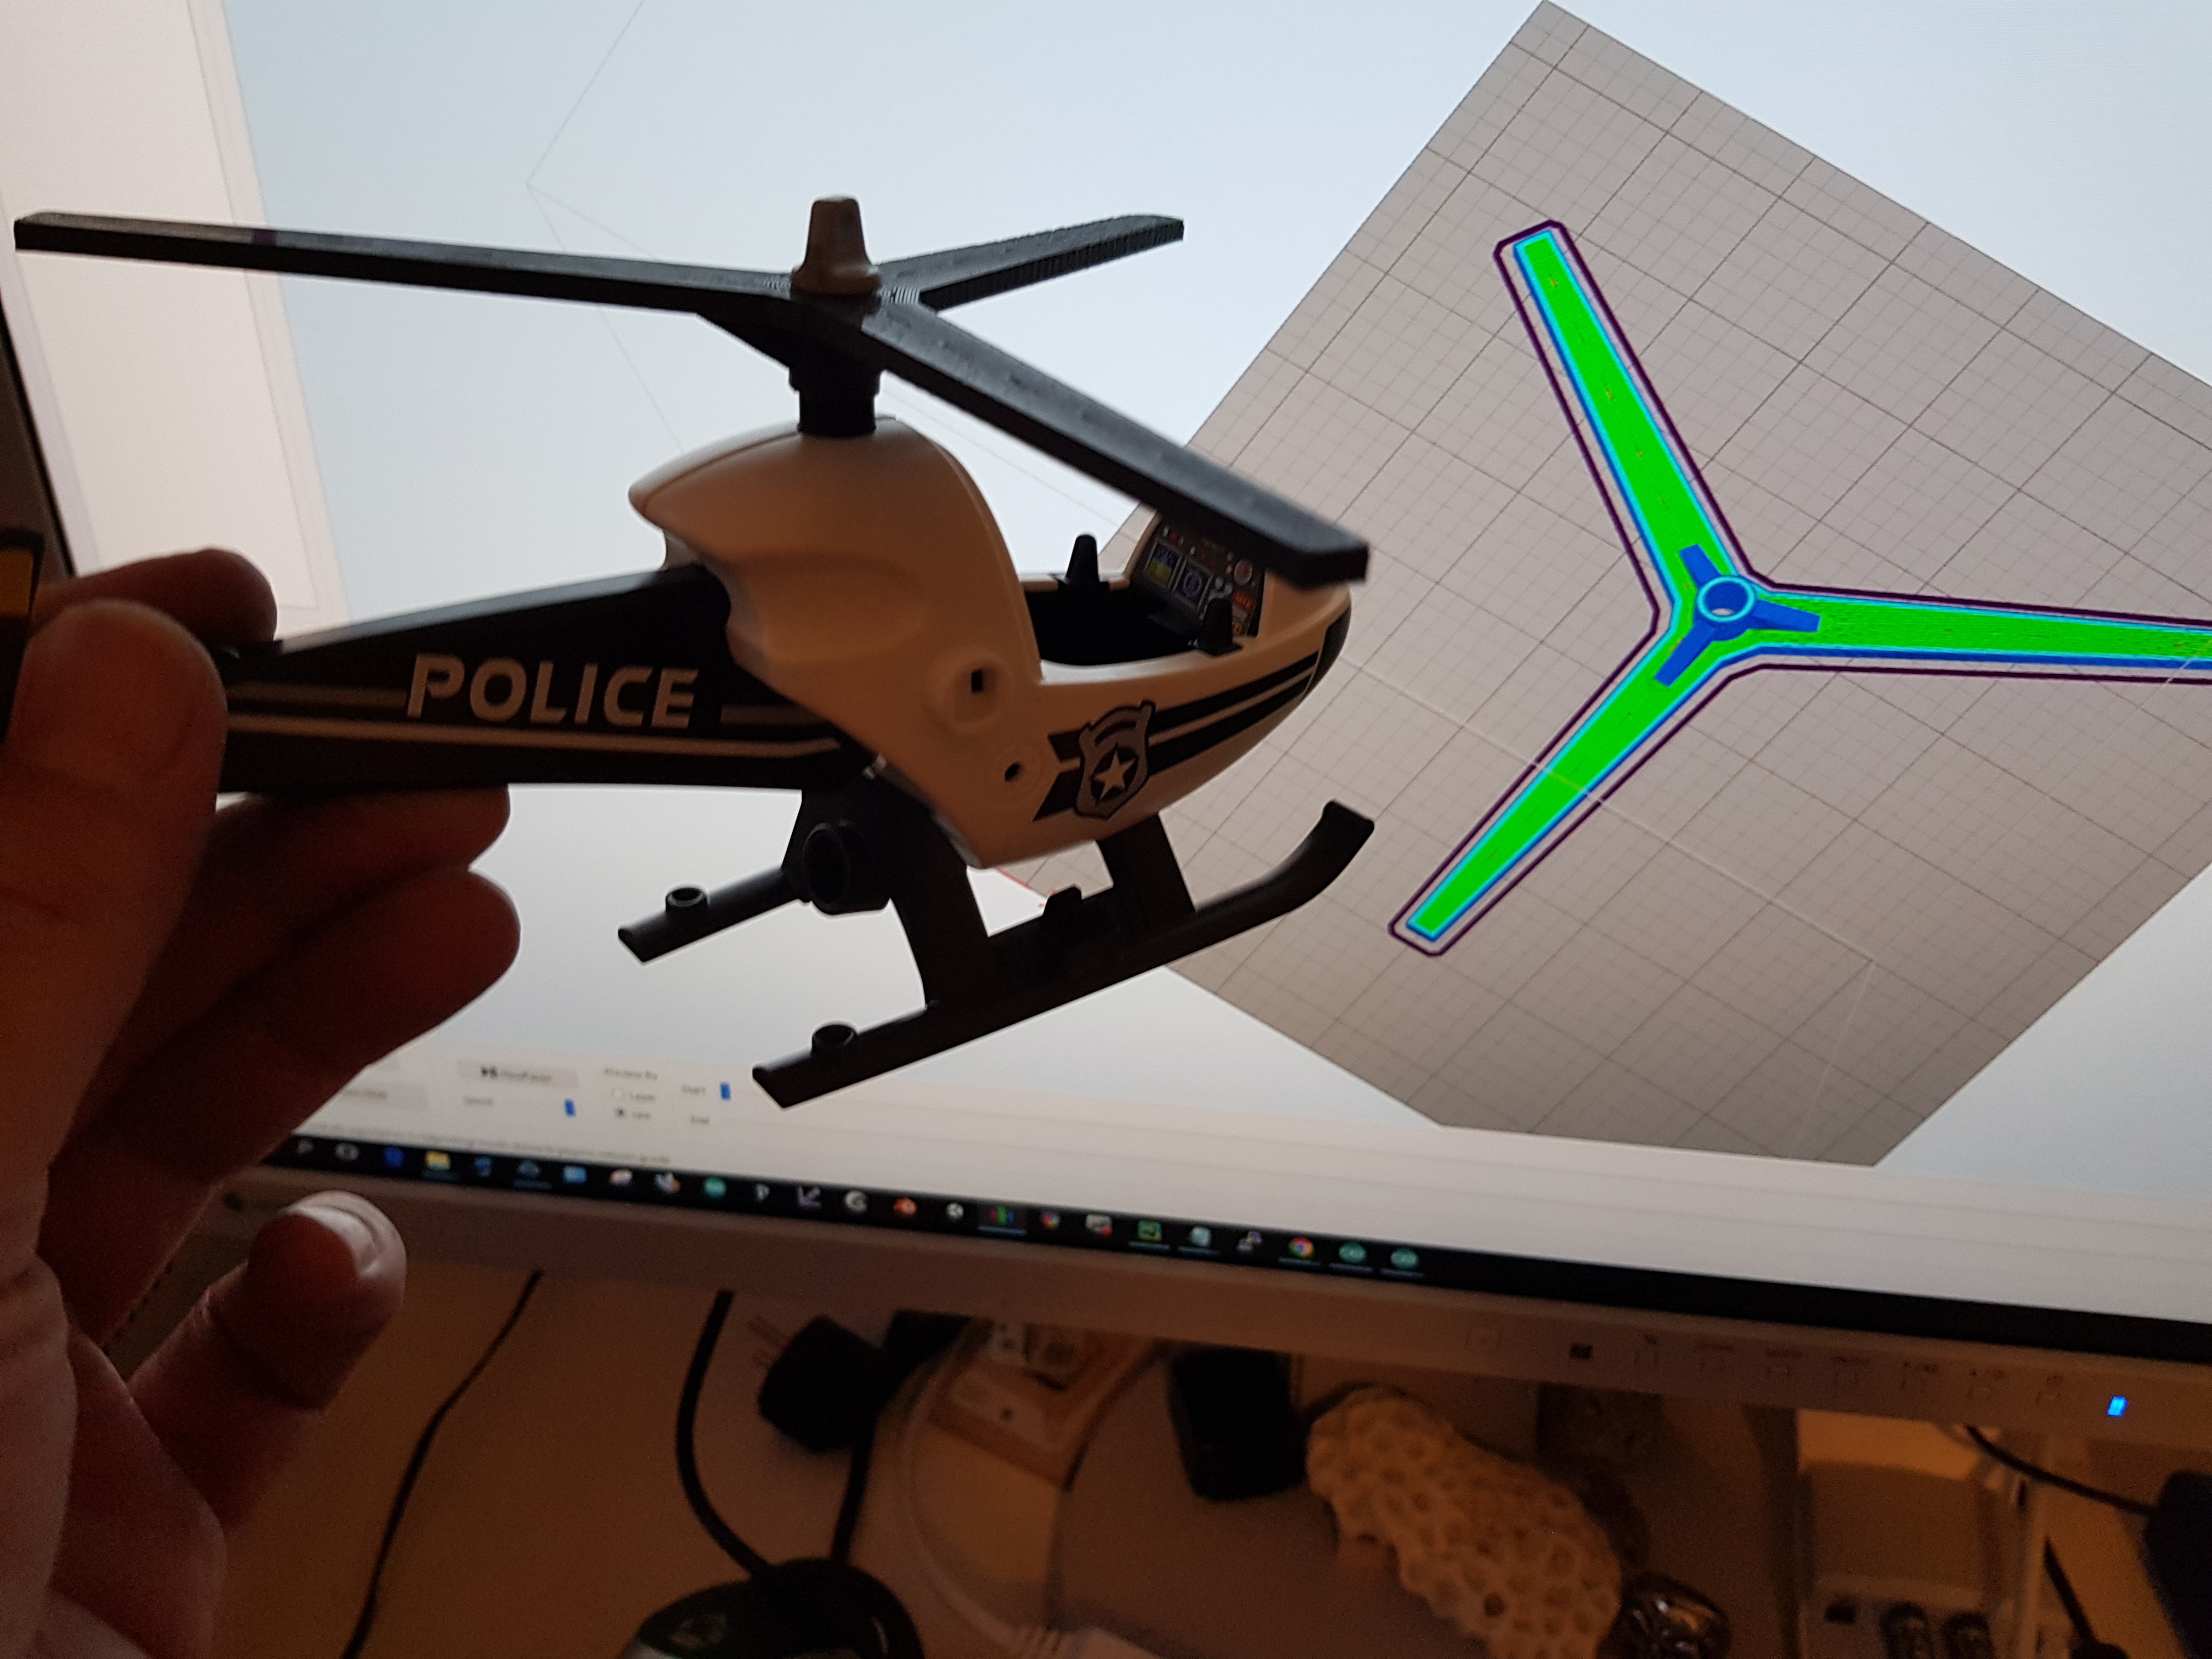
20170806_204130And the new blades on the helicopter (about 40min print, via Octoprint):

20170806_204904

In the back you see the rendered gcode file in Simplify3d. Nice One and a half hour repair!


Trashbot upper body and neck servos revived

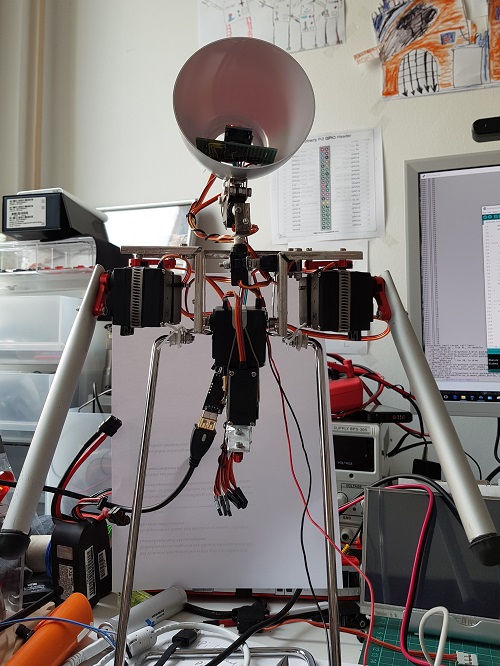
I recently split my Trashbot in half to finally get hold on the walking patterns of the lower part, as I changed the controller from Arduino Nano to Raspberry Pi. Here’s the upper part:

Trashbot upper body incl neck & head

Trashbot upper body incl neck & head

With the recent progress of running Oculus Rift from a Pi 3 and the experiments of streaming video from the stereo cam Blackbird 2, I thought it was a great idea to attach the camera to the upper part of Trashbot and send the Oculus head orientation to the neck controlling Arduino Mini Pro.

First step is to get the Arduino run with the PC again. But oh, that shitty servo:

So, before diving deeper into head synchronous robotic telepresence, I’ll need to fix that bugger…

Wireless streaming stereo video from an RC rover to the Oculus Pi

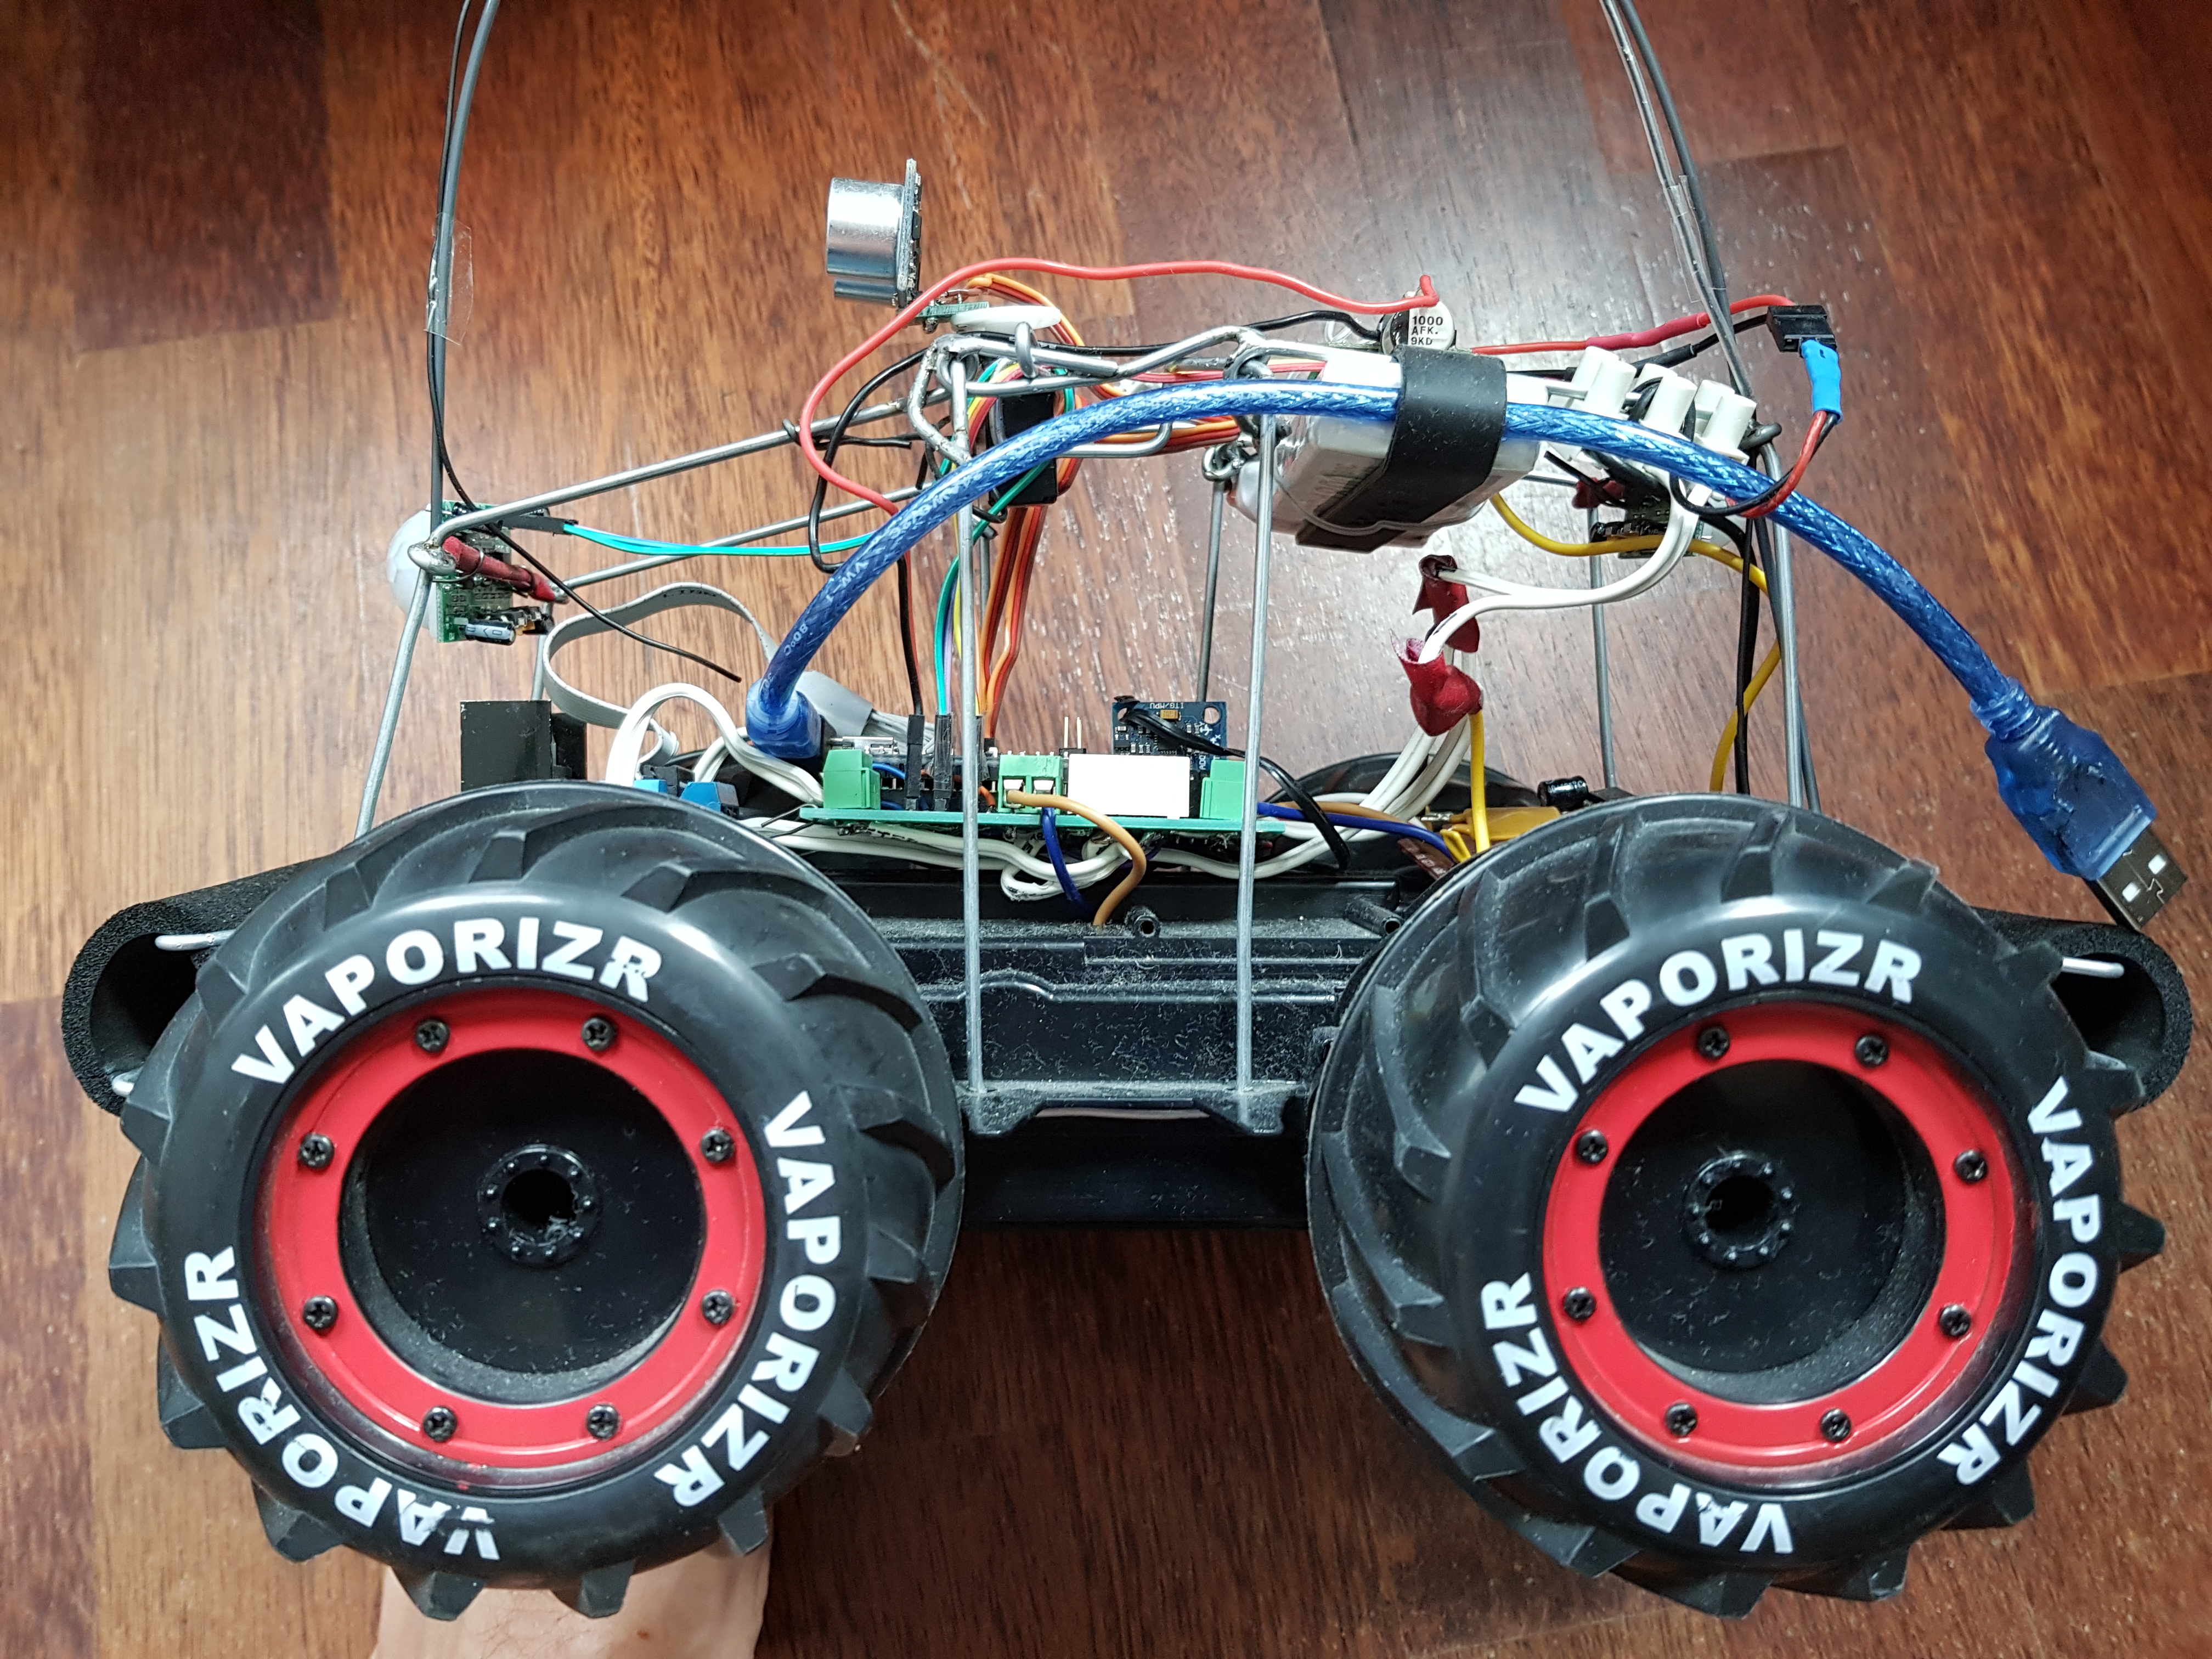
The next iteration was of course to simply try out the wireless transmission of video. And this doesn’t make sense if you still have the camera attached to yourself, so I “augmented” another project of mine, the rover:

Arduino / RC mixed autonomy Rover

Arduino / RC mixed autonomy Rover

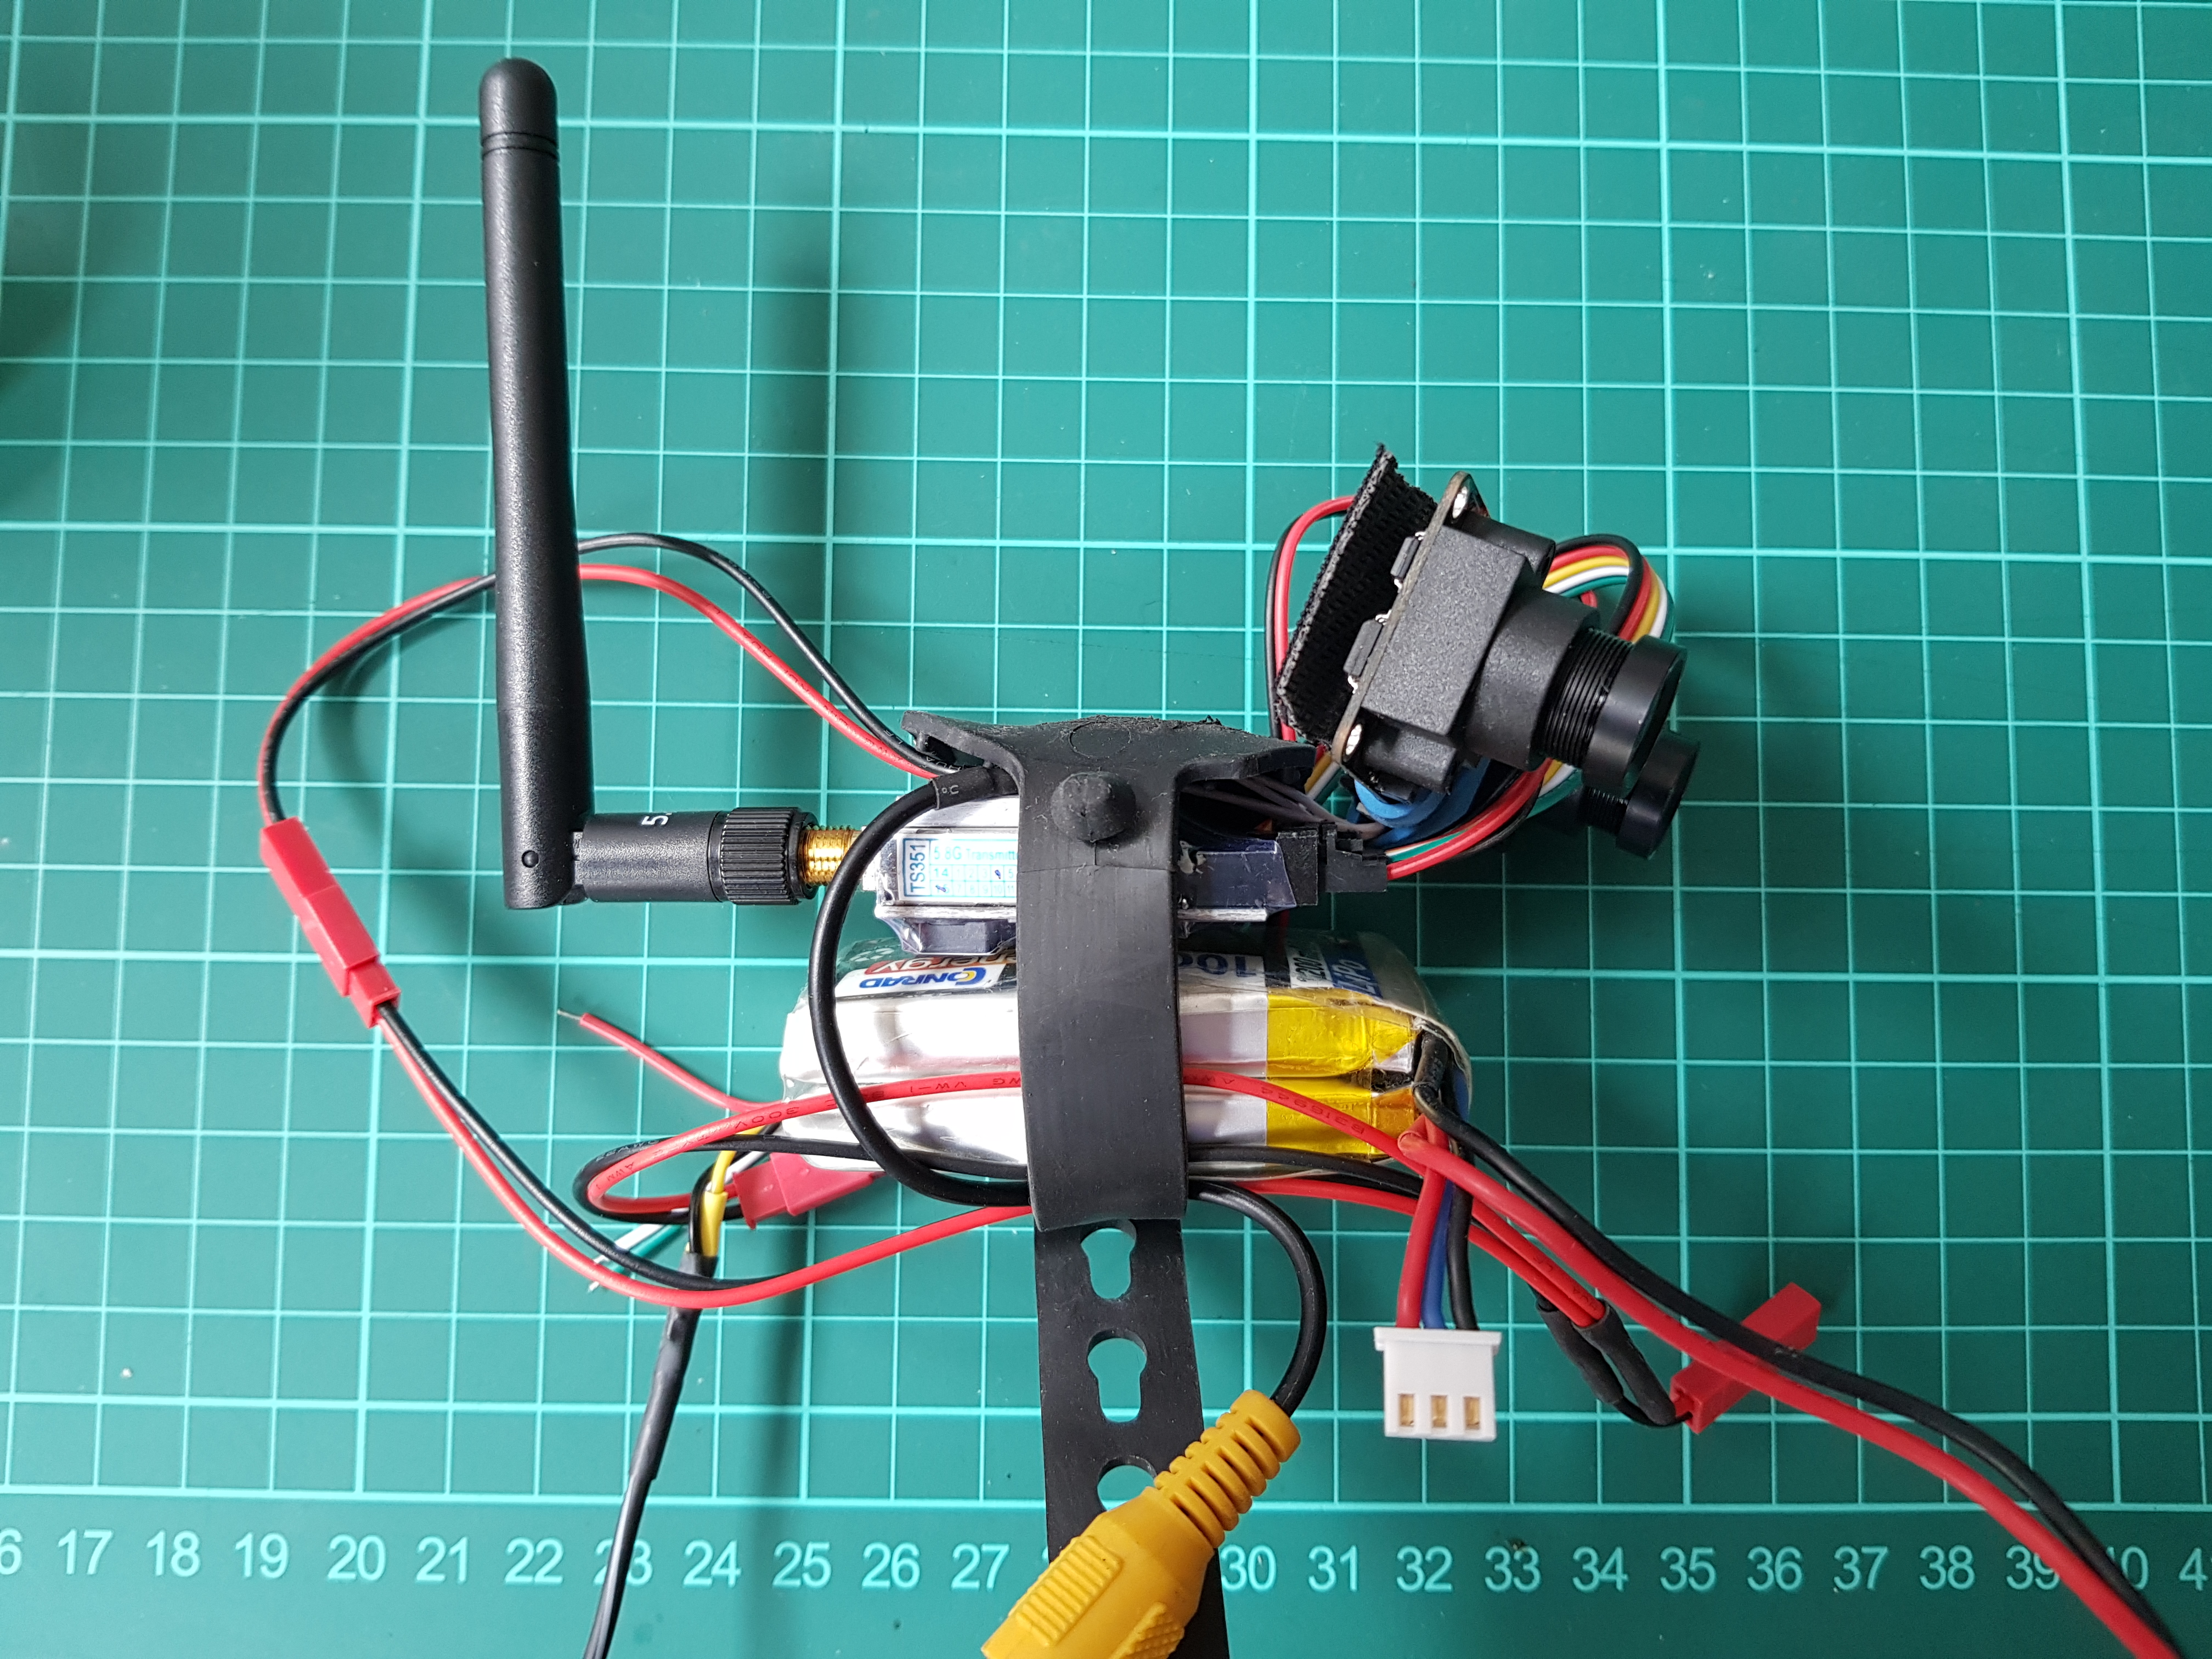
Also I did a little self-sufficient stereo video transmission pack, including the Blackbird 2 camera:

Battery, video sender, stereo camera

Battery, video sender, stereo camera

And attached the two. I love modular designs where you can recombine your projects easily. So these two simply have two batteries etc. Here’s the full setup:

Oculus Pi wireless streaming video rover setup

Oculus Pi wireless streaming video rover setup

Here’s the video:

(Don’t know what the heck Pinnacle Studio was thinking to put the black frame around the video when exporting.)

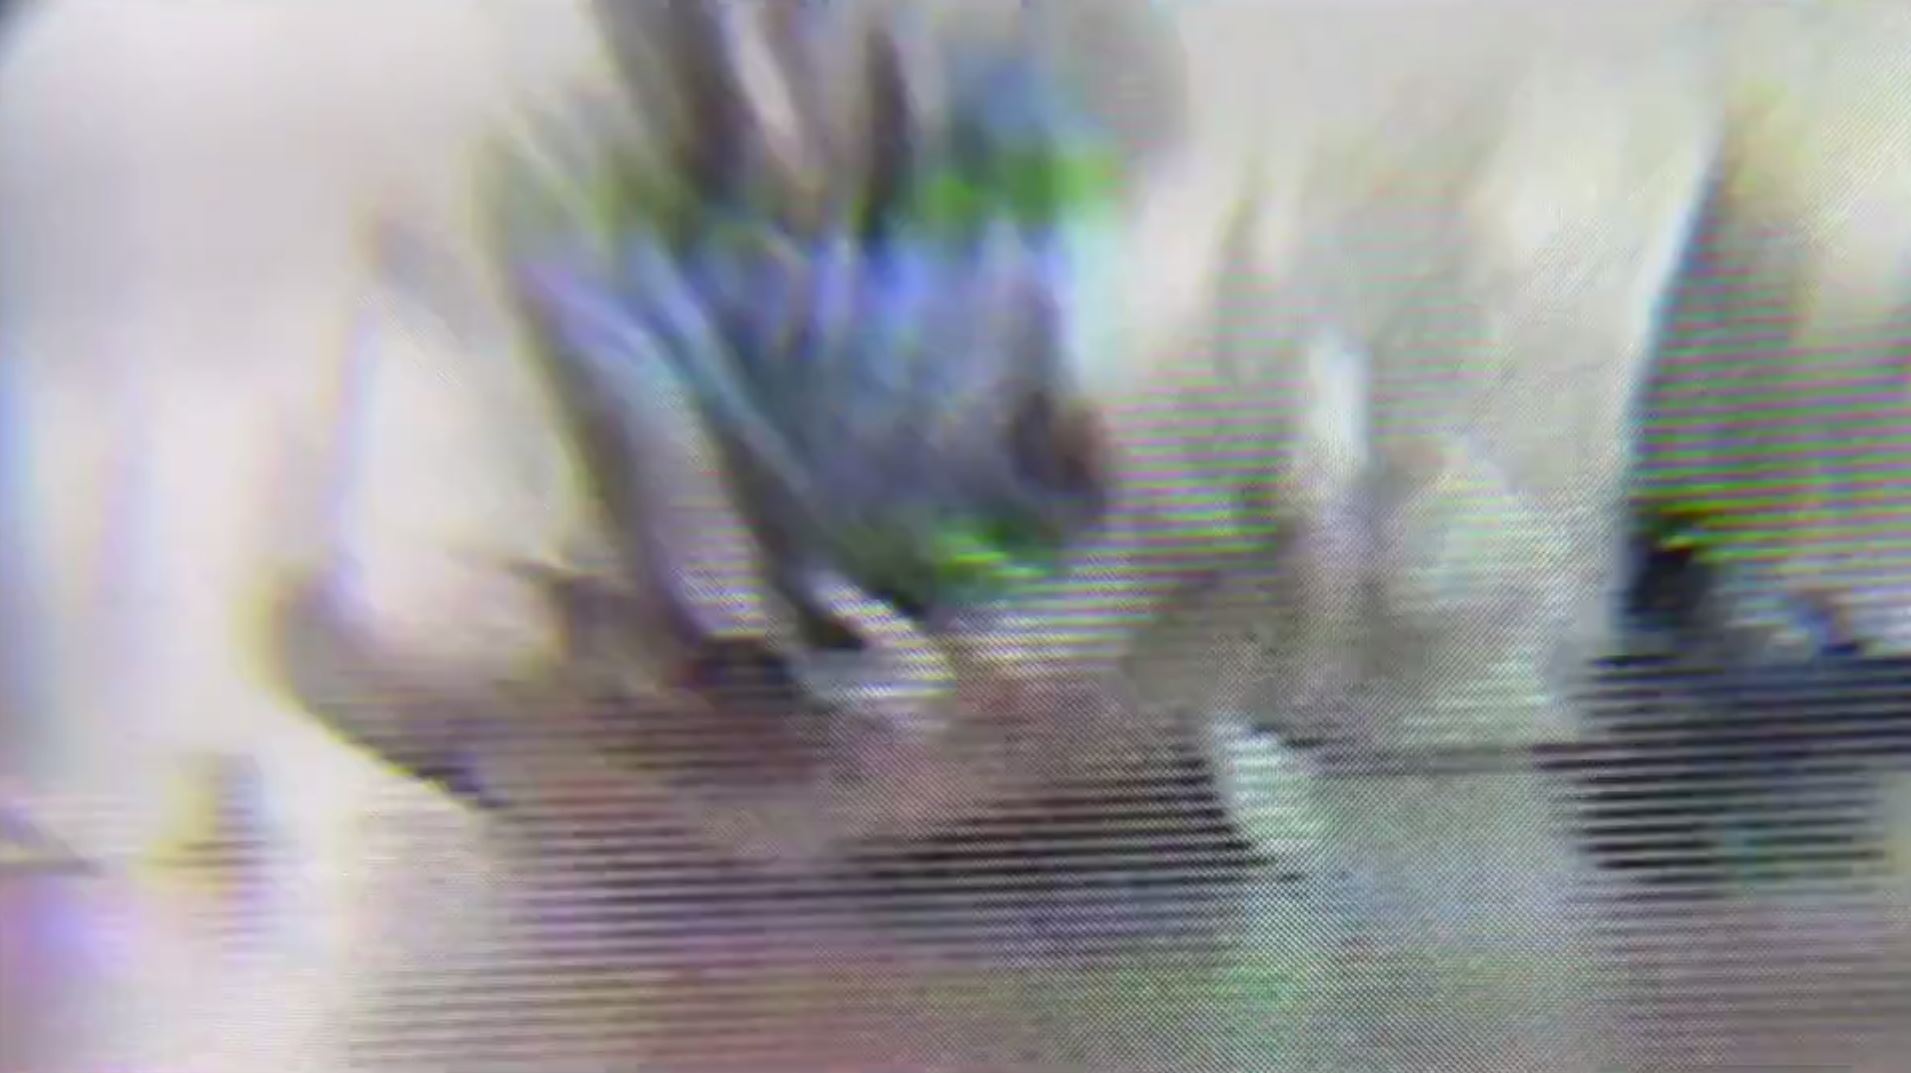
Strange seems that we seem to get some kind of “interlace distortion” when the car is moving too quickly. I don’t quie know whether that is an artefact from the analog video transmission or from the digitisation process itself:

interlace artifactsWhen playing with this, you intuitively move your head to look around. So I could read out the head movements and send them to the Arduino on the rover to actually move the camera. I’d also need to add another servo to the camera to actually be able to move along at least two axis’. Let’s see…


2 3D cams & 1 2D cam on the DK2 @ Pi3

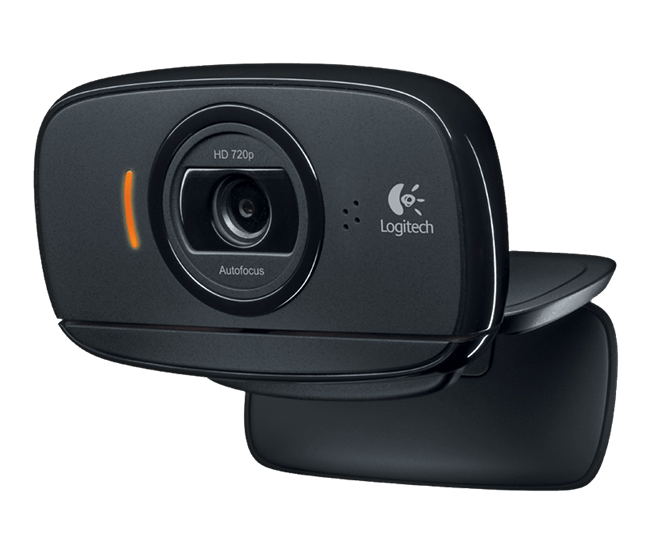
Cryptic title of a blog post, I know. But I urgently needed to try out my cameras with the Pi3 for the use on the Oculus Rift DK2 (video below). My last attempt to stream video locally into the Rift was successfull, so I wanted more. The initial single 2D camera was a logitech webcam C525 (for 60$)

logitech hd webcam c525

logitech hd webcam c525

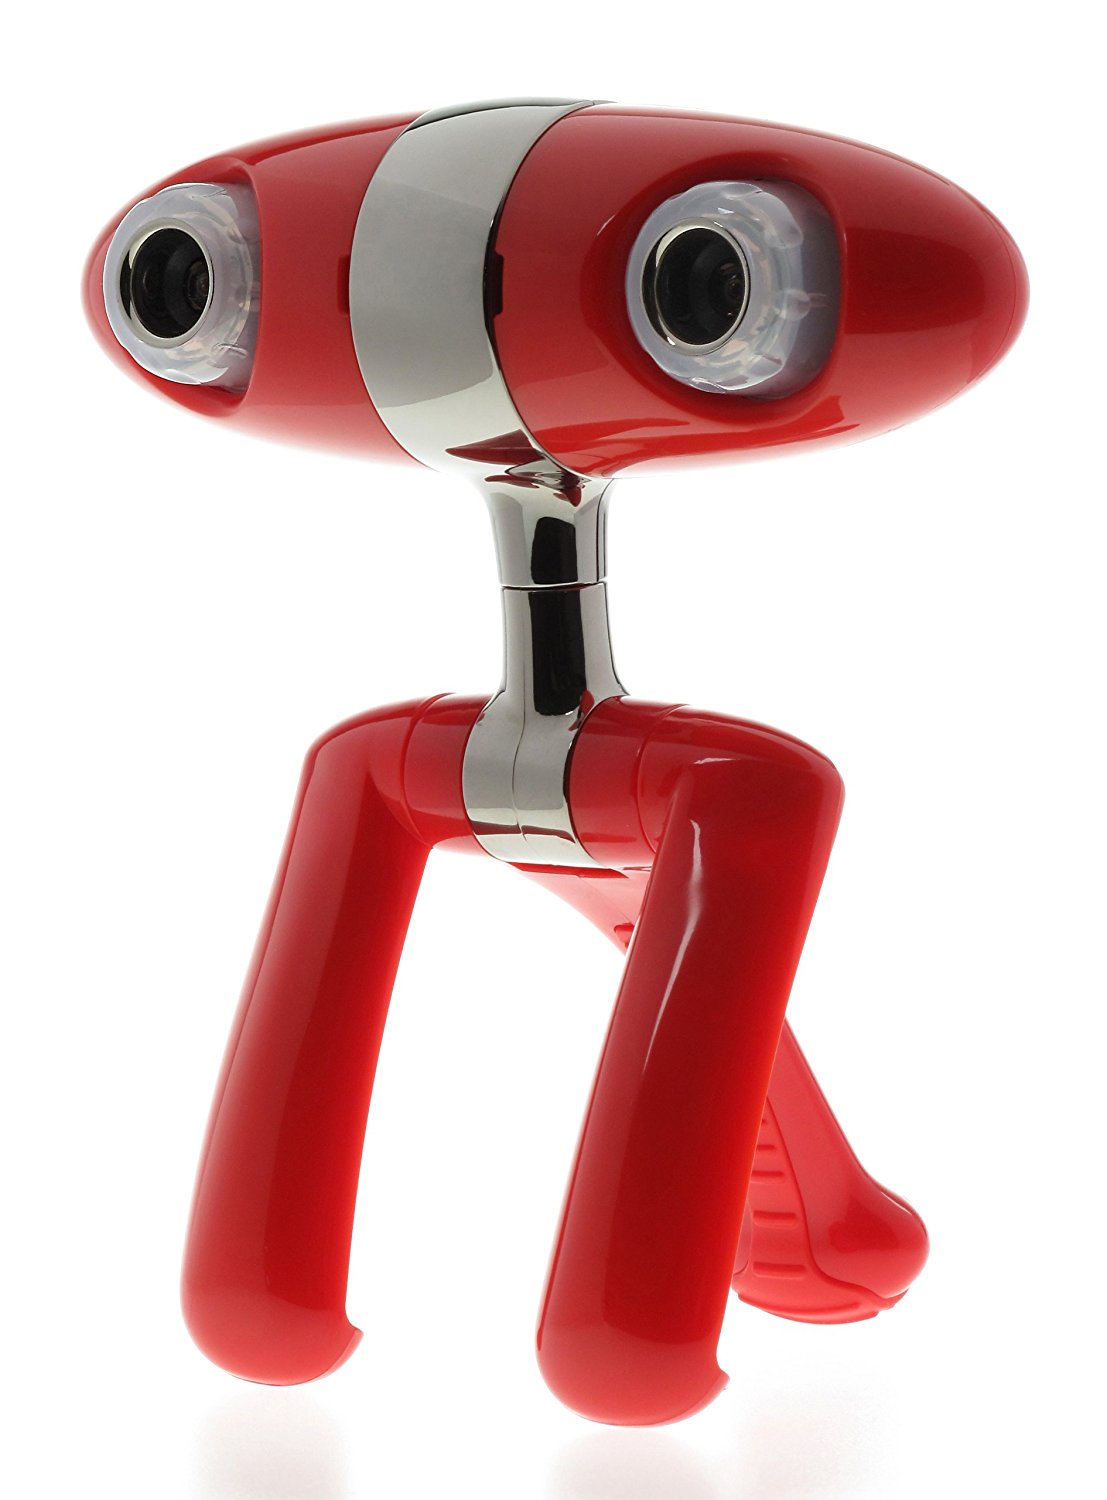
I have two stereoscopic cameras. The Minoru which is “kind of” a cheap camera at about 70€, but then again: not, because it’s just 2x 640×480 resolution… I stripped the camera to reduce its size, weight an volume to actually use it on the Trashbot since I know that it is supported by the Raspbian as a camera.

Minoru Steroscopic Cam

Minoru Steroscopic Cam, around 70€

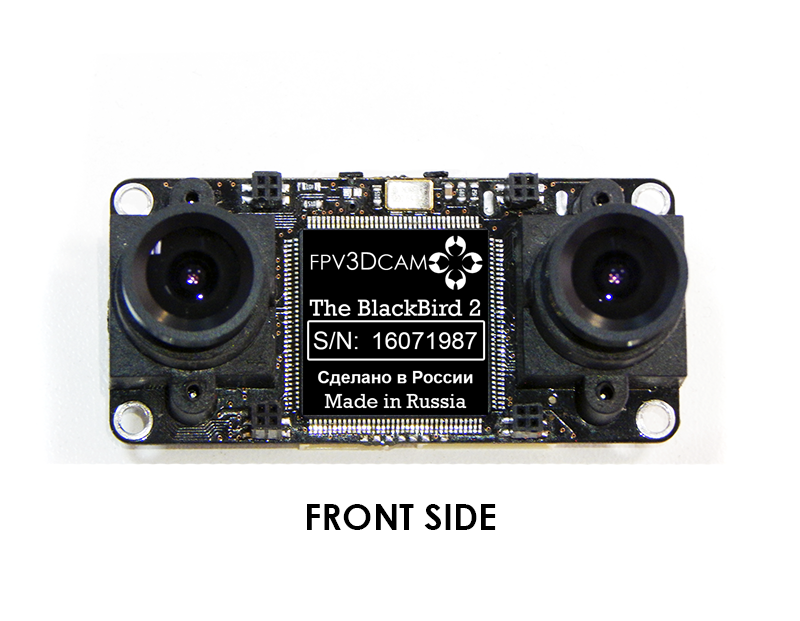
I also experimented already with the Blackbird 2, an analog camera for streaming video from drones to video goggles. However, that attempt was not really successful since the camera software on PC (!) was laggy and I was thinking that it may be due to the video capture card Easycap (10-20€).

BlackBird 2

BlackBird 2, around 180 USD

But let’s see, what happens when I run it on the Pi 3:

Learning: the 190€ combo beats the other two BY FAR in experience.

PS: In the video, you see that I attached the cameras to a different Pi than the one attached to the Oculus. This is because, the Oculus Pi has display settings tuned towards the goggles and I need to invest time to make the config changeable via software to actually switch between the googles and a real external display.

Oculus Pi untethered, pt. 2: a camera!

Last time, I was able to get the Oculus Rift DK2 to run on the Raspberry Pi 3, including the head tracking. However, the first interactions showed that it’s cumbersome to work with the desktop (since it’s not distributed on the two eyes but really is using the LCD as one screen) and also to use the keyboard.

Also, in the context of making the Oculus mobile and untethered, it is necessary to have a camera onboard, at least, until I get the XTtion to work. It is interesting that it is not too easy to find software that simply can display a video stream from a local webcam, most blogs just describe how to stream from a remote webcam or make a local USB cam accessible via some webservice.

My last attempt to get a stereo analog cam to work was not really cool since the latencies on a PC plus some weird display software as an .exe were not the ideal setting to really improve things.

So after some research, I found a git repository for streaming a local webcam to a dedicated  view, independent from the desktop. You need to install CMake and libbsd-dev to make it run via:

sudo apt-get install libbsd-dev
sudo apt-get install cmake

Also, I was able to install the camera in a nice position without additional mechanics:

cam fits nicely the cables of the Rift and enough space on the straps to lead cables.

cam fits nicely the cables of the Rift and enough space on the straps to lead cables.

Here’s the video walk through with some live feed to see the latency:

Next, I may try to either position the video on one eye, or even double the stream to both eyes. Or I may try to use the Minoru Stereo cam that I’ve been working on last year.


Getting XTion / Kinect to run on Pi 3, pt 2

So after yesterday’s compile of the PointCloudLibrary that worked although I couldn’t install some of the files before, I compiled today OpenNI although I was not able to install g++-multilib (following Larry’s tutorial).

Well, the error codes seemed to talk more about errors generating documentation, but I don’t care too much about that since google / stackexchange et al are the best documentation…

Also, the installation worked (within seconds).

Nextup was the installation of the Kinect driver / software package. Then it hailed errors. So, it seems that the g++-multilib is necessary for the SensorKinect package to compile. This will be an adventure to get somehow since it doesn’t seem to be available in Raspbian.

Interestingly, I found in an older tutorial from 2013 the necessity to install g++, not g++-multilib. However, trying to install this just led to the message that I had the latest version already.

In another old blog article, I found another version of this tutorial with an error similar to the one I got when calling make in the Build directory. And luckily, there was a reply by another visitor from May this year that there’s two files to change slightly to be able to compile it.

I don’t quite understand what exactly has been changed there, but I’ll try out tomorrow to see whether this will work.

So to sum up:

  • swap file extended
  • compiled PCL
  • compiled OpenNI
  • tosucceed: compile SensorKinect


Using the XTion / Kinect on Raspberry Pi 3 pt. 1

Recently, I managed to use the Oculus Rift as a display for the Pi 3 together with listening to the gyros via OpenHMD. And I found another instruction to run the XTion RGBd camera on the Pi 3 as well. For the sake of simplicity I set up a new system first and then will “fuse” the two.

First prerequisite in Larry’s tutorial is to add decent swap space on the OS, his OS is Ubuntu, mine is Debian Jessie Pixel and that is done differently. So, on the default Raspberry OS, you change the size of the swapspace in the file /etc/dphys-swapfile where you change from 100MB to 2000MB here: CONF_SWAPSIZE=100. I love stackexchange for that… (after rebooting, the command free -h should show you 2.0 GB of swap space).

Under Raspbian Jessie Pixel, I was not able to install libvtk (sudo apt-get install libvtk5.10-qt4 libvtk5.10 libvtk5-dev). Mono, QT and JDK seem quite heavy (like one GB of space) and I don’t know whether I really need these, I hope not, since I really want to code in python and don’t intend to use QT. I installed them anyways, just to get as close as the recipe would let me ( sudo apt-get install mono-complete and sudo apt-get install qt-sdk openjdk-8-jdk openjdk-8-jre).

sudo add-apt-repository ppa:v-launchpad-jochen-sprickerhof-de/pcl also didin’t work, you need to sudo apt-get install software-properties-common first (see stackexchange again), Then it starts to work, but finally I get “NoDistroTemplateException: Error could not find a distribution template for Raspbian/jessie”. Damn. For fun, I googled Jochen Sprickerhof and found his PCL site. As the URL says, it’s geared towards Ubuntu, so this might explain the error I got. When you google “installing PCL on raspian” you get a couple of descriptions how people did it. So I’ll stick to that should something go wrong…

So I skipped this launchpad part, just to  see how far I’ll get. My feeling was that I wasn’t apt-getting something afterwards (but actually git cloning), so maybe this has not an immediate effect, let’s see. git cloning of the PointCloudLib worked (after user and pwd for git).

Also I was able to run the cmake command and run make. The blog says, it will take about 7 hours to compile, so I go to bed now…

UPDATE: it worked! (sudo make install)

Oculus Rift DK2 on a Raspberry Pi3: towards untethered VR.

I’ve been long dreaming of connecting these to important technologies and run them in way that I actually understand. I’m not good at Android programming (for those cardbox VRs) and not really good at Unity (although that would be fun to dive deeper) and somehow my driver situation with the DK2 and windows 10 deteriorated.

There have been earlier attempts to run the Oculus on a Pi, but in my eyes the latest iteration I found is the most fitting to me (including Python bindings and 3d libraries).

So recently, I came across Wayne Keenan’s blog how actually did exactly what I’m dreaming of, namely to run the DK2 controlled by the Pi3. I’m not so much interested in maximising the complexity of geometry in VR but really more in the interaction design and what untethered VR (or even AR) can actually feel like.

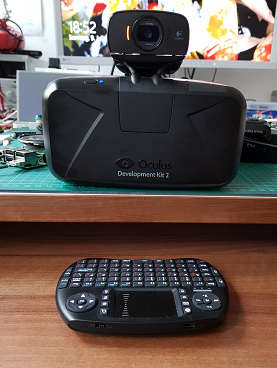
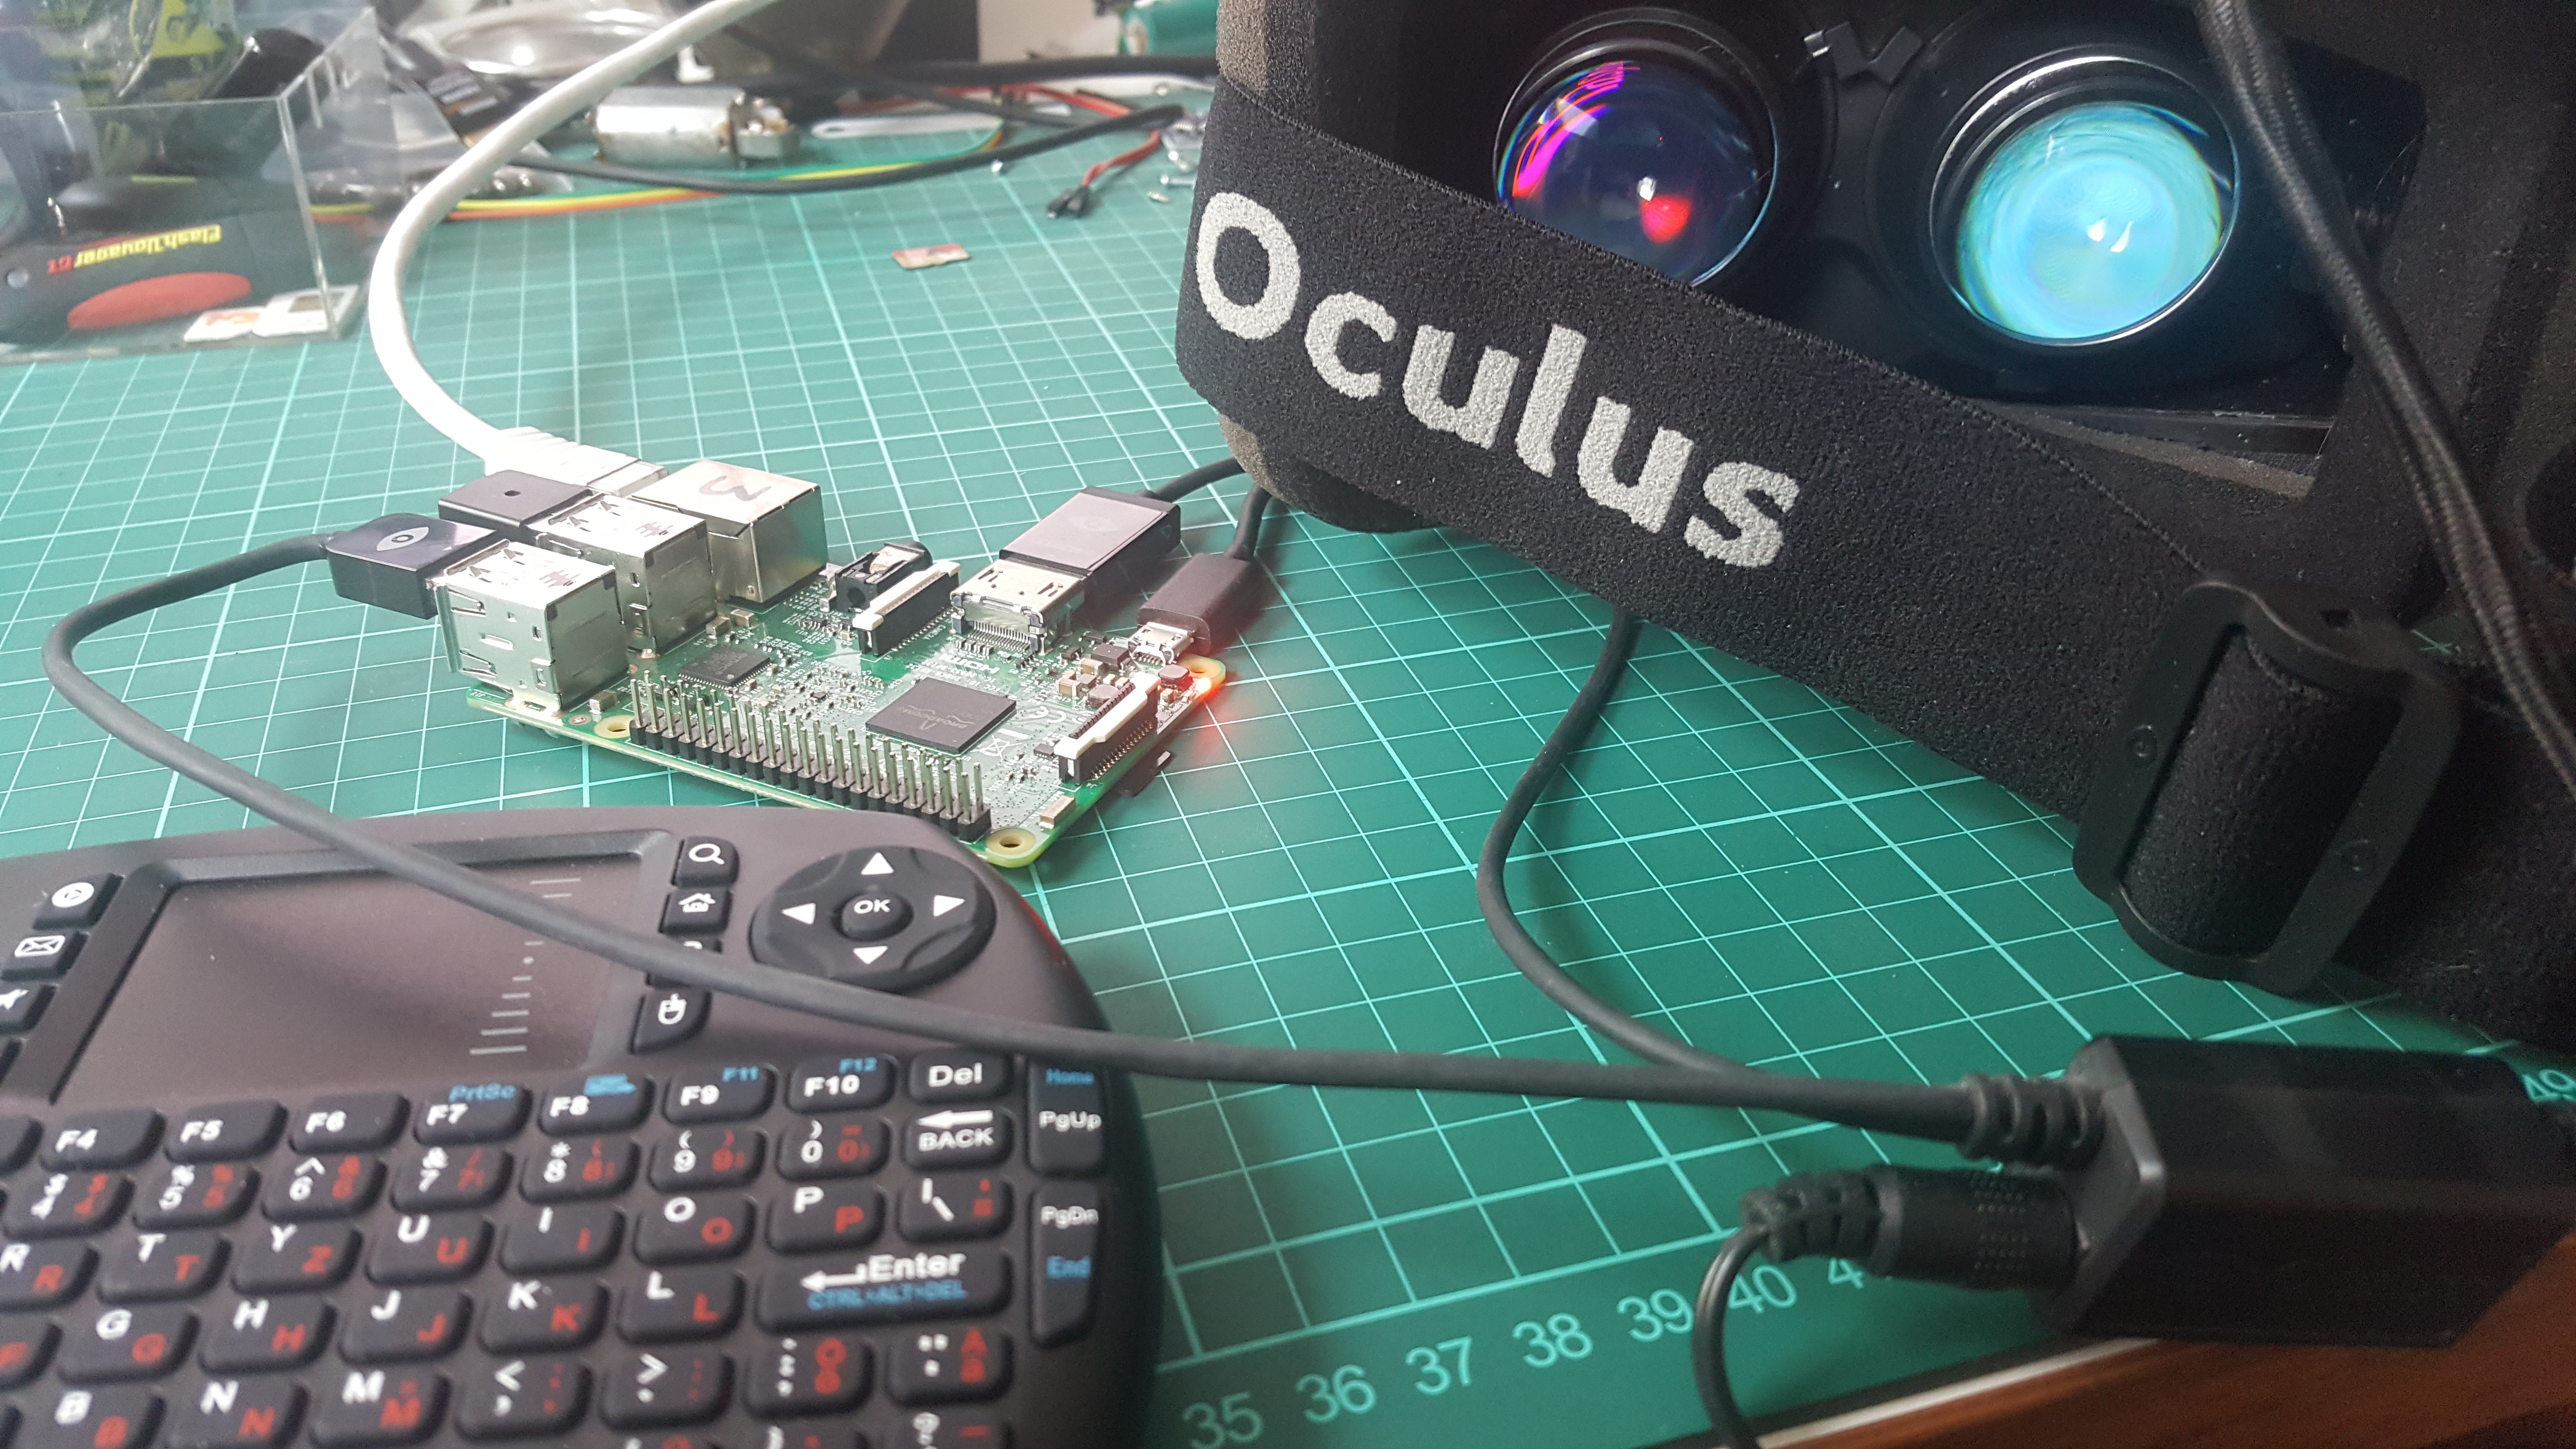
His github recipe really works nicely, and so the installation was really a matter of 30min:

Pi3, DK2 and mini keyboard

Continue reading