Recently, I’ve come across a really nice Tamagotchi project on Instructables.
Tamagotchies are virtual pets in little devices (later on also apps, etc) that the user has to feed, clean up after and play with. They are a nice addition in my thinking on social robotics. Also while still collecting knowledge for the 68k computer, I learned that I want to start with a stripped down Arduino, not a Nano I usually work with. So this is an ideal little weekend project to learn a few things.
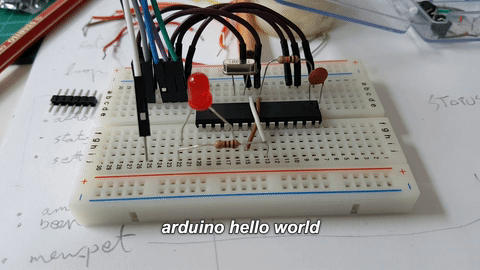
Pure Arduino chip:
spec of the atmega328p allows for up to 5.5v operating voltage, i.e. the output of a usb-chargeable battery pack with 5.1v is absolutely suitable.
I built a minimal Arduino setup following The Shrimp. I used my UART/USB converter and set the Arduino IDE to the “Arduino Uno” board, et voilá:
OLED display:
In the instructables, the guy is using 2×2 8×8 LED displays (i.e. 16×16 pixels resolution) that are controlled by additional chips, for me this is out of scope and I had an OLED with a 128×64 display floating around, so the idea is to use this. it’s also much smaller than the LED matrices.

I2C 128 x 64 OLED
to run the OLED display, we need the two Adafruit libraries:
had to set the right display in the “Adafruit_SSD1306.h” file to: #define SSD1306_128_64 and also change the I2C address from 0x3D to 0x3B then it worked (here as a “unit test” with the Nano).
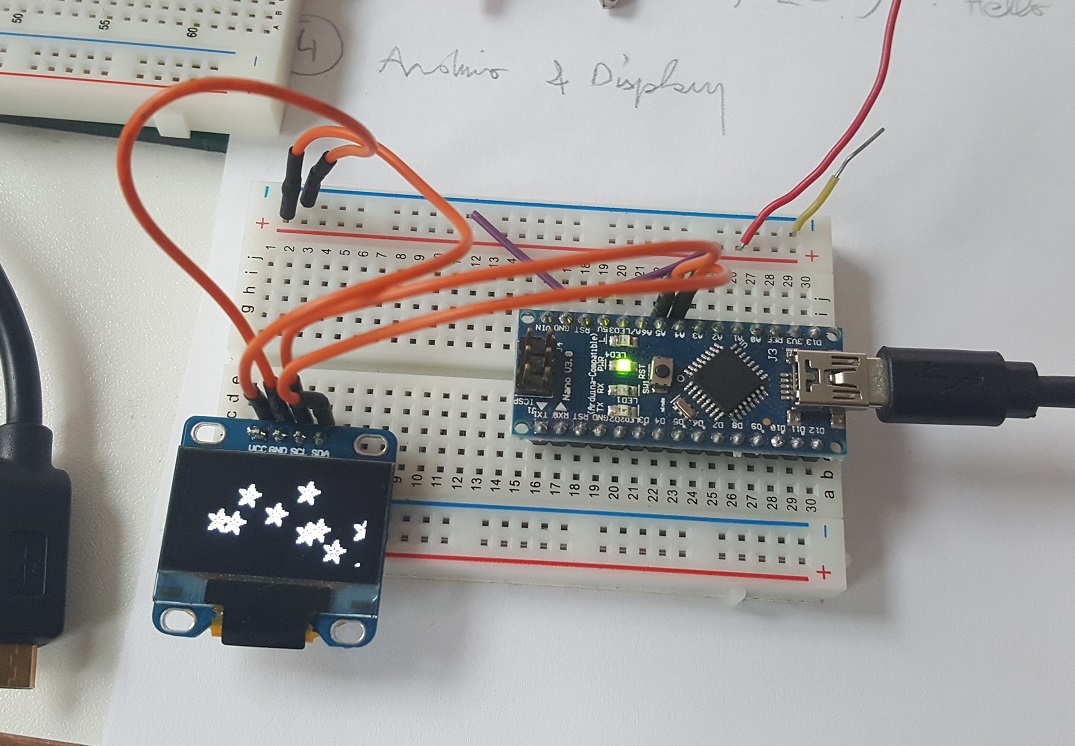
OLED I2C Nano
One of the things that frighten me a bit is that the whole adafruit software seems to take up quite a lot of memory:

I then moved on to display the graphics from the Instructables (for the 16×16 LED) to be displayed on the OLED, the adafruit example had a byte array example included already, so that was not too complicated. I learned a bit about the nice PROGMEM feature storing data on the flash part of the Arduino.
Real Time Clock
I had one battery buffered clock in my drawer, so that was the next thing to add to the circuit. The Instructables is talking about the DS1302 RTC (a chip), I have the DS3231 (breakout board). Seems like the 3231 is more accurate and also I2C, not SPI so it will simplify my design. Otherwise, they seem to be equivalent.
One thing i noticed in the code in the Instructables is that the author seems to be writing data (or storing) on the RTC which seems strange to me. Interestingly, my RTC breakout has an Atmel332 AT24C32 on board which is a two-wire 32K EEPROM.
So, the next “unit test” for hardware is to connect the RTC to the Nano and display the time on the OLED.
I installed this library for the 3231, as it can also handle the read and write commands to store data. And you also need the Arduino Time library for basic functions afaiu.
Sound
I had a little speaker floating around and did some experiments with the tone() command in Arduino, which works nicely. The only thing is that you need to set the digital pin to “input” afterwards to really silence the speaker after the sound.
Final breadboard setup
This is the setup with all the software bits working essentially, including buttons, RTC, OLED and the speaker:
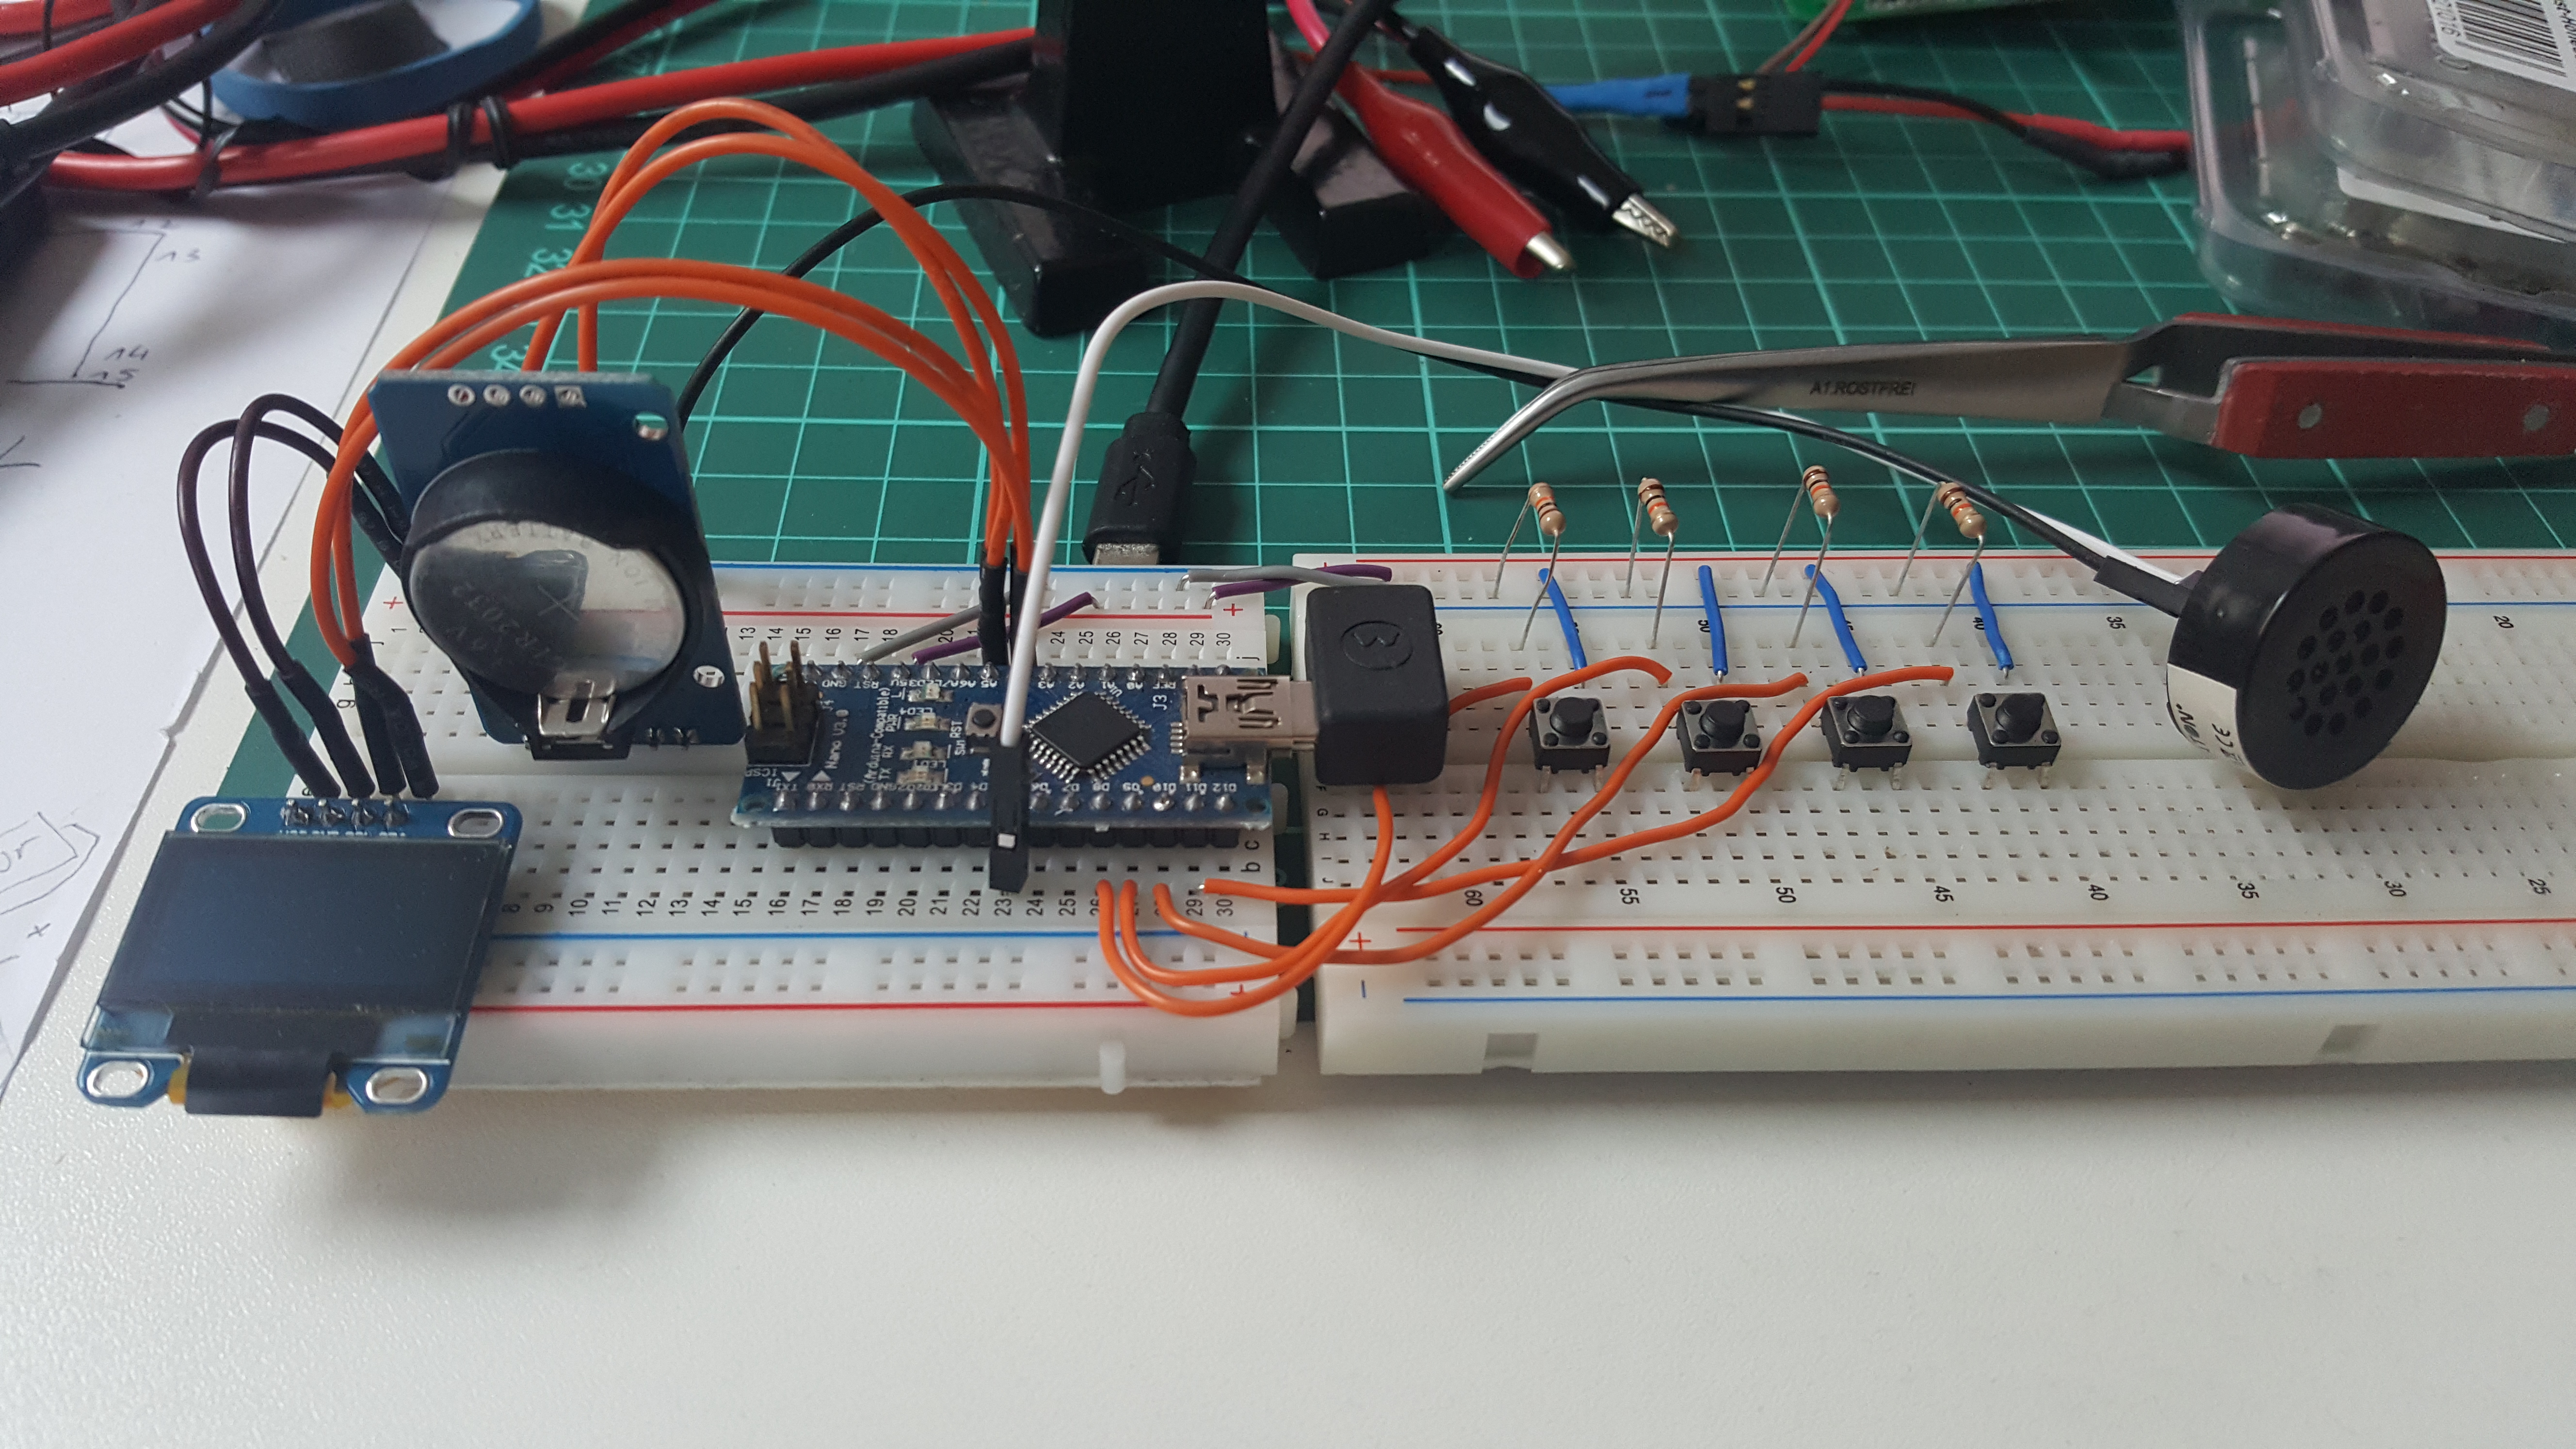
breadboard tamagotchi
The next two posts will discuss the build on perf boards + LiPo and the adaptation of the software.