Monthly Archives: December 2020

PortablePy: The clamshell micropython computer.

I admit: I love how home computers from the 80ies were booting up in no time. I’ve been trying to optimise the boot up time for Raspberry Pis for some time but I don’t get very far. I’m also fascinated by baremetal implementations where hardware is used for a single purpose and also works on an instant. Micropython is a nice idea inbetween as it is a “high level language” and still runs without too much overhead on very small resources.

Another thing that I’m dreaming of is to be able to write software on the go using a minimal dedicated device. My prrevious attempts comprise:

  • The StickPi (super small Pi Zero with an epaper display and no keyboard for ssh access from a notebook, no battery)
  • The PocketPi (battery powered Pi Zero, 800×480 4in Hyperpixel screen incl a small keyboard)
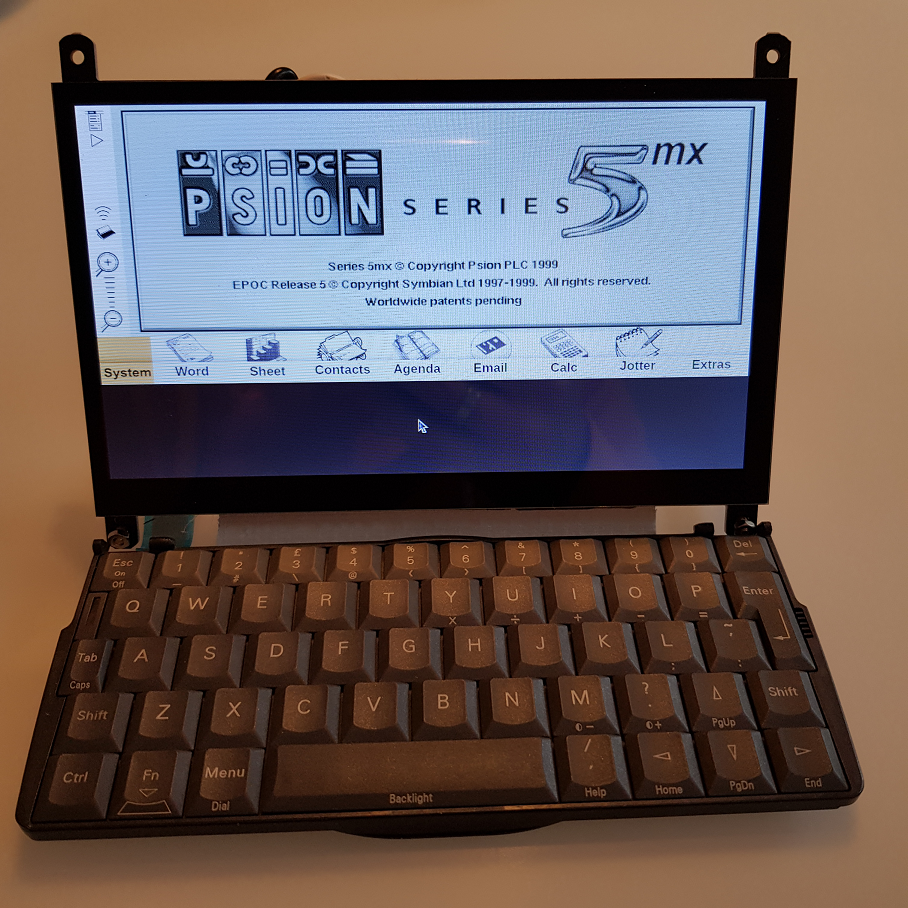
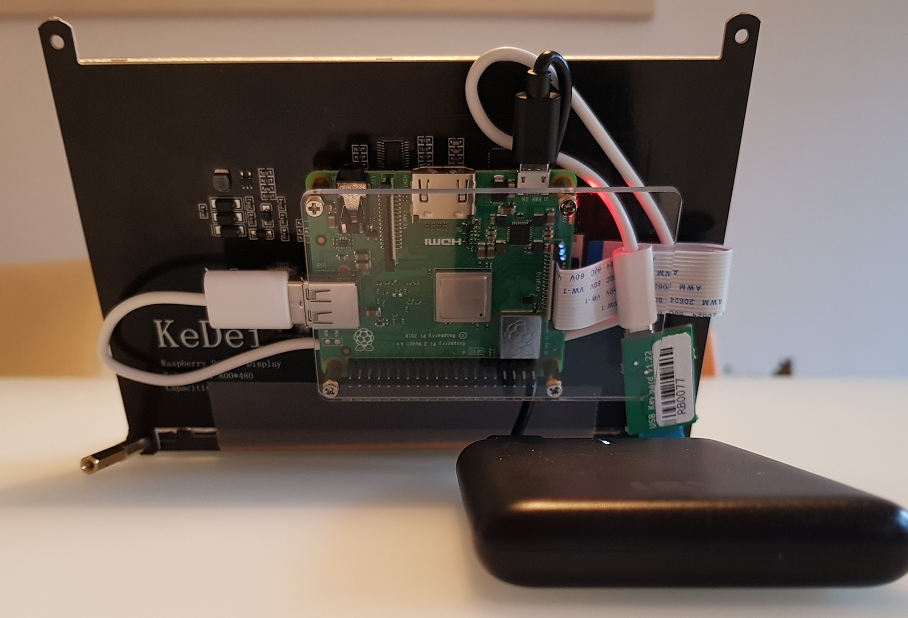
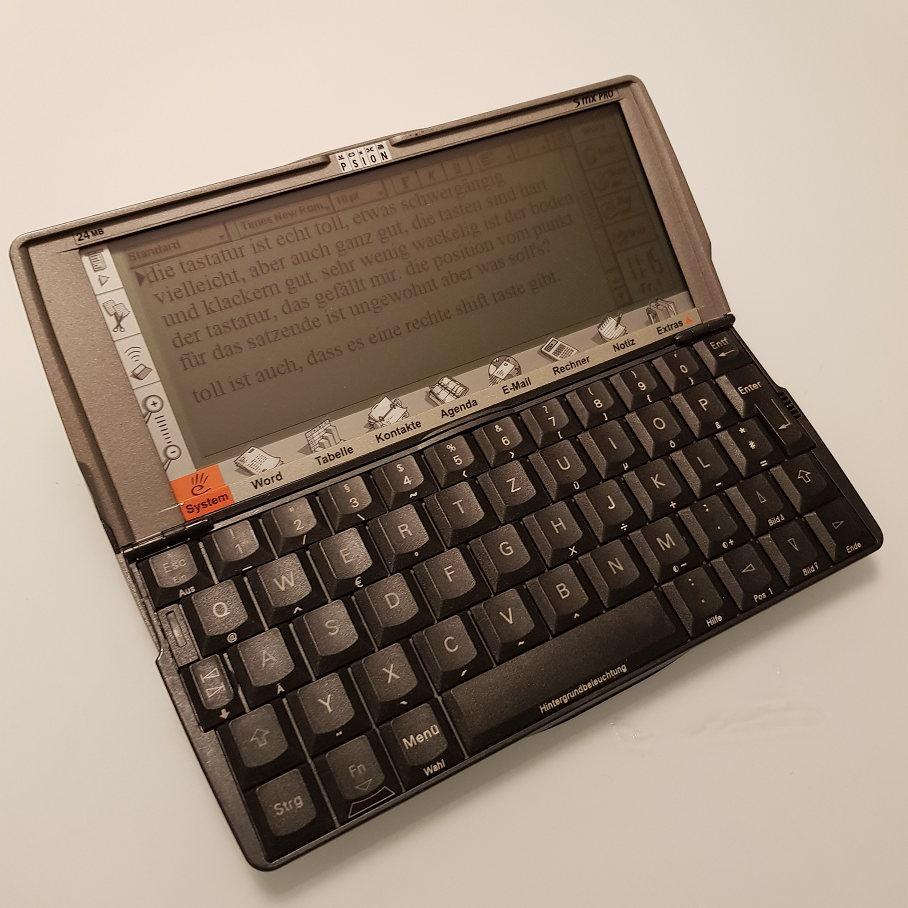
  • Last week’s PsionPi (battery powered Pi 3a+, Psion 5 Series keyboard incl Arduino keyboard controller and a 7in 800×480 screen)
  • And a yet unpublished 5in screen slate design.

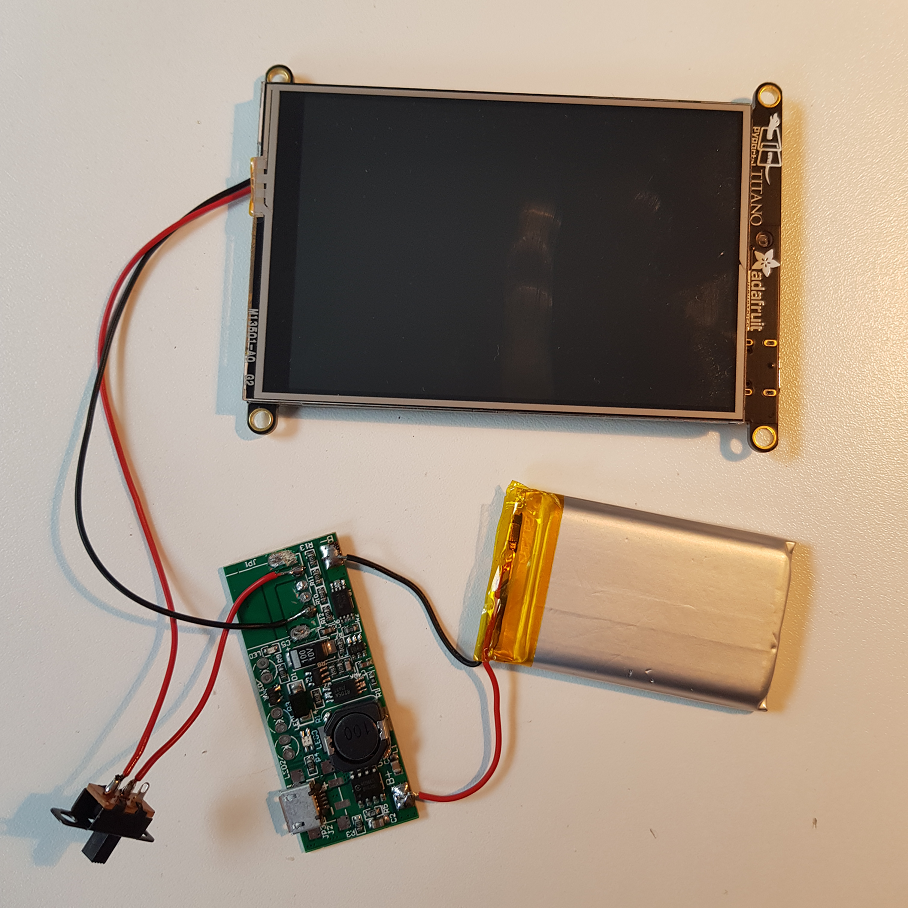
All these are Raspberry Pis in different formfactors. When the Adafruit PyPortal Titano was released, I was immediately in love as it comprises a lot of nice hardware and a 3.5in 320×480 screen that I also had evaluated for the PocketPi.

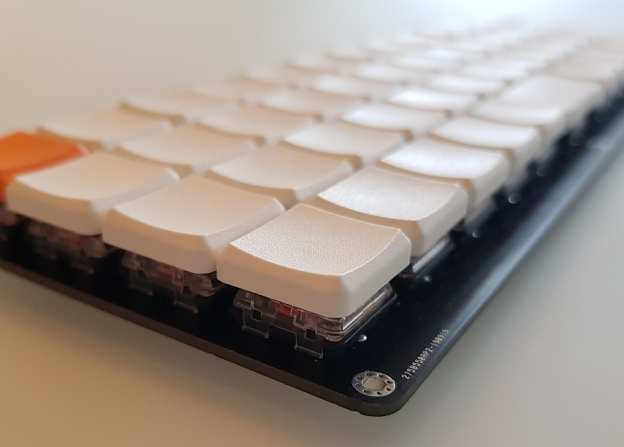
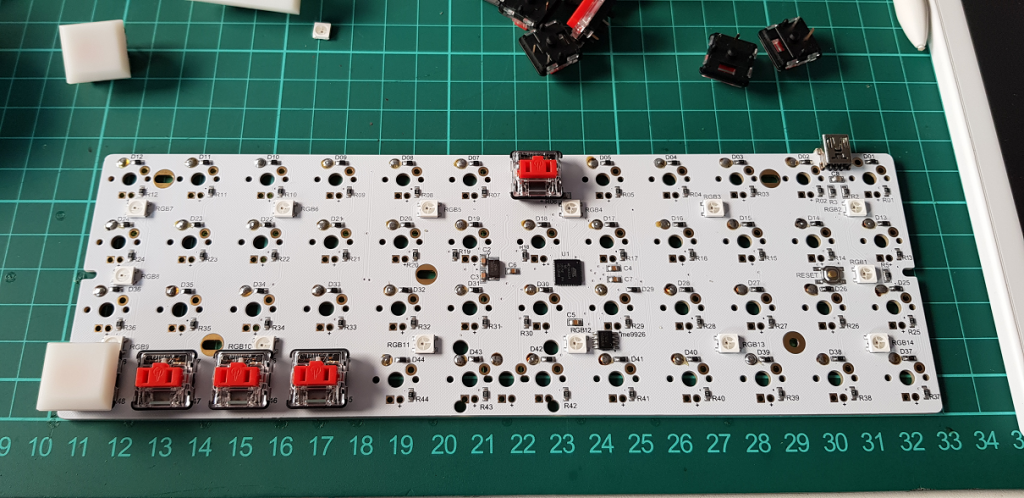
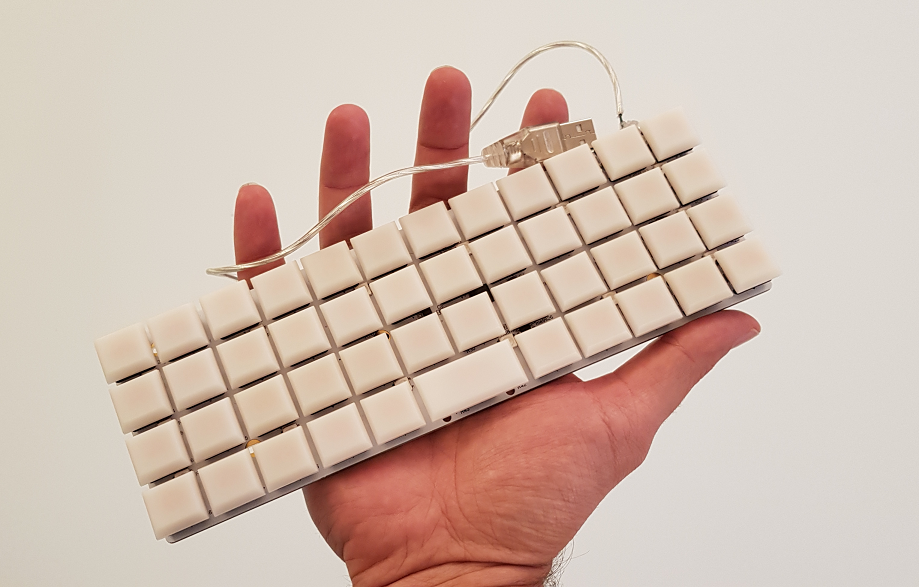
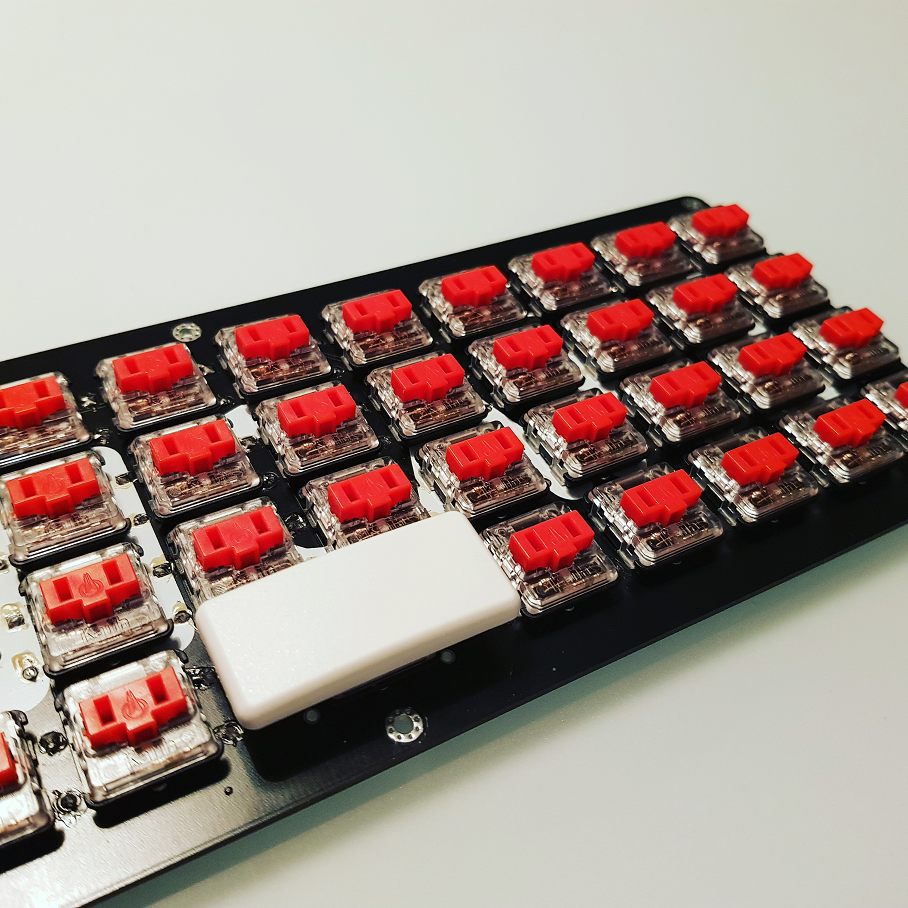
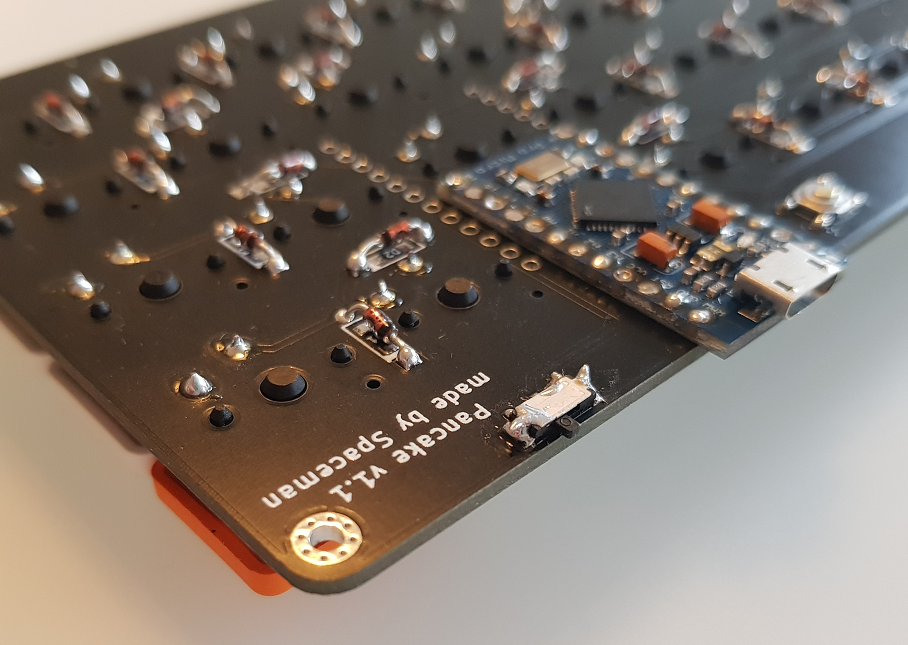
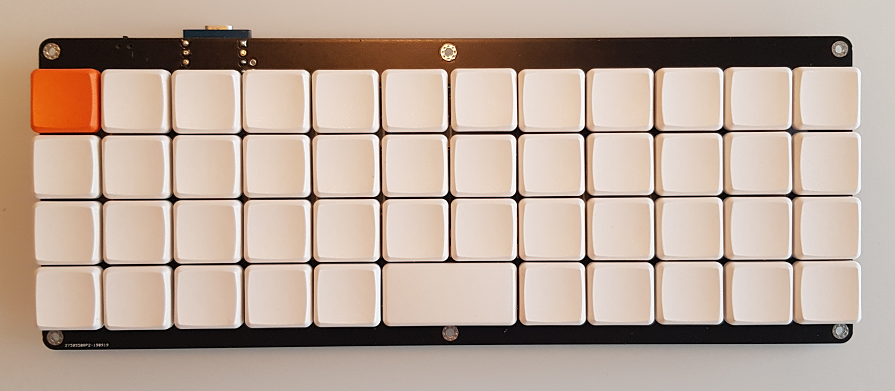
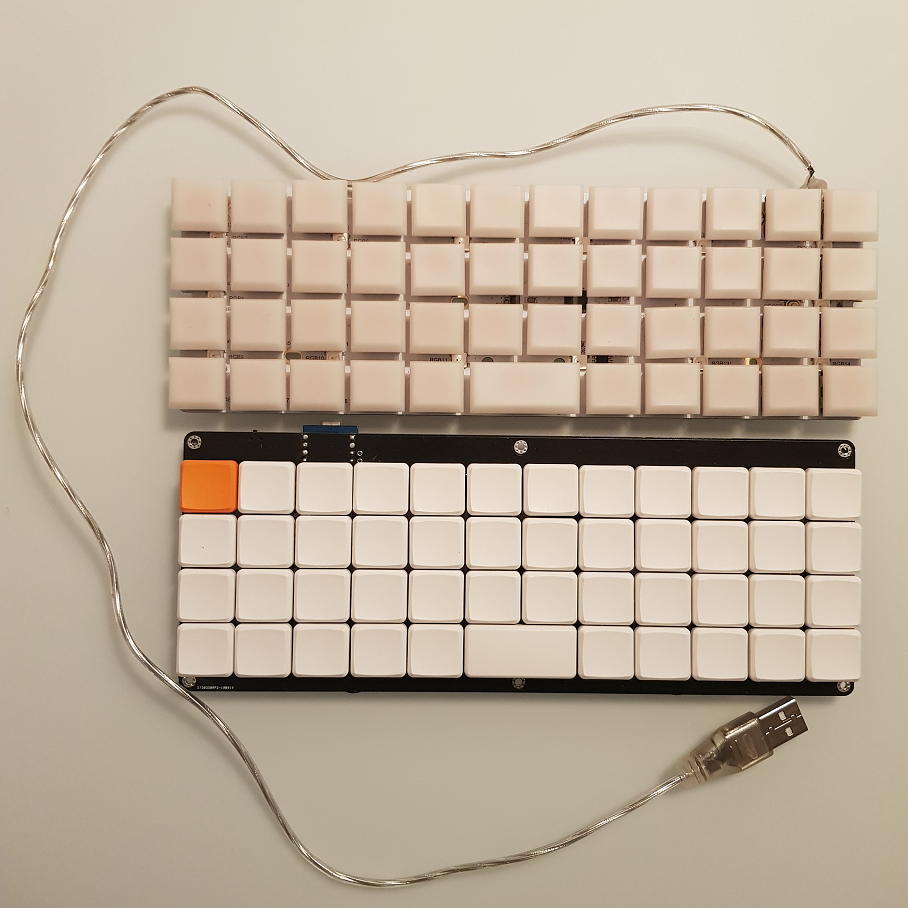
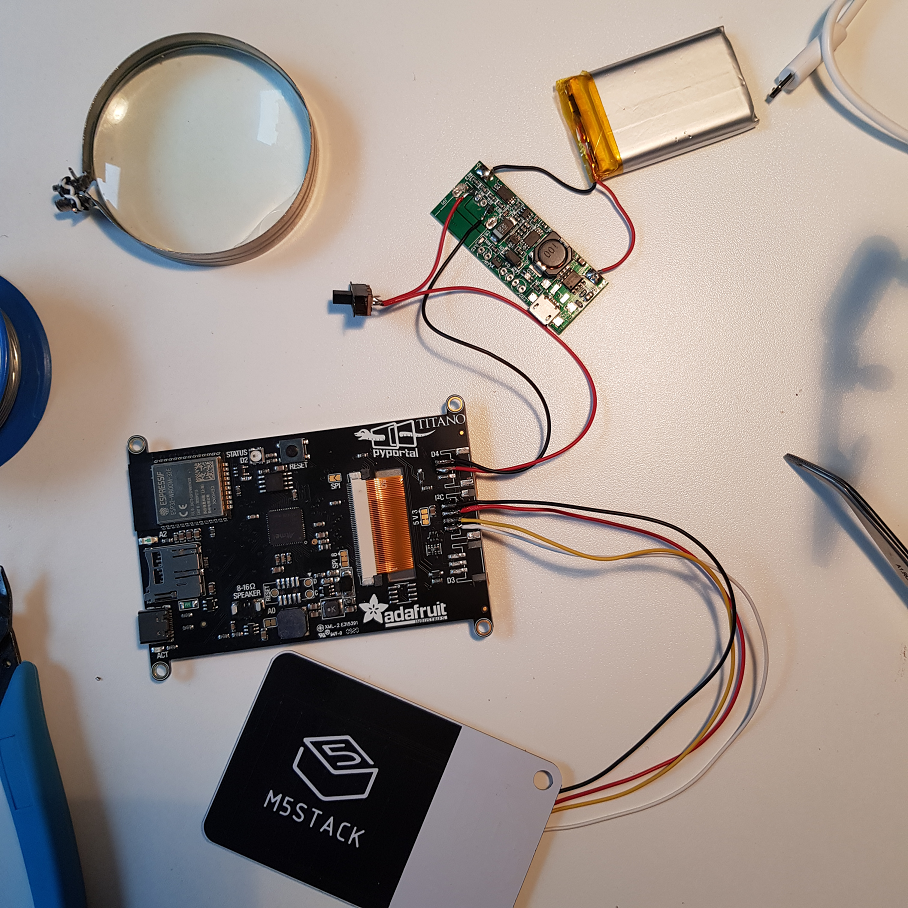
I also recently came across the hardware line of the M5Stack and their super-small and cheap I2C QWERTY keyboard caught my eye. The keyboard itself is also using an Arduino to read the key-matrix and translate the key presses to externally digestable code. So, this is my third Arduino-controlled keyboard (the recent mechanical keyboard and last week’s PsionPi). The PyPortal also has I2C connections, so let’s try it out:

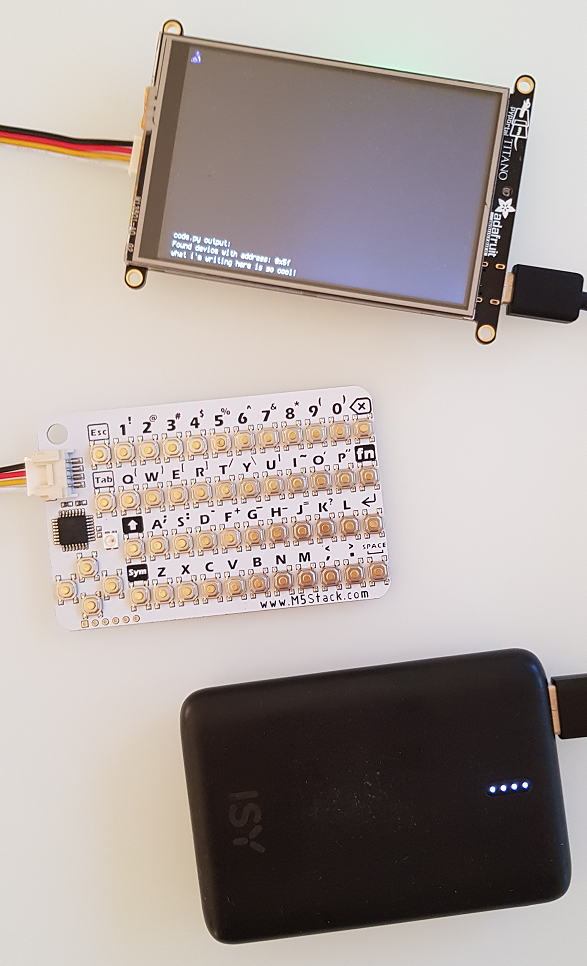
So the first thing wanted to try out is to connect the two and see if I would get use the keyboard to enter text without a host computer or a USB keyboard. The keyboard is available at 0x5f and you just need to translate the keycodes to letters, certainly you need to translate delete, backspace and return keys to the right “actions” on screen, which kind of results in a minimalistic text editor:

Next thing was to design a case. I never ventured into hinge design, so I wanted to keep it as simple as possible just to get started and to see whether writing code is fun or not. So I started with a slate design:

Actually, the Casio pocket calculator is a clamshell design already, but my beloved Nokia E61 is a good sparring partner in terms of design. So the black base plate is a 125x100mm design which is kind of nice, it wouldn’t get much smaller than this. I got bored with the slate immediately when it finished printing…

On the other hand, what was really a logical next step in terms of form factor was the clam shell design and when I had an old Gameboy Advance SP in my hand, I felt that I need this nice sound when closing and I wanted to have a computer like this. Back to Tinkercad:

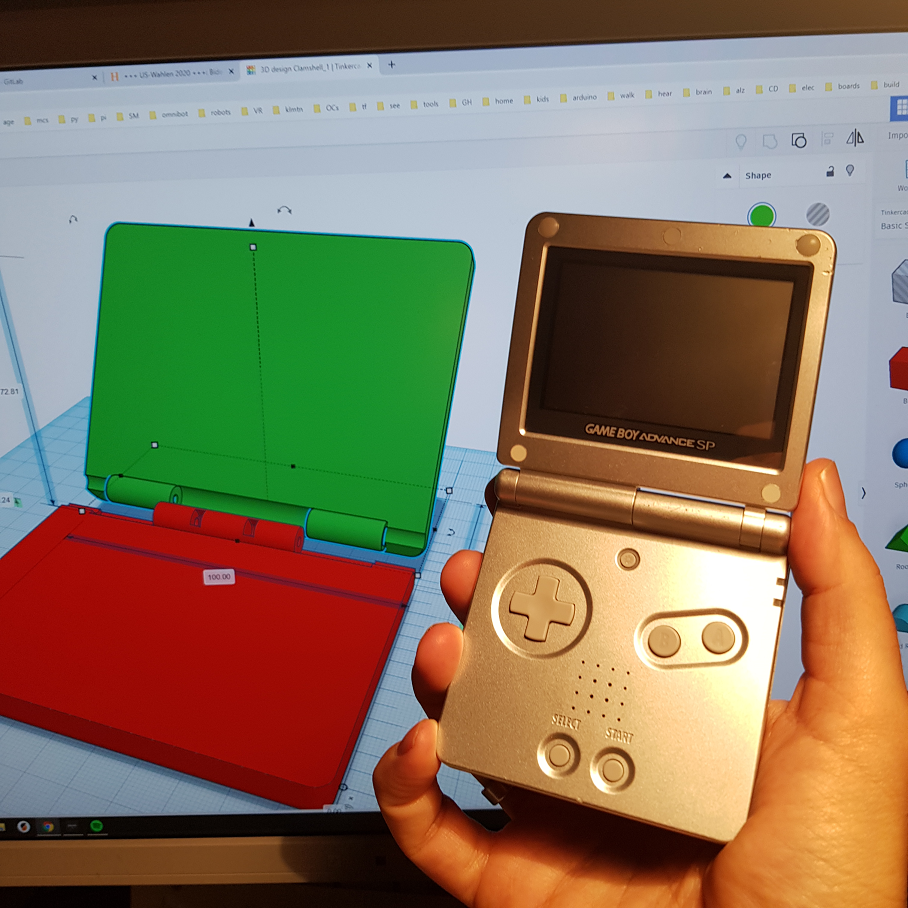
Now the baseplate has 100x80mm and the hinge is working really well. I also added magnets on all corners to keep the states stable but they are not strong enough and take up valuable space.

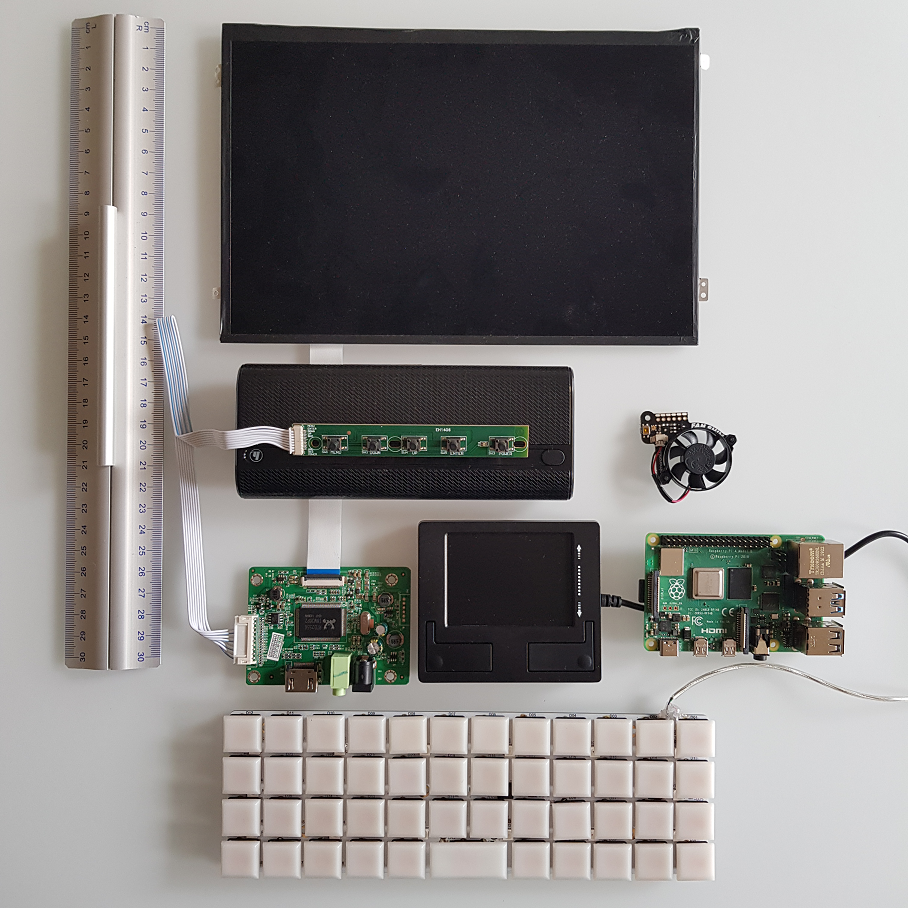
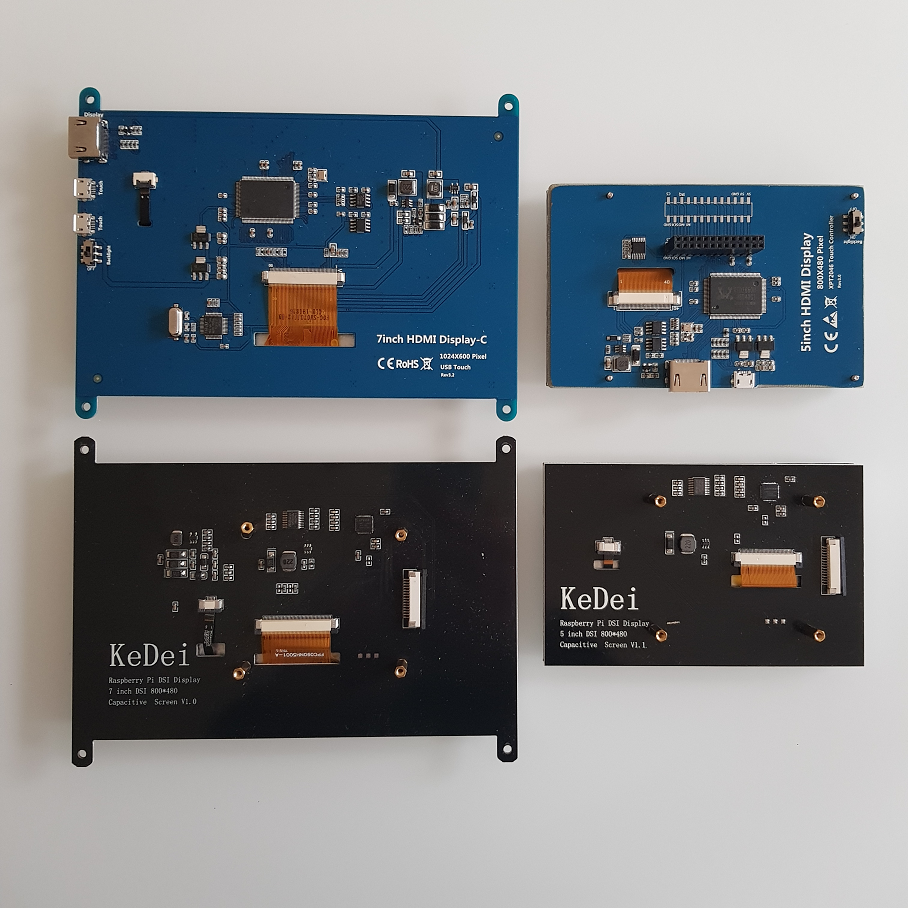
Just for fun, I pulled out my old screen from the earlier PocketPi iterations:

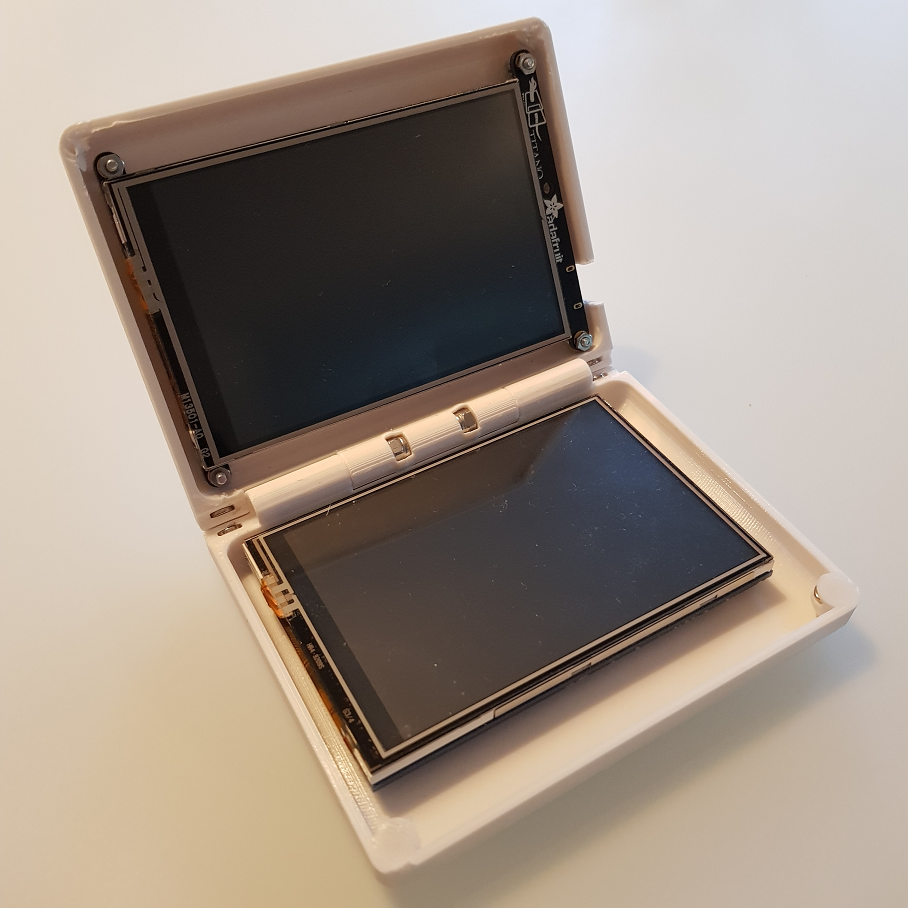
To make this usable, you’d need to add the Pi Zero underneath and power both with a battery plus connect them somehow (not via Wifi 😀 ).

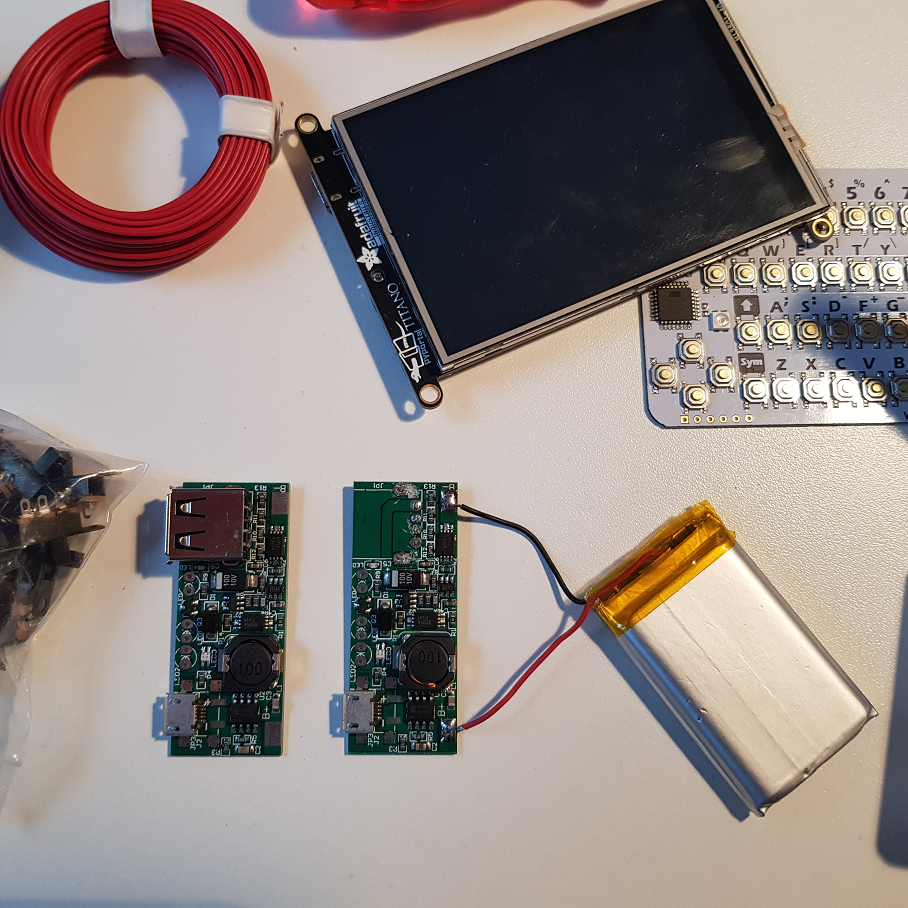
Next it was time to design the power source. This time I didn’t stick with the Adafruit powerboost, I think it is too expensive and it gets fairly hot. I had a couple of cheaper but larger charger boards in a drawer, so I decided to give them a go. To save height and space, I removed the USB plug:

To save height, I also removes the plugs from the pyportal and wired the power cable directly, following the wiring scheme from Adafruit:

Finally, I also removed the plug from the M5Stack keyboard and soldered the cable directly:

I had to modify a couple of places of the original case design and cut out the plugs for USB-C / pyportal, the power switch and the micro-USB charging port, then it was time to fit the power circuit:

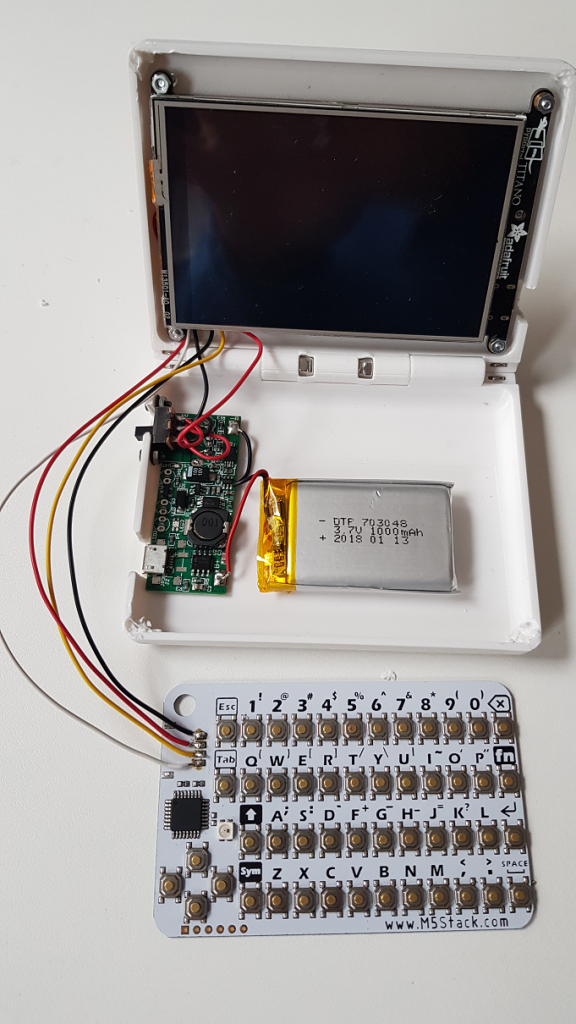
Finally, the keyboard is added using a double-sided tape:

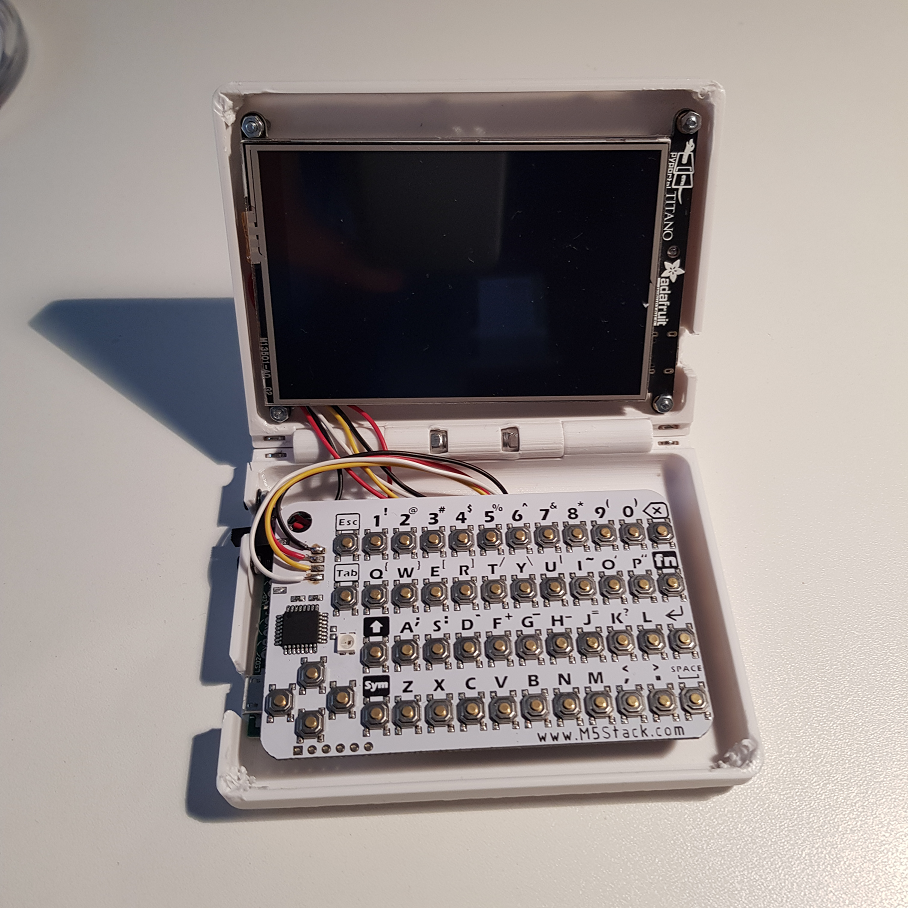
And now the little darling in action:

I wrote a little file lister in python as well as a minimalistic python editor. The problem at the moment is that you can’t write to the on-board flash when hooked up to a host using USB-C. Need to check out now whether it works when the device is battery powered. Stay tuned!

UPDATE: I just polished the case design to actually close properly and removed the magnet holders to give the innards enough space. Files are published on Thingiverse now.

UPDATE 2: This work was featured on HACKADAY!

PsionPi

There’s certainly an emotional connection to EPOC, the precursor of Symbian OS that was running the high end devices of NOKIA a decade ago. EPOC was initially developed by PSION who kind of pioneered mobile computing (at least here in Europe) with decent keyboards.

Whenever you research about mobile computing all aficiandos praise the quality of the PSION keyboards. Especially the 5 Series are great – so I heard.

But when you look at the device, there is so much love to detail and passion in the design, for example see the hinge:

Actually, I want to build a little computer to write Python programs on the go. My experience with my previous, smaller design, the PocketPi, was that it is actually to small (keyboard and screenwise) to really write code and think about it.

The PSION keyboard is really nice and the 6inch screen is kind of nice, too. There’s even a Python port for this granddad. But I decided to build my own little device, so a Raspberry Pi would be the right computing platform.

Recently, some new displays are available on the market that save the whole HDMI cables and possible additional screen controller boards. These connect directly via a flat cable to the onboard DSI screen interface of Raspberry Pis. This saves a lot of space an height.

You see the USB and HDMI plugs on the left of the 7in screen, missing on the lower screens, these have the flat cable plugs on the board on the right hand side. So for this build, I used the 7in DSI screen that also includes capacitive touch (60€, 800×480 resolution). Both, display and touch functionality are supported by the OS out of the box.

Finally, I also bought a series 5 keyboard on ebay because I wasn’t able to slaughter the functional one that I bought before. There is a guy who tried to fit a Raspberry Pi into the original series 5 case, but he didn’t get very far. What he achieved however, is to design a little PCB containing an Arduino 32U4 (Leonardo compatible) that translates the keyboard’s signals to a USB-HID keyboard profile. It’s about 40€ (adding to the 90€ I paid for the keyboard and the screen).

USB keyboard adapter for Psion Series 5 keyboards 1

Finally I chose the Raspberry Pi 3a+ that has runs on a 1.4Ghz quadcore ARM and includes Wifi and Bluetooth. I love that device because it doesn’t have to many plugs (like LAN or quad-USB like the Pi4), so it’s flat and light. It also includes the DSI port while the Pi Zero W doesn’t.

So this is the final “build” (or rather “composition”, I used a gaffer tape to attac the keyboard to the screen):

So, while the screen itself is about 10mm thick, the Pi 3a adds another 20mm, which is totally unacceptable, esp compared to the Series 5 original 25mm. The screen incl the screw holes is about 120mm, while the keyboard is about 75mm. The Pi 3a+ has 55mm, so if I design a case, maybe I’d move the Pi to the keyboard and would get a floor of 130mm plus case walls. Not sure yet. Probably will also research a different screen, with OLED these are much thinner and lighter.

Software wise, I had to flash the keyboard with an Arduino script provided by the controller board guy on Tindie. That was easy, but it doesn’t support QMK like the pancake 40% mechanical keyboard I built last week. Doesn’t matter, the mapping is easy enough to change in the source code.

Finally, firing up the system and now the EPOC OS. For the first test, I used the emulation running in the browser. On a PC it boots like in a second, on the Pi 3a+ it takes about five minutes, so this is not an option. But see here:

Finally, the EPOC emulator is part of the MAME emulator package, that might be the next step.

My first working mechanical keyboard

When designing little computers, one of the most interesting aspects is the dimension and functionality of the keyboard. Do you want to use it rarely and the screen real estate doesn’t matter? You can use an on screen keyboard. With little devices such as the PocketPi, it is okay to have a small keyboard, but that’s not for writing code, it’s okay for messages etc. Recently I bought a Psion Series 5 mx pro, that is a keyboard with 17cm length and a phantastic trade-off between usability and size. But I was also experimenting with self-built keyboards for a while and discovered that I’m not alone.

For building a sub-notebook or netbook powered by a Raspberry Pi, I was looking into 40% keyboards, my first experiment was a NIU PCB with Kailh Choc low profile switches just to find out that the NIU doesn’t support this form factor. I kind of hacked it by modifying the switches and soldering on the back side:

And it kind of worked. But it’s not beautiful and you have to mirror the default keyboard mapping. For my taste, the key caps are also too far apart, on the plus side, it has LEDs (the key caps are the “natural” color, i.e. semi-transparent which is also good for lights):

But then, after posting this on reddit, another forum member hinted that there would be the Pancake PCB that would “natively” support the low profile switches, so I ordered the pancake PCB together with the white key caps.

To save some more height, I decided to solder the Arduino Micro Pro directly on the PCB without a socket or pins, luckily, there’s also a QMK layout for it already and flashing with the QMK tool is a breeze (just press the button WHILE plugging in the USB cable to the computer).

That yields a total height of 18mm which is, in notebook terms, still quite a lot, but for mechanical keyboards it’s the best I can achieve for the moment.

The alternative would be to design and print a switch holder grid and connect the switches directly without a PCB. Whatever, this is the end result:

A much cleaner and tighter look compared to the NIU:

To learn how to type on an ortholinear keyboard, I practise on this sensational website. I was not very fast after 30min practise but improving fast:

So just as an outlook for the sub-notebook (10.1 inch screen, 21x15cm), here’s the hardware collection that I had half a year ago (yes, that’s a dedicated touchpad with mouse buttons in the middle). I’ll change the LiPo for a dual 18650 UPS I recently found which is way more compact.