Author Archives: ramin assadollahi

slaughtering external USB batteries to keep robots alive

current discussions are revolving around when and not whether ai will supercede us human beings. i learned the following lesson: we need to slaughter for them first! it’s about batteries, power!

after my last research on different options to power the raspberry pi, i wanted to invest some time into the external usb batteries that power our phones when we’re out and about.

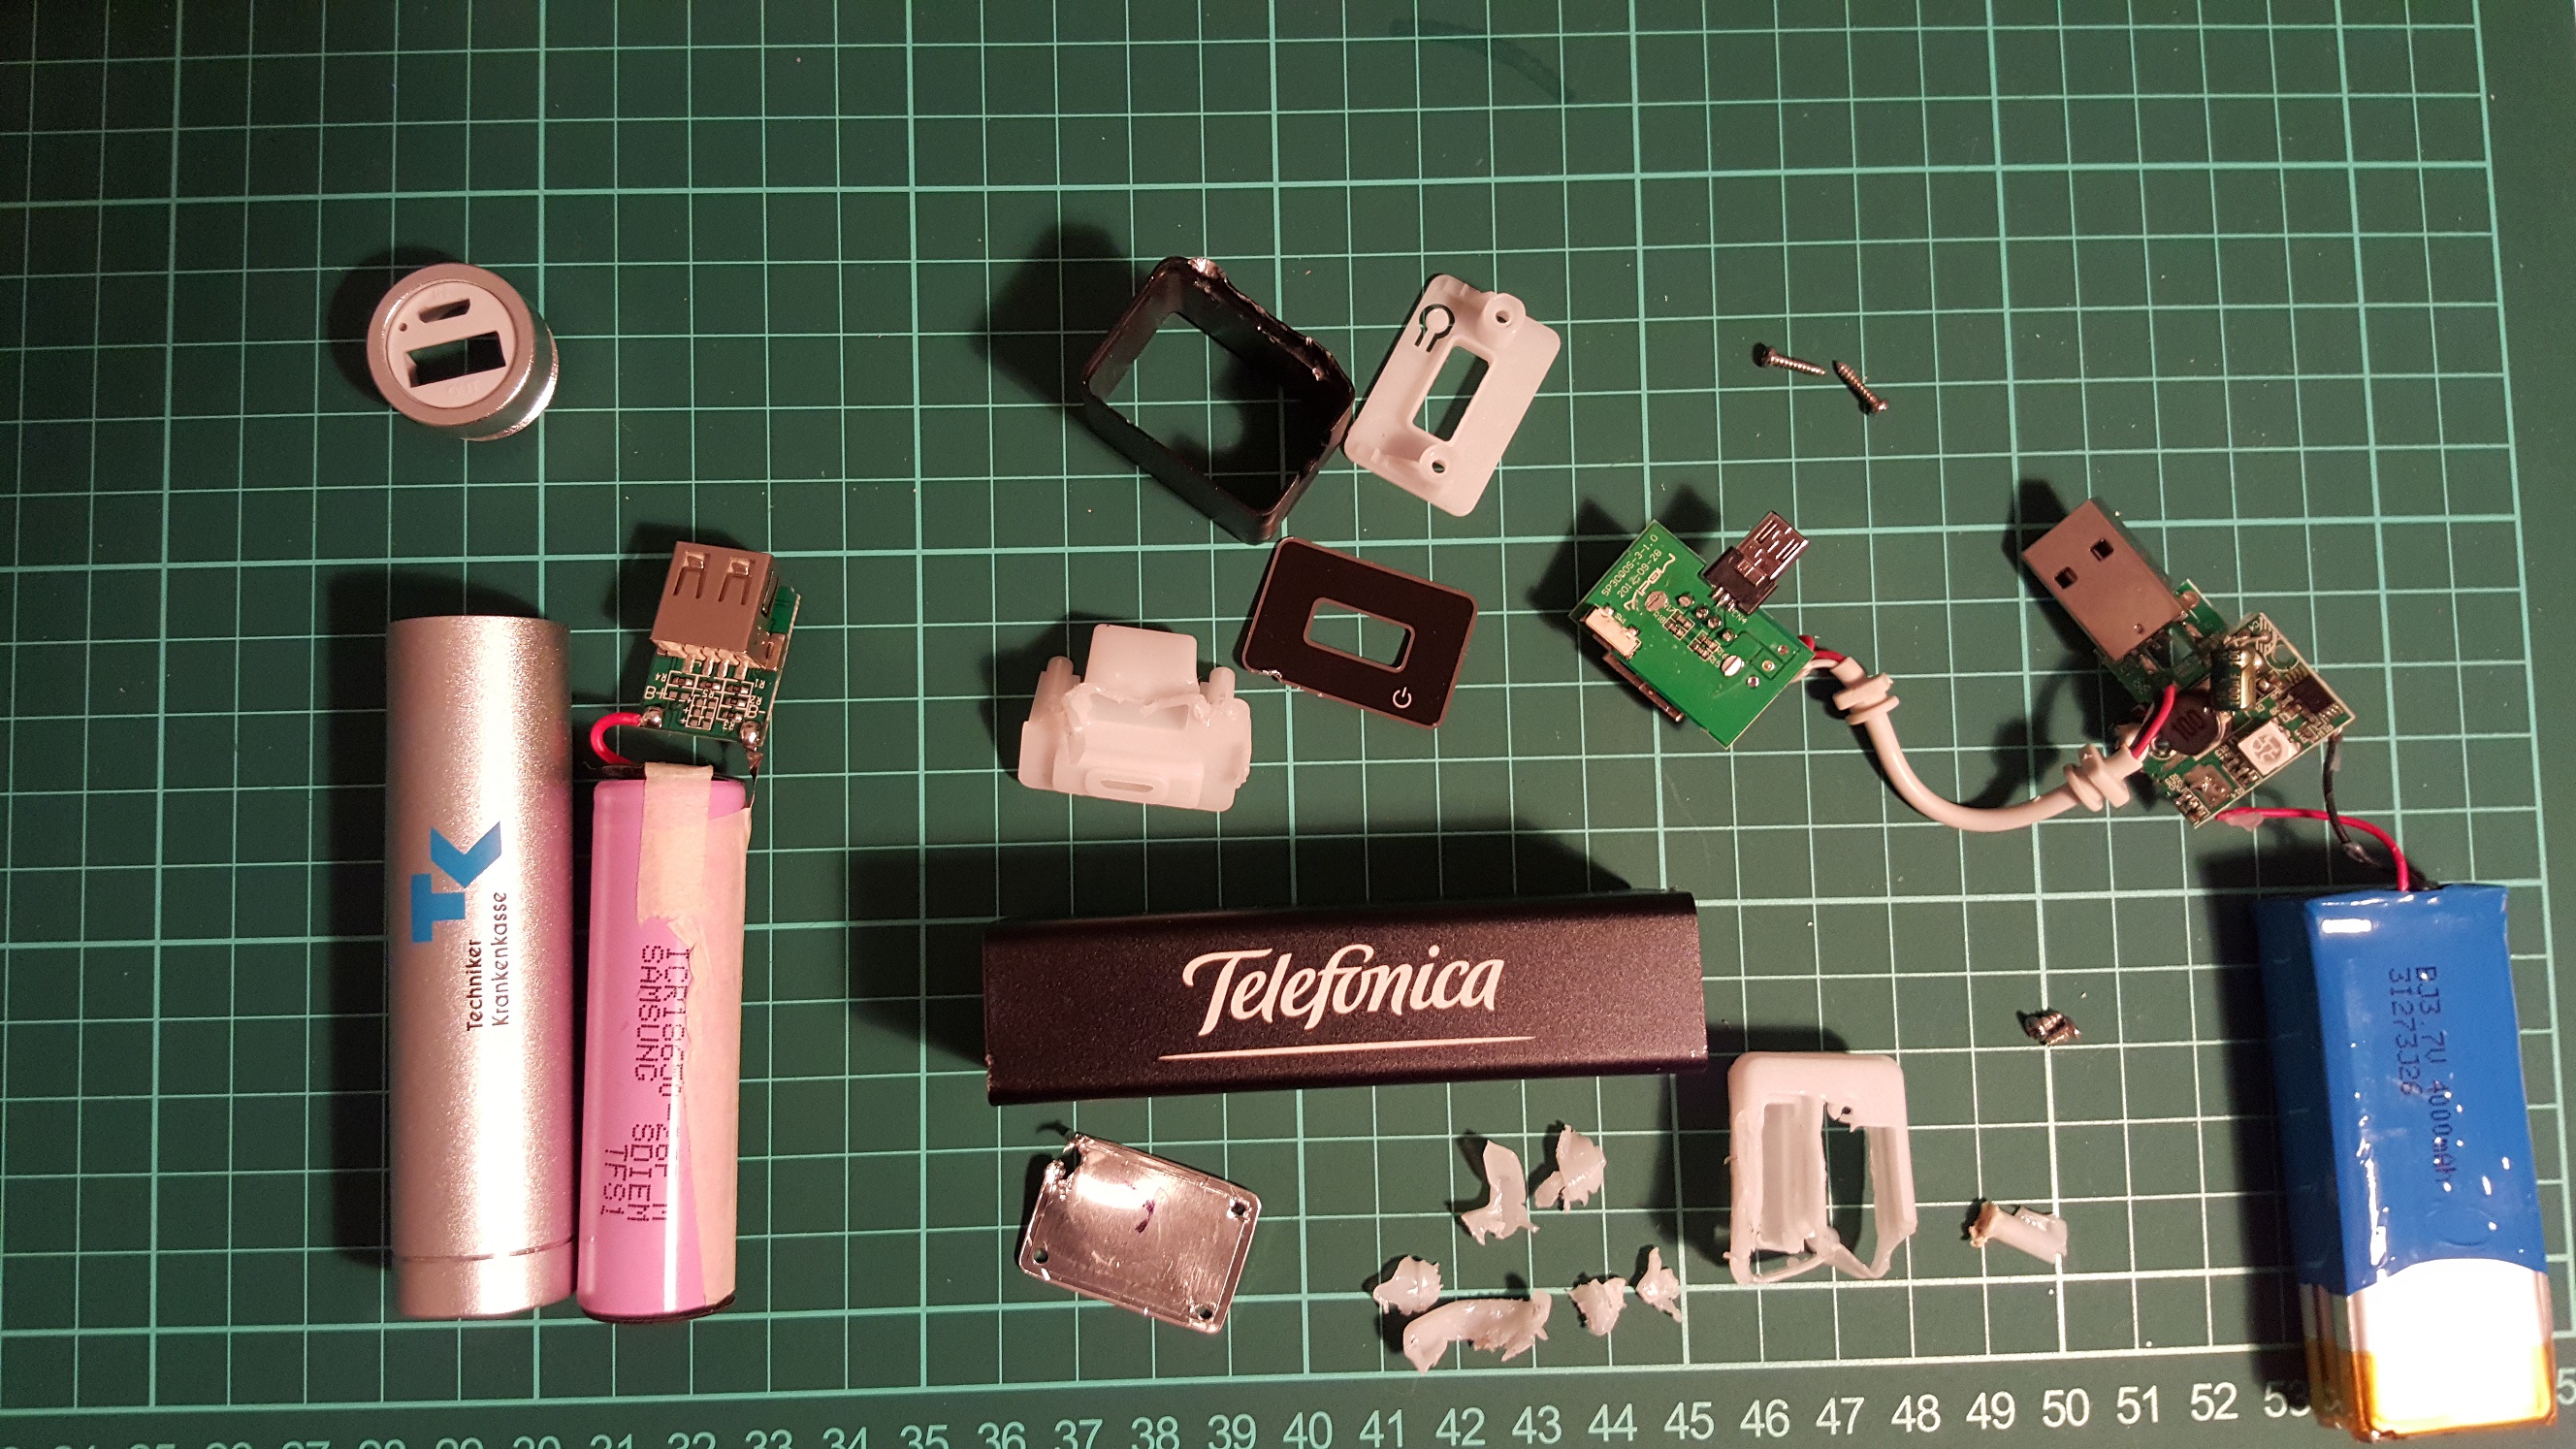
it’s actually hard to find people who have invested time to decompose such devices but i actually think, it’s worthwhile because you learn a lot. so in this case i invested some time into two batteries to learn how easy / complicated it is to get to the innards: a little 2600mAh battery and a 4000mAh battery both i received as gifts on conventions (thanks techniker krankenkasse and telefonica germany!)

i haven’t documented the blood, sweat and tears process when applying both smart and raw power to the devices, but the 2600mAh by the techniker krankenkasse seems to be a first generation of the anker device i found on amazon.  the second one was really a b*tch. here is the end result:

usb battery power supplies slaughtered

one the left is what i really love mechanically, you just unscrew the cap and get the innards out. SO NICE! however, Continue reading

Smart powering the Raspberry Pi using batteries

I’m looking for options how to power the Raspberry Pi using batteries for my Babble Pi project. Actually, it seems that it’s not as simple as I thought to find something and many solutions are also pretty extensive for their feature sets. I’m looking for a couple of features:

  • power the Pi from battery
  • charge the battery
  • shutdown when the battery is low
  • in order to do this, monitor the battery and ideally access the data using Python
  • ideally power up the Pi using the solution (it’s a pain in the butt that you can power down the Pi but now up)
  • possibly power it up using a RTC (real time clock)

I’m not really happy with all the external batteries for smartphones. They certainly can be charged and also deliver constant voltage for the Pi, but they are usually in some enclosures and they don’t communicate.

I haven’t found any extensive list of solutions out there so I researched one myself, additions VERY welcome!

https://pi.gate.ac.uk/pages/mopi.html
DC/DC converter (TPS5430 or TPS5430) with the ability monitor the voltage level via I2C and a python lib. It also has a shut-down button and can power up the Pi with the same button. You can add two batteries for hot swap or even a battery and a solar cell. It won’t charge the batteries, though. Price 35.50€

http://www.piups.net/
Can control and monitor voltage. Seems more like a UPS, not so much the concept of powering the Pi via battery (i.e. battery kicks in whenever the primary power source fails), but I’m not sure as they are not talking about the primary source. Furthermore, it can also charge batteries, but it can’t power up the Pi. It uses I2C for communication like the MoPi. Price: 29.99€

https://www.adafruit.com/products/1944
adafruit power converter is boosting your 3.7V lipo to 5.2V using a TPS61090 boost converter from TI. It also can charge your lipo which is very nice, however no level monitor and no power options for switching on/off your Pi. Price for 500mA: 13.37 Euro

https://www.adafruit.com/products/2465
PowerBoost 1000C can charge your battery while powering your Pi, pretty cool. The 500C can’t charge while powering, as far as I understand. Price for 1000mA: 17.84 Euro

https://www.piborg.org/battborg
DC/DC converter based on OKI78SR that turns many power sources to 5V. It’s not charging the battery and can’t monitor the voltage level. Also, it can’t shutdown the Pi. Pretty expensive for the features, esp when you consider the next solution. Price: 20.65€

http://hobbyking.com/hobbyking/store/__54275__HobbyKing_8482_Micro_UBEC_3A_5v.html
A battery is loosing voltage when powering a computer. However, the Pi has a quite limited range of voltage (4.75V and 5.25V) where it runs stable compared to Arduinos (7-12V). A simple UBEC (Universal Battery Elimination Circuit) I also use for my Arduino projects to power my servos with constant voltage. Simply constant voltage, nothing else. Price: 3.28€

https://www.adafruit.com/products/904
Using the INA219 current monitor, you can monitor your voltage via I2C on the Pi. No charging, no power supply, but possibly in combination with the UBEC from hobby king above at least the Pi can know when the battery’s gonna be empty and power down gracefully. Or I could imagine that you hook it up the PowerBoost charger to have charging, powering and monitoring. Finally, we’d need powering up again. Price: 8.90 Euro

https://www.kickstarter.com/projects/shahiddarbar/raspberry-pi-case-with-real-time-clock-battery-and
This is an unsuccessful Kickstarter campain that wanted to combine UPS, a real time clock and monitoring. I’m not sure it would also allow for charging the battery.


In sum, I think, there is still not the perfect solution out there, I like the simple UBEC in conjunction with other parts so I can build the perfect system myself, possibly also the PiUPS (which doesn’t really seem to be a UPS but really an intelligent battery solution).

Any systems I forgot? Any other features you’re dreaming of?
absolutely fascinating organic display by ferrolic

here’s a liquid magnetic display by ferolic around a really bright guy named zelf koelman:

i was immediately fascinated by the organic movements of the drops and my brain couldn’t stop thinking about how to build one. we know magnetic particles from adaptive dampening in cars and we also know liquid displays as well as e-paper that turns pixels by a little magnetic current.

so this display is a combination of these and my feeling is that the display consists of little electro-magnets and some fluid that contains magnetic particles in oil. the trick has to be that these particles stay together.

i would guess that each pixel is one magnet that can be controlled individually, i thought this would be four seven segment digits with two mangets per line, i.e. 4x7x2 pixels = 56. then you also need some pixels to lift them from the soup at the bottom, for example 10 or so that would be 66. on the other hand you see that this is a full pixelated display, so if they are using 10×20 pixels, that would be 200.

first of all i did some research on the magnetic material called ferrofluid invented by NASA: “Ferrofluid was invented in 1963 by NASA’s Steve Papell as a liquid rocket fuel that could be drawn toward a pump inlet in a weightless environment by applying a magnetic field.” again, this interesting connection to my first association to the automotive application. it seems that these two materials are different in their properties due to their particle size though.

anyway. quick search on google yielded an article on instructables


interestingly, they also cite a project by martin frey in berlin:

next, we need some cheap and small electro-magnets, here are the cheapest & smallest, i could find on ebay:

two centimeters of diameter. i’m sure there’s something cheaper than 4.66€ because that would lead to 200×5 = 1000€ for the magnets.

finally, we need an arduino i would guess that either you use a nano with pwm per line, i.e. 10 ports, or a mega 20 pwms per column. finally, we need some shift register, for example this little guy: 74HC595, there is plenty of projects using it together with arduinos to drive LED matrix displays. for example this:


this would be a really nice project, would love to do it maybe during the christmas holidays. any further suggestions?


help! which casing for the babble pi?

now i need your help: i’ve build a “self-contained” sound board around the raspberry pi 2 to put a software on it that listens and babbles like a child (i.e. not really speech recognition but more like based on speech sounds).

now i want to but the hardware into a nice casing and i checked ebay for a couple of really old transistor radios. here are my top three (in no particular order):

simple, clean silver radio, not too robotic but rather reduced in its design.

simple, clean silver radio, not too robotic but rather reduced in its design.

blue and silver, almost too perfect shape for a robot head.

blue and silver, almost too perfect shape for a robot head.

yellow casing, silver and gold, with a clock.

yellow casing, silver and gold, with a clock.


which one should i choose? i really love all three of them, what you do think?

power consumption of the rapsberry pi and the sound board

okay, i have a samsung charger for the first 10.1 inch tablet they had, usb 5.0v, 2.0a. the analyzer however shows 5.37v when nothing is connected. i think that this is even above the rasperry pi’s spec / acceptable voltage, but i have a 1.5m amazon (“premium”) usb cable and i assume that the voltage drops along the way to a non-lethal level.

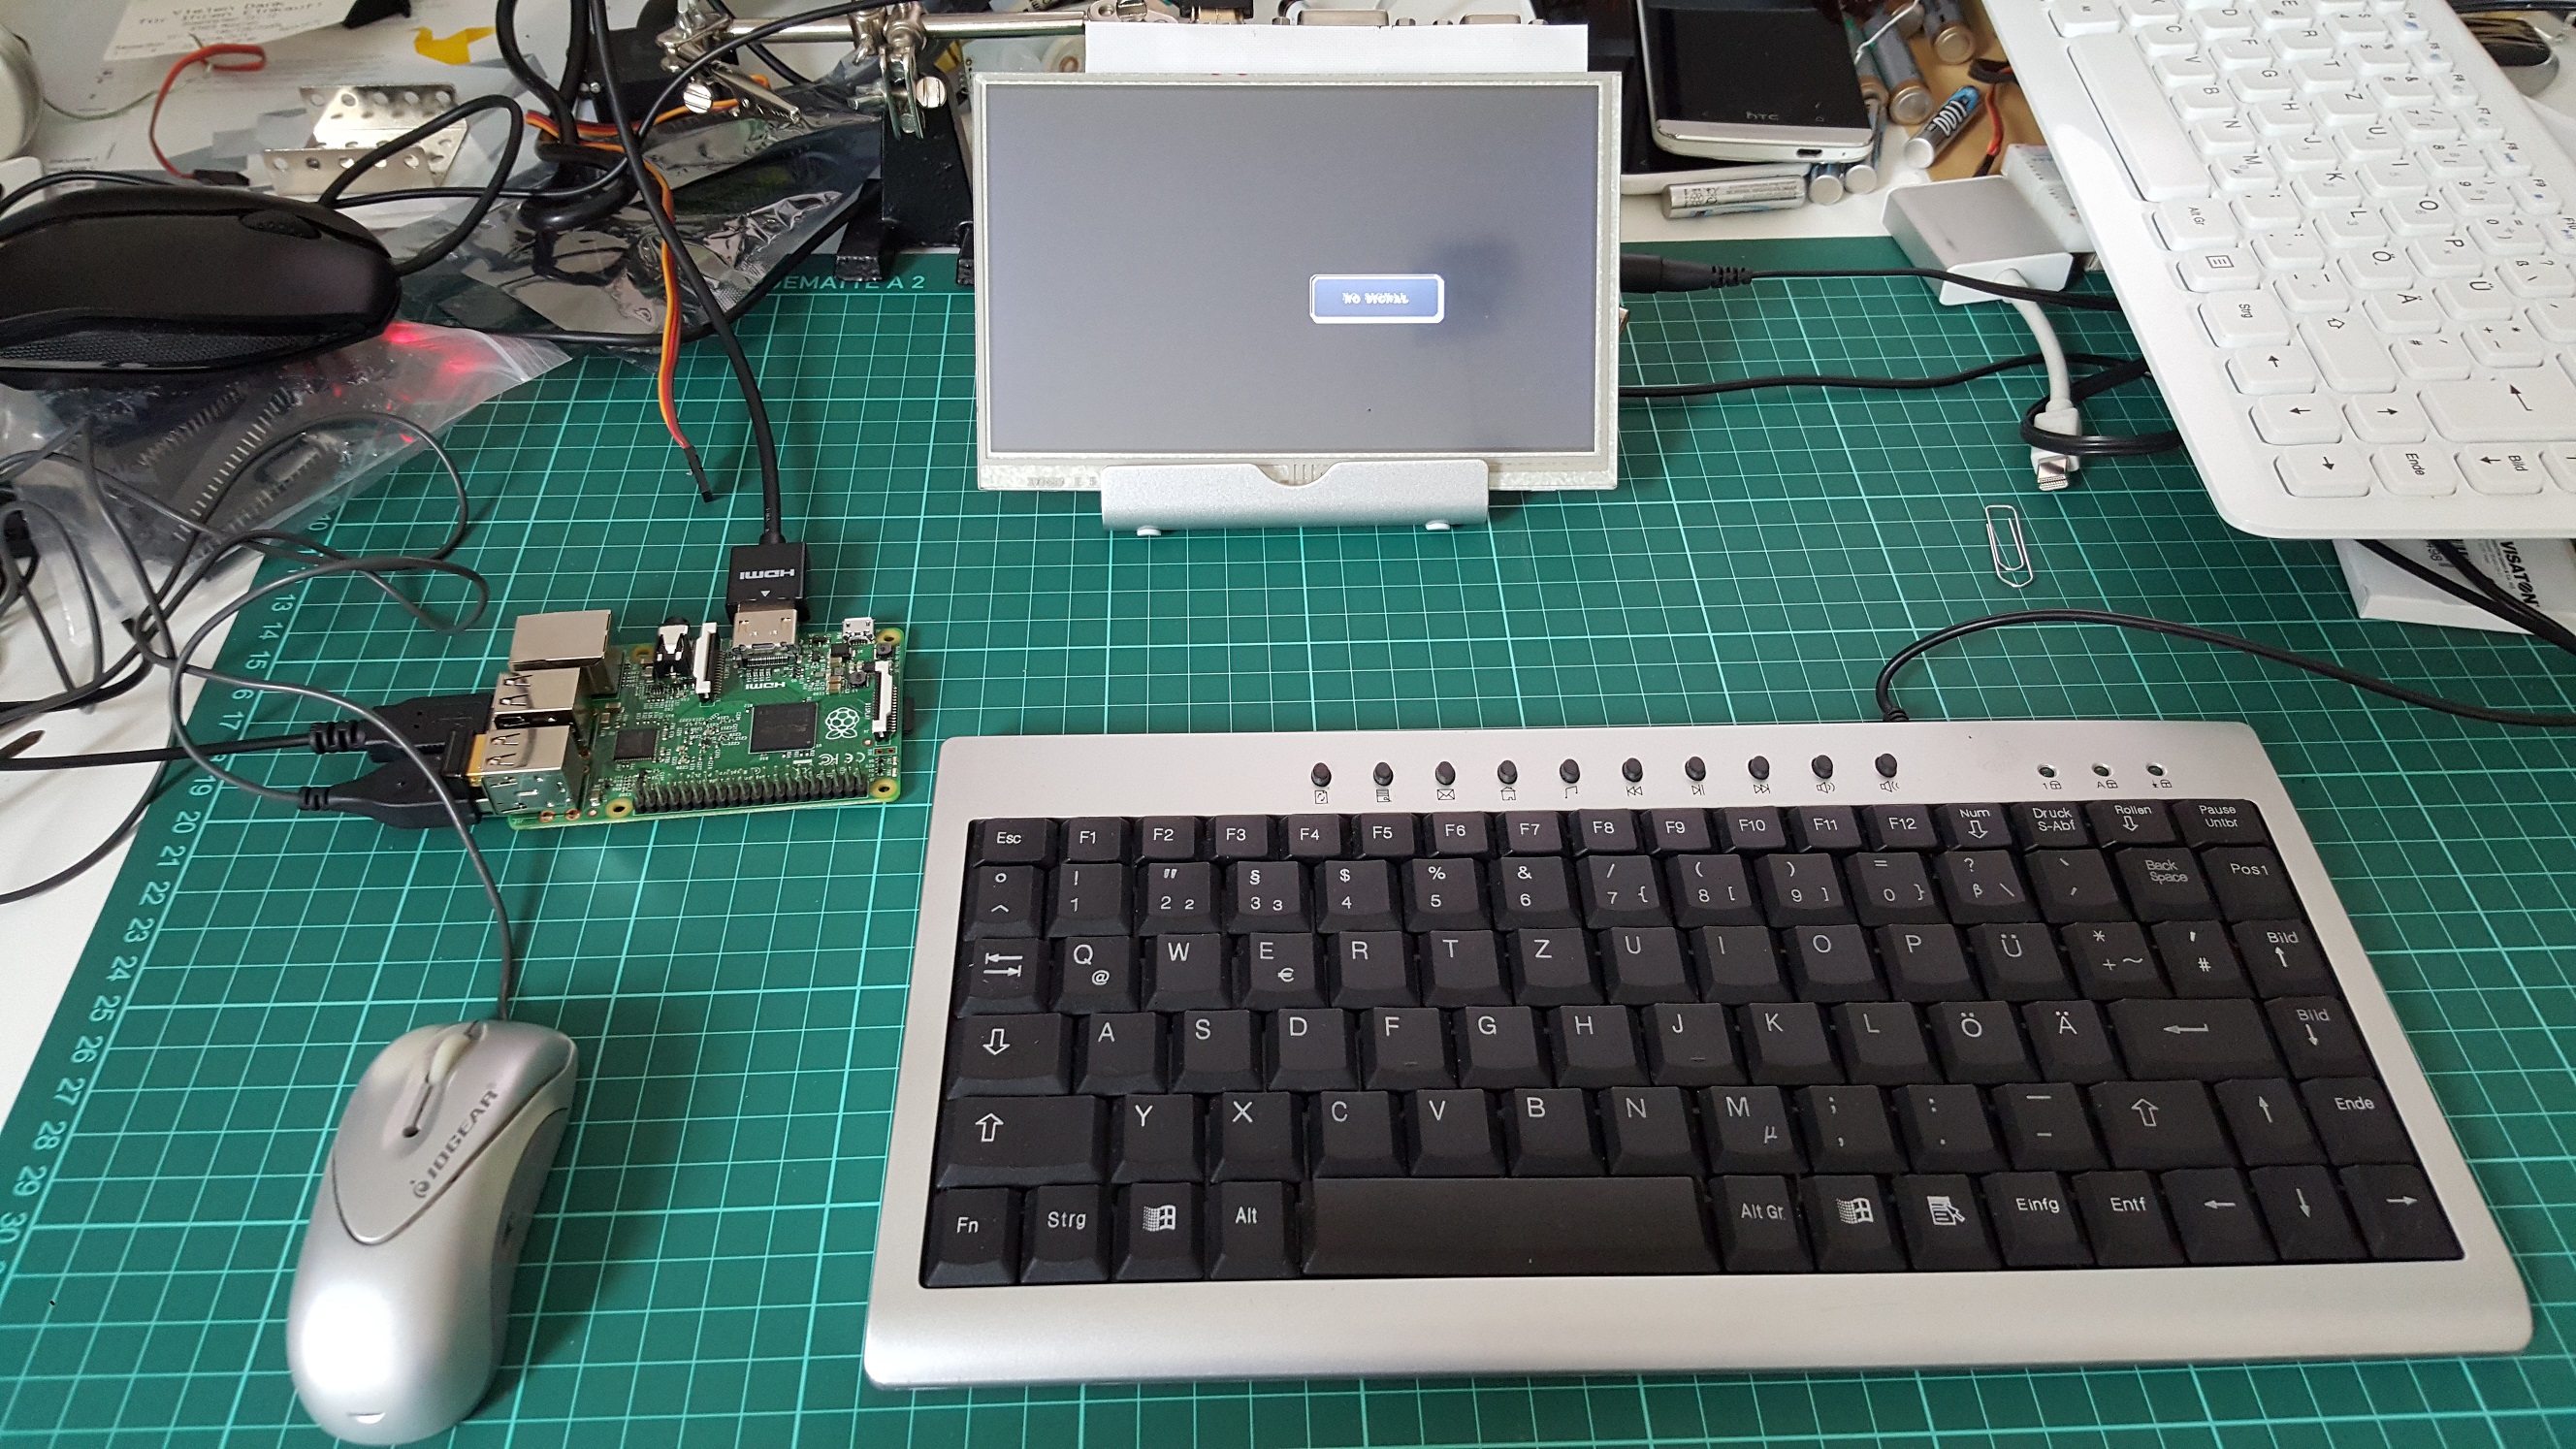
i’ve connected the edimax wifi usb plug and a tiny mouse and an external, laptop sized mini-keyboard as well as a 7 inch hdmi display (touch controller not connected):

raspberry pi setup with keyboard, mouse and display

raspberry pi setup with keyboard, mouse and display

during boot up and seeking the wifi connectivity, the pi draws 0.33a. same after booting to the linux terminal.

next up: adding my sound board, but only the amplifier connected though the 5v rail of the pi’s gpio. the loudspeaker does a slight whizzing sound, but not hearable from 40cm away. the pi now draws 0.36a after booting when the pi isn’t playing a sound. phew! first boot with the sound board connected survived, so it seems that the wiring is ok or at least not destroying the pi 😀

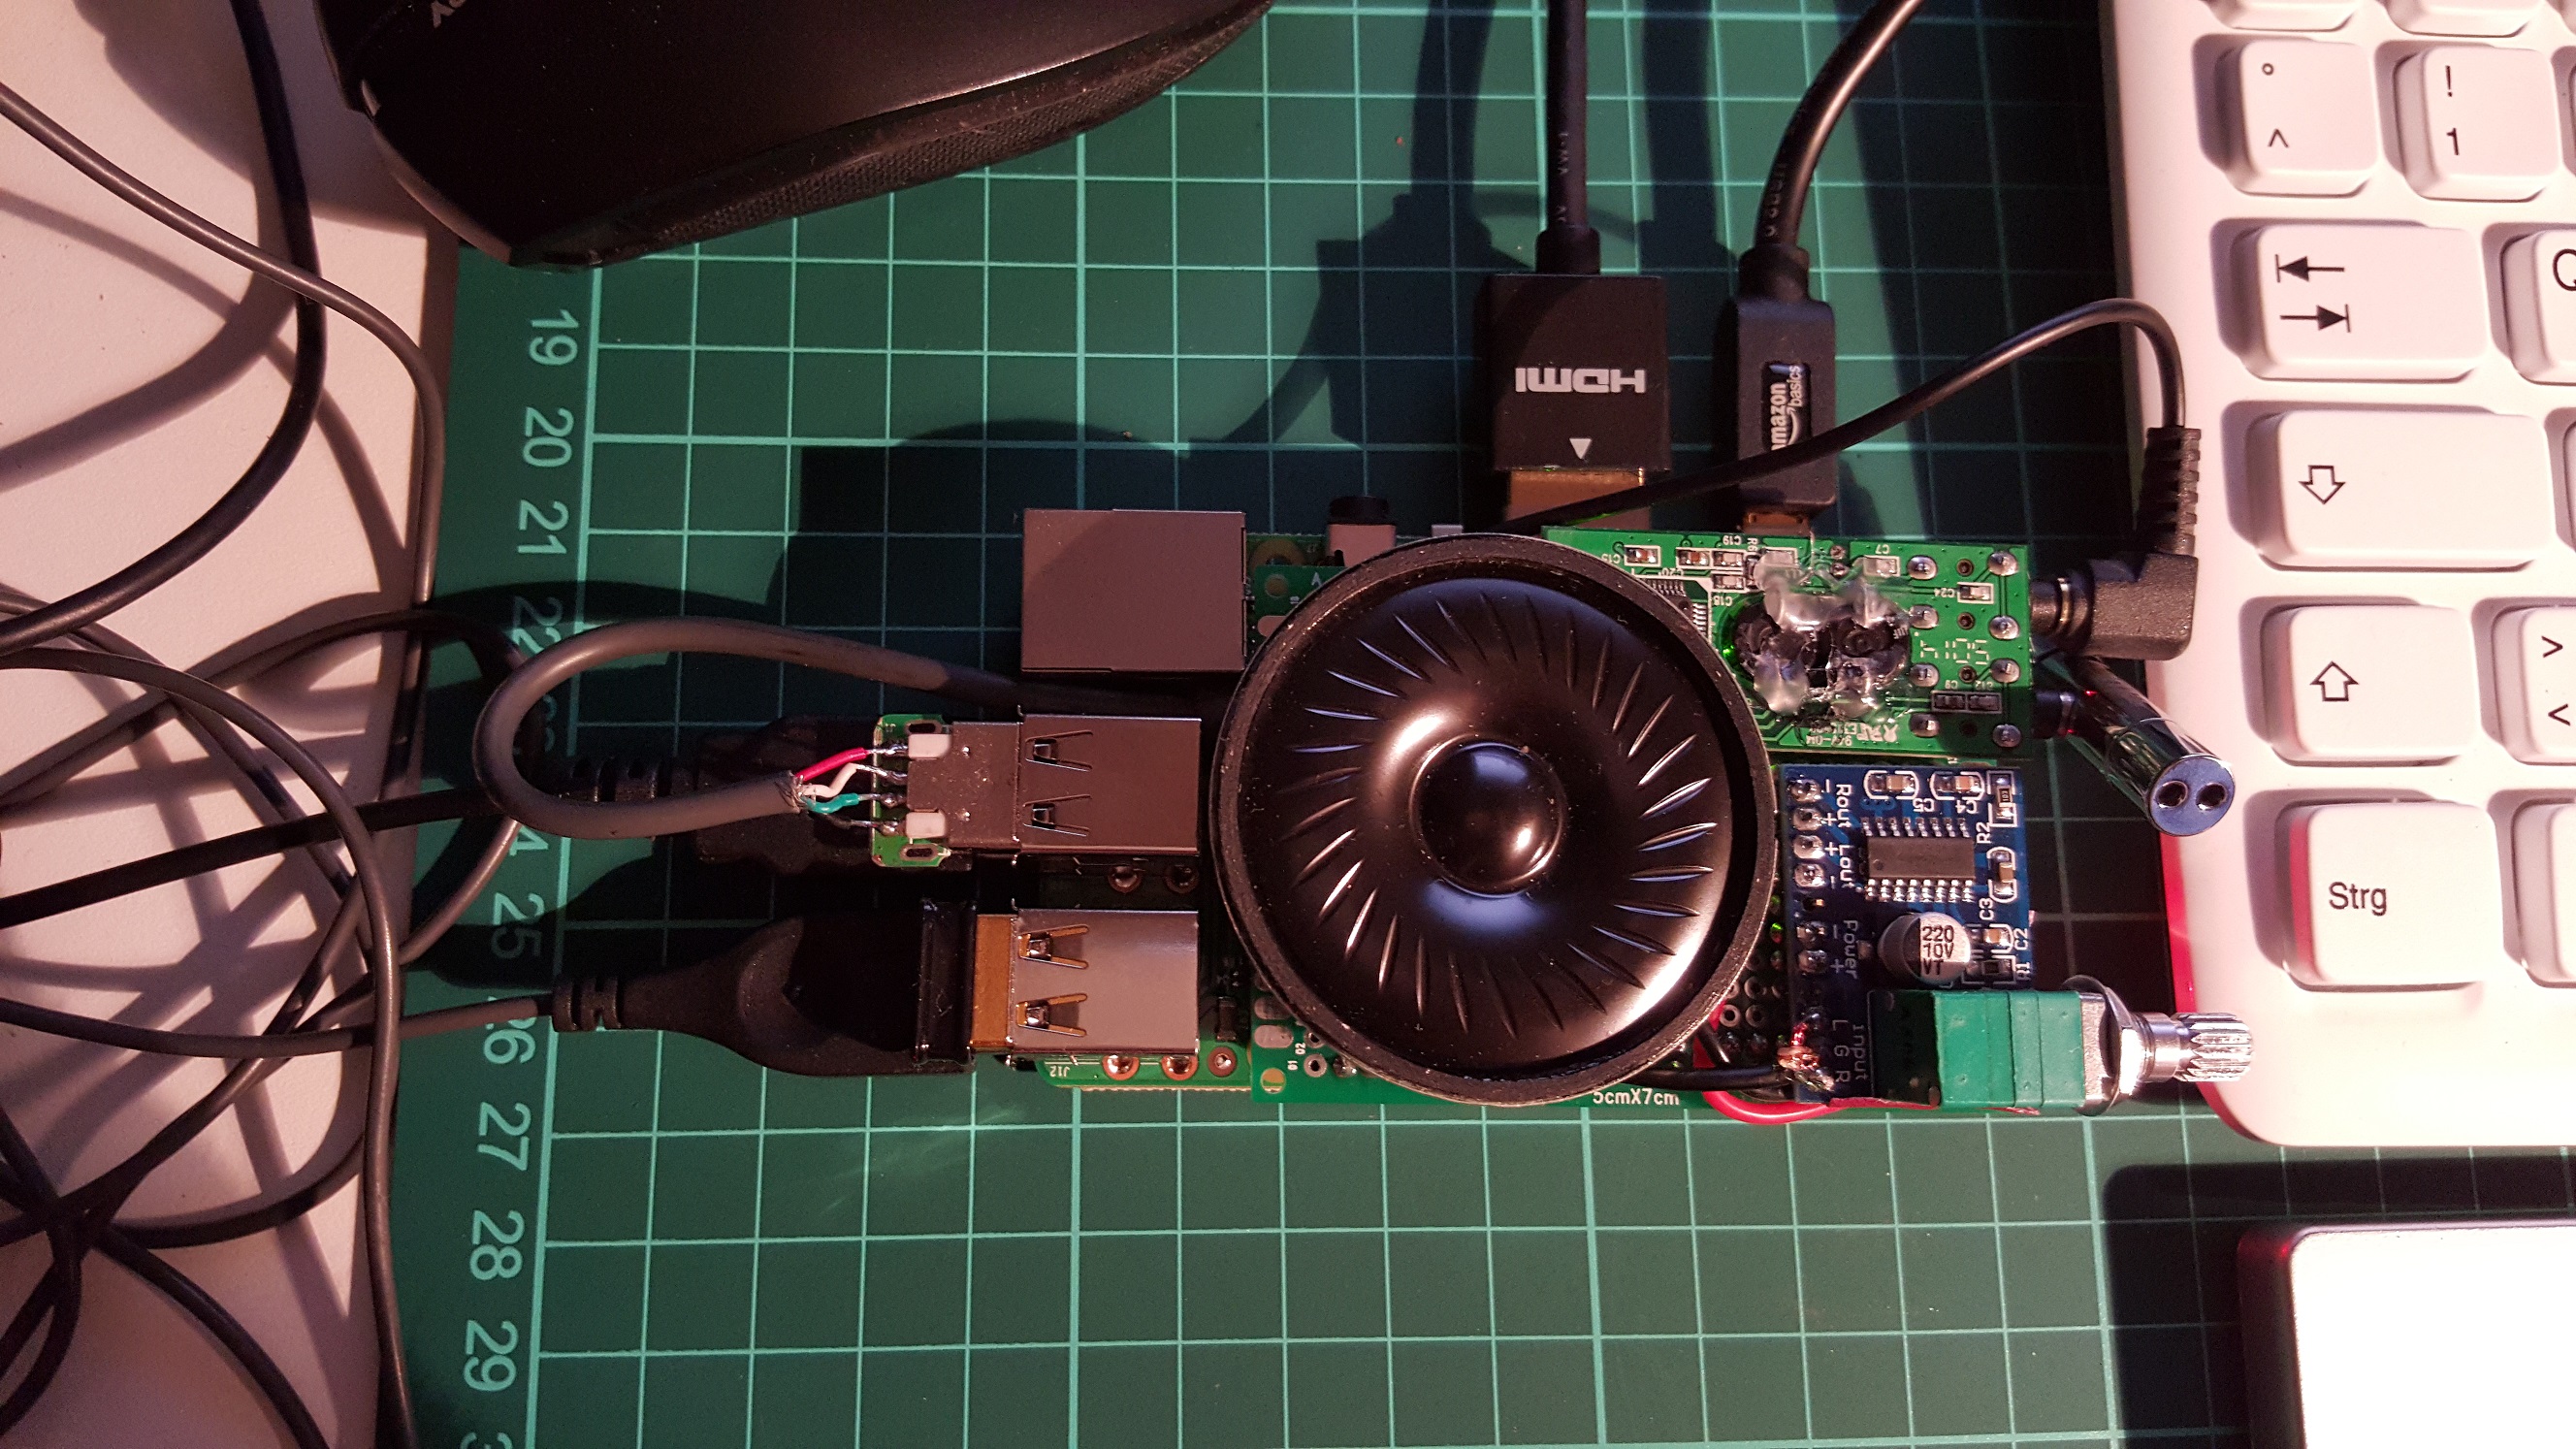
okay, so i soldered a cut-off usb plug from a recycled old memory stick to the usb edge connector of the prototyping board and plugged it into the last free usb port of the pi.

sound card connected via home made usb cable

sound card connected via home made usb cable

after boot up, the amp meter shows 0.38a and after a while (linux working background?) it settles around 0.40a, which to me means that the sound card actually is connected decently on the power side.

linux command  aplay -l actually lists one usb audio device, yay!

second thing i notice is that there is a acoustic feedback loop when i turn up the volume without playing a sound. interestingly, the power consumption also goes up to 0.57a and the little rainbow colored square appears on the screen (indicating that power supply is shakey afaik).

and now the final test for today:

arecord -D plughw:0,0 -f cd ./test.wav  followed by
aplay ./test.wav


active audio board for raspberry pi

so recently i re-started my activities around the raspberry pi since their upgrade to a quadcore at the same price. i want to do a couple of things with this little fellows, for example hook up an asus xtion (think of a stripped down microsoft kinect) for 3d vision or at least depth processing for the trashbot or his siblings. another cool thing would be to experiment with sound and speech-recognisers as my dream over the last 20 years was to experiment with phone level systems, i.e. a speech recogniser that doesn’t translate human acoustic language into text or words but to their “sound representations” (i.e. how the words sound written down without orthography).

for this purpose i’m building the “babble pi” which should be a “self contained” audio i/o system on the rasperry pi and certainly i’m an addict to minimalism so Continue reading

trashbot 4 and more

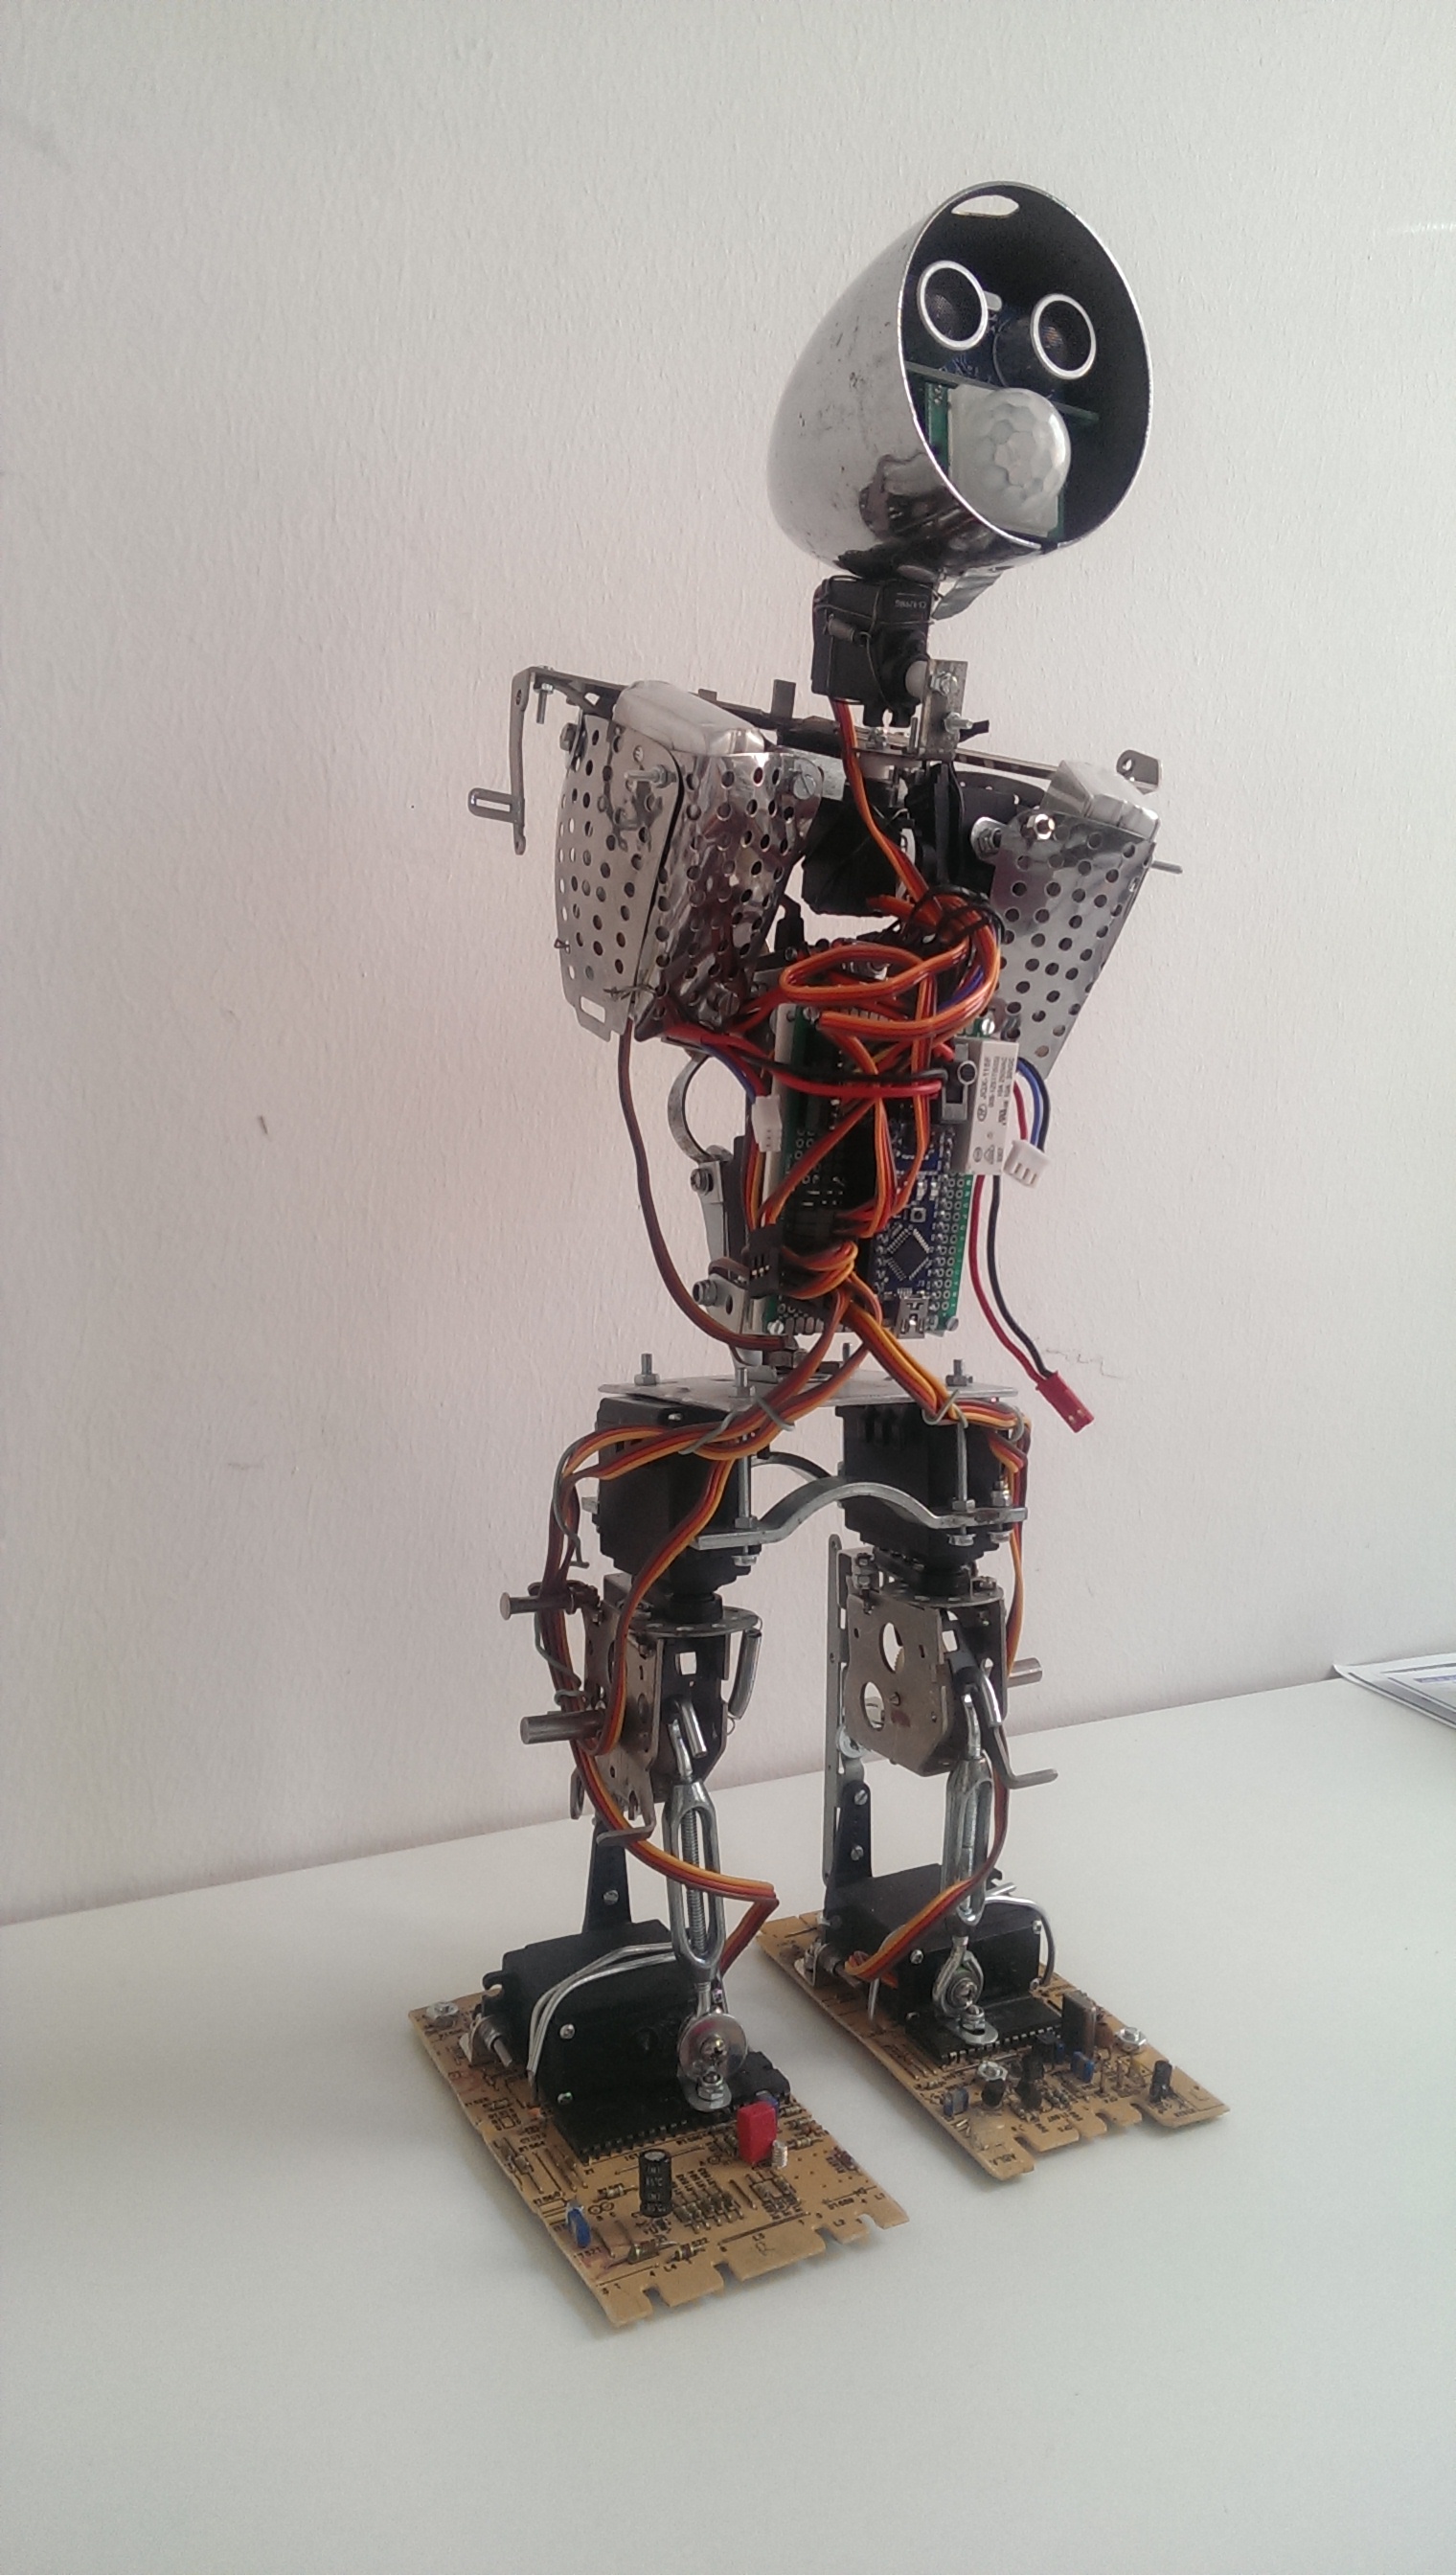
this time it took really long to make more progress on trashbot but i had the feeling that there were many little improvements that made the bot better and somehow it felt like none of them were big enough to be worth a post.

now in the end i learn that quite a lot happened during the last 8 or so weeks and over easter i invested some time also into the cleanup of the software.

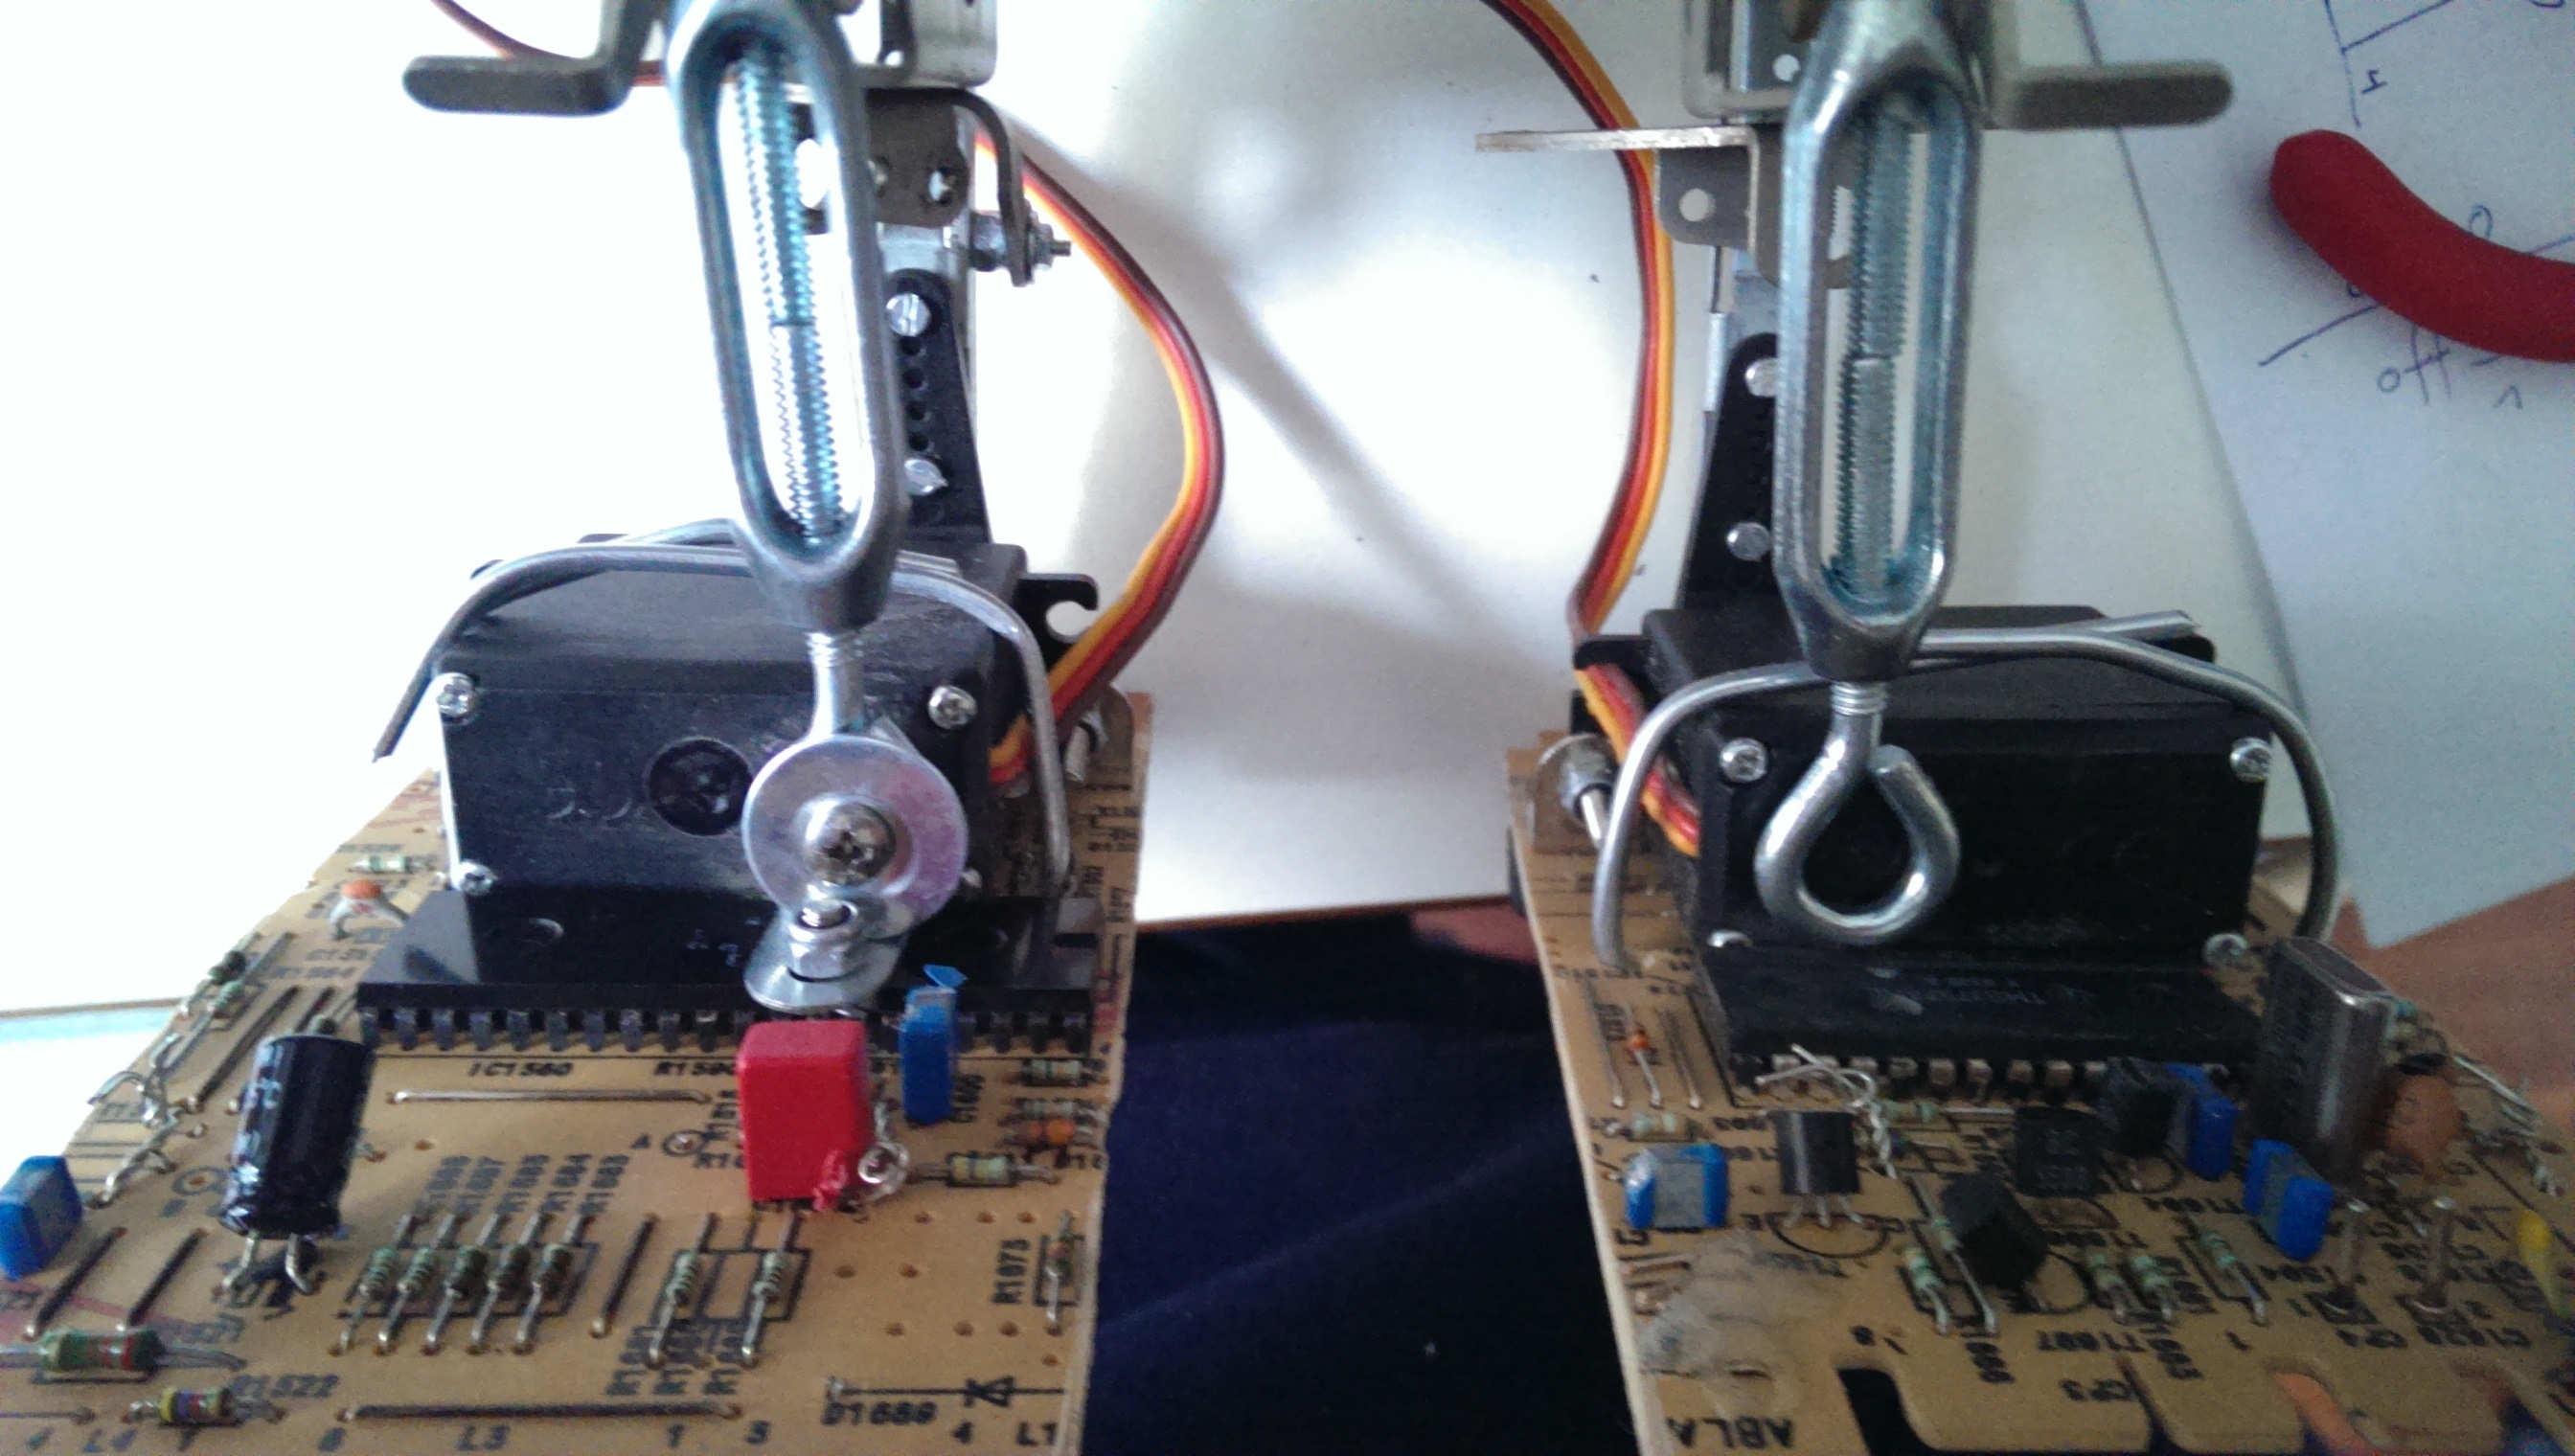
first of all, i added shins to the legs so that he wouldn’t swing too much when shifting his weight from one foot to the other. i used some screw / hooks that you use to hang wired lamps and have a tension on the wires:

IMAG0948r

next i couldn’t resist to Continue reading

Omega 3 fatty acids and Alzheimer’s

We have all heared about omega-3 fatty acids and that they are good for your health. Over the last couple of months I have collected some literature and knowledge around this magic stuff made out of fish oil to understand better what is going on.

Studying Wikipedia, we learn that omega 3 seems not to help against cancer and cardiovascular diseases, two of the major causes of death.

The body human body is not able cannot synthesize omega-3 and other fatty acids, they can only be supplied by a diet (rich in oily fish, etc.). It seems however, that Omega 3 helps to fight inflammation, maintain mental health as well as reduce the risk of dementia. Given that there is quite a lot of literature on Alzheimer’s related to inflammation (“inflammation hypothesis”), there might be also a chance that Omega 3 helps to prevent the outbreak of AD or at least delay its onset.

Continue reading

using a laser to investigate trashbot 3’s walking pattern & balancing effects

recently, i had the idea to attach a laser pointer to trashbot’s neck and investigate the amplitudes of the laser on the ceiling. this time, the blog entry is shorter but the “how-to” is in the video:

from the results you can see much better the difference between active balancing:

laser active balance

vs no balancing (the spine is stiff, the upper body moves with the hip, thus larger amplitudes):

active spine off laser

with this technique, i hope to be able to document further improvements on the movement, especially when i connect the gait pattern with the balancing mechanisms as scientific robots do.

i recently contrasted trashbot 3’s walk with the spine balancing or bein static and was not happy with the result of the video. one can have the impression that active vs non-active balancing is somewhat similar but in fact the real robot “feels” different as we’ve seen in the video above.

next, i’ll attach a little camera (gopro clone) to the trashbot’s chest to view the gait from “first person” perspective…