three iterations of light weight, organic building blocks for robots

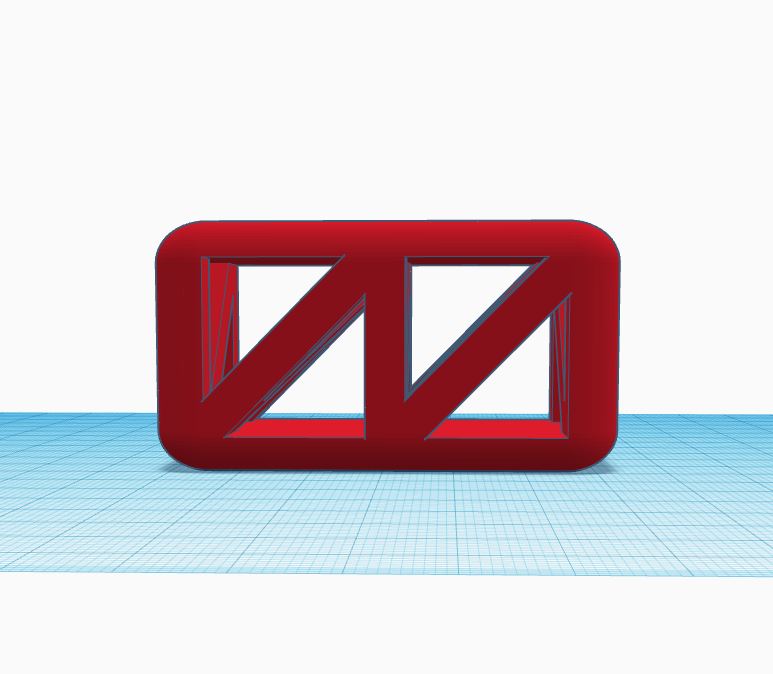
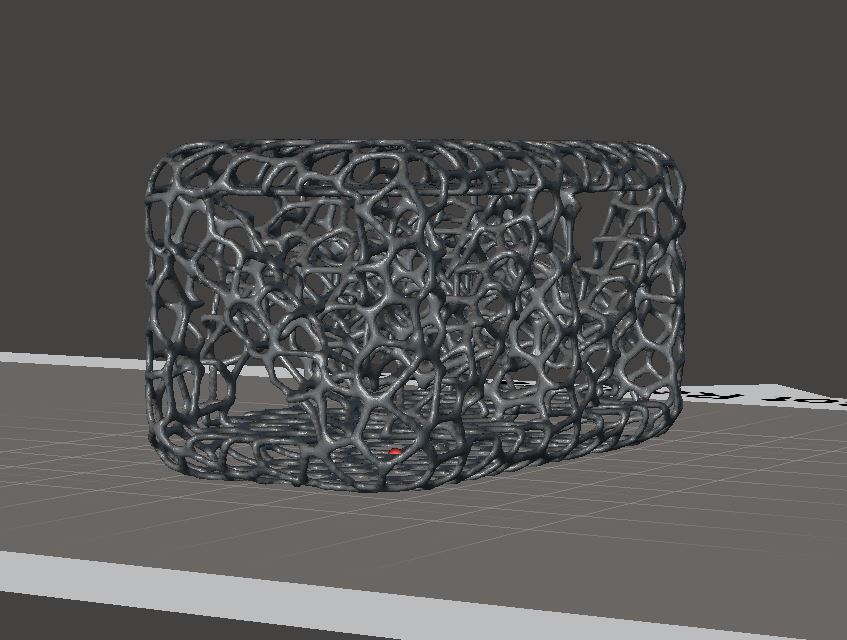
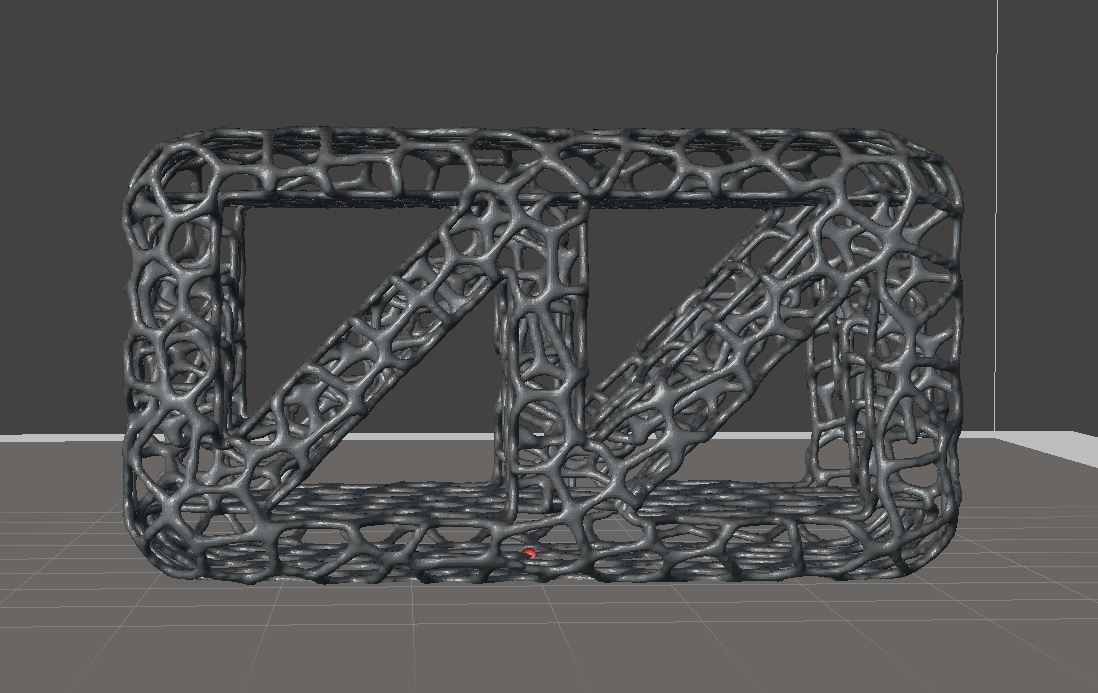
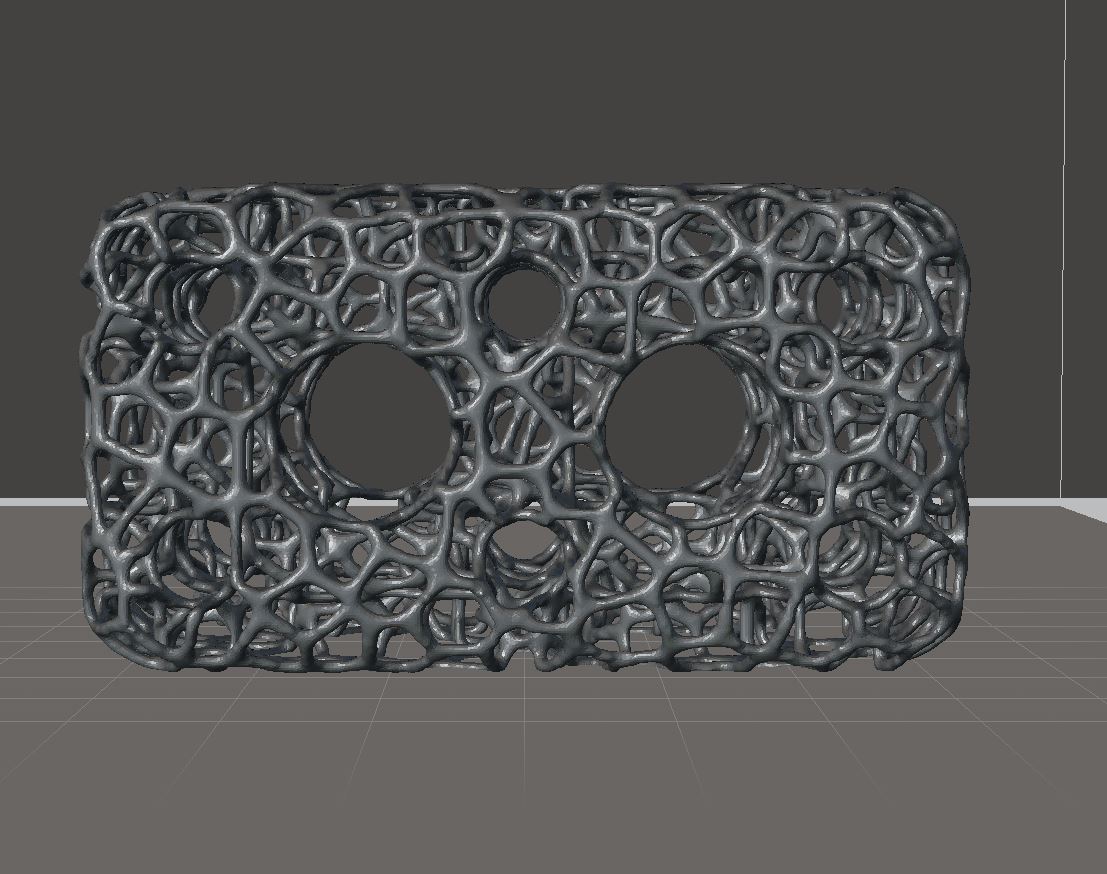
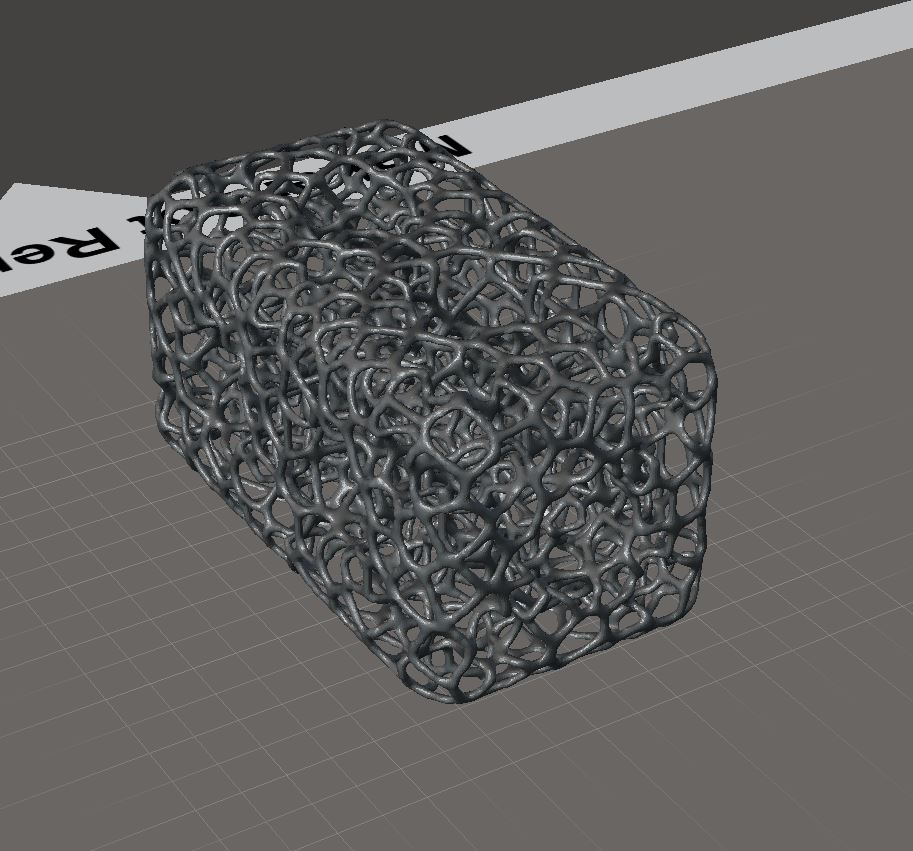
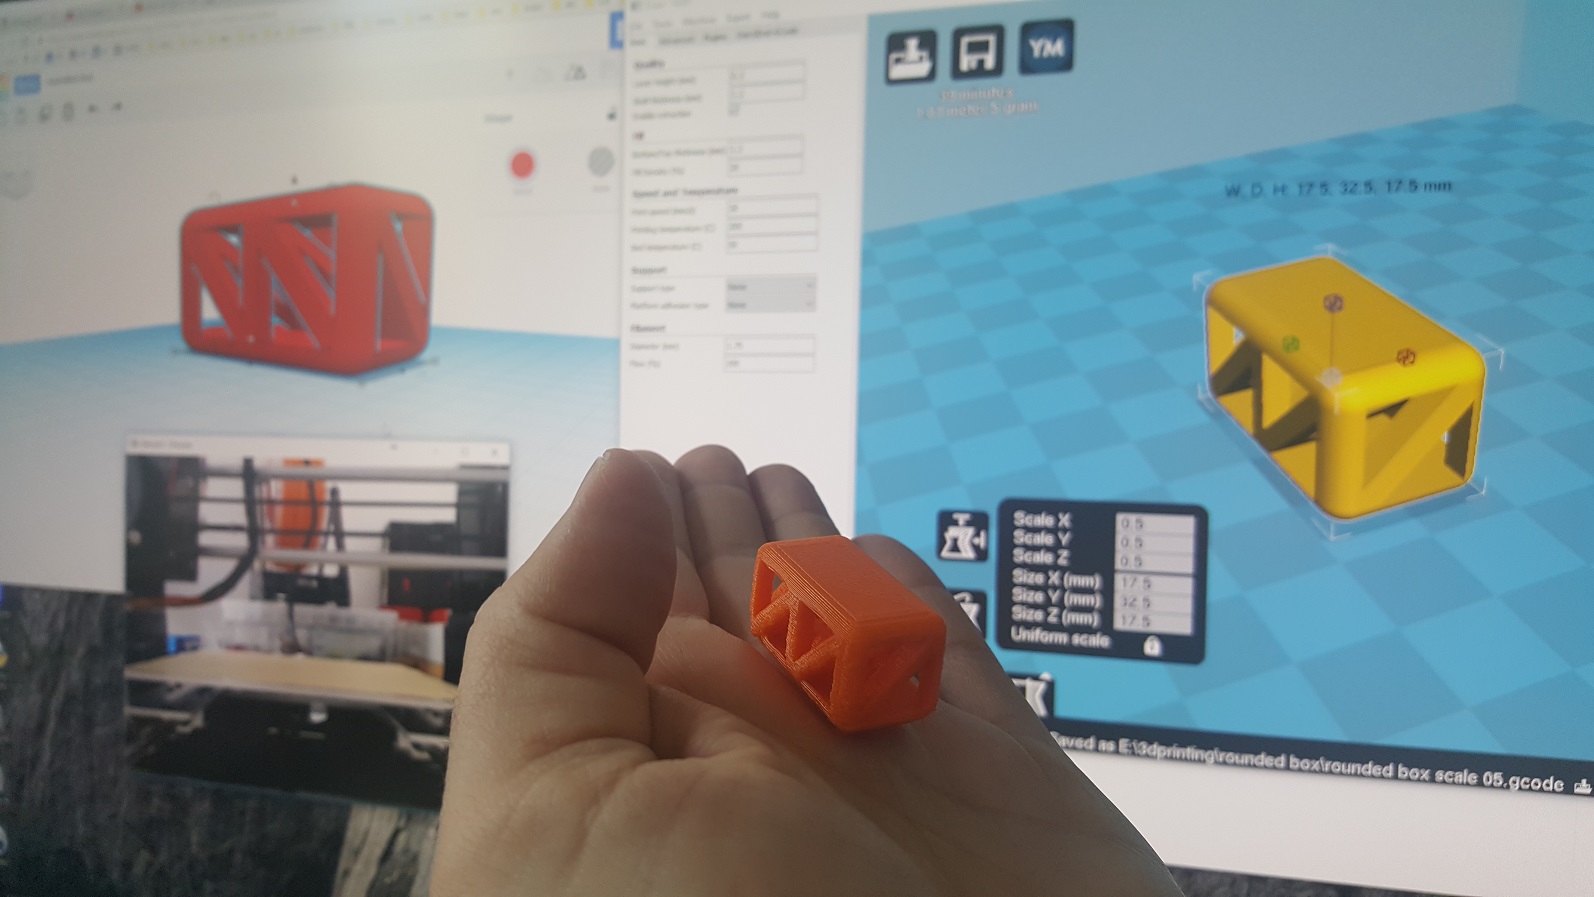
In this post I compare all three versions of my light weight structure experiments, with a couple of pictures an descriptions that were not given in the video below:

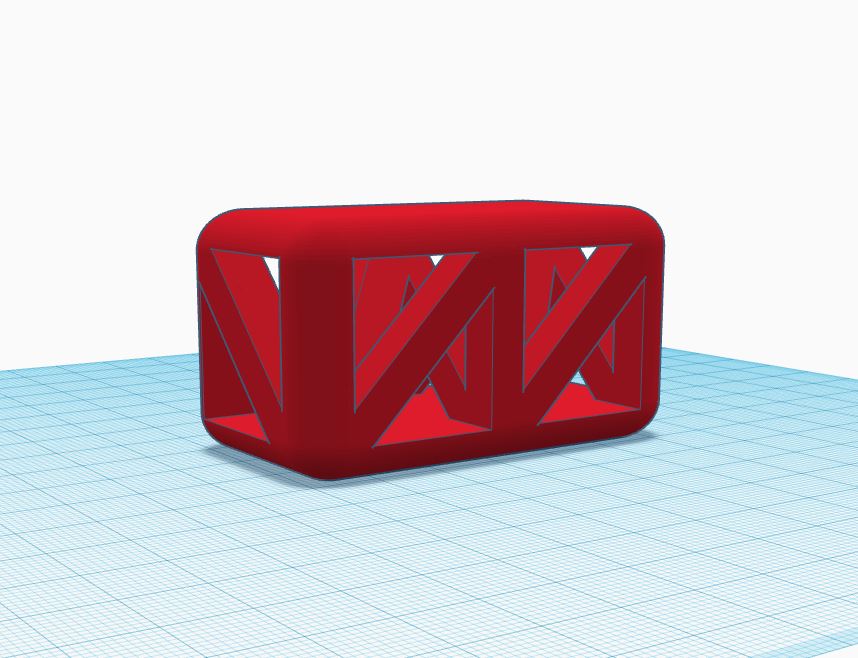
Version 1 had no roof and floor holes and that created the problem for the printer, also, I was printing the PLA at 200 degrees. I learned that lower temperatures are better for bridge structures. Download both files on Thingiverse.

solid thinkercad 2solid thinkercad 1 voro 2  voro 1

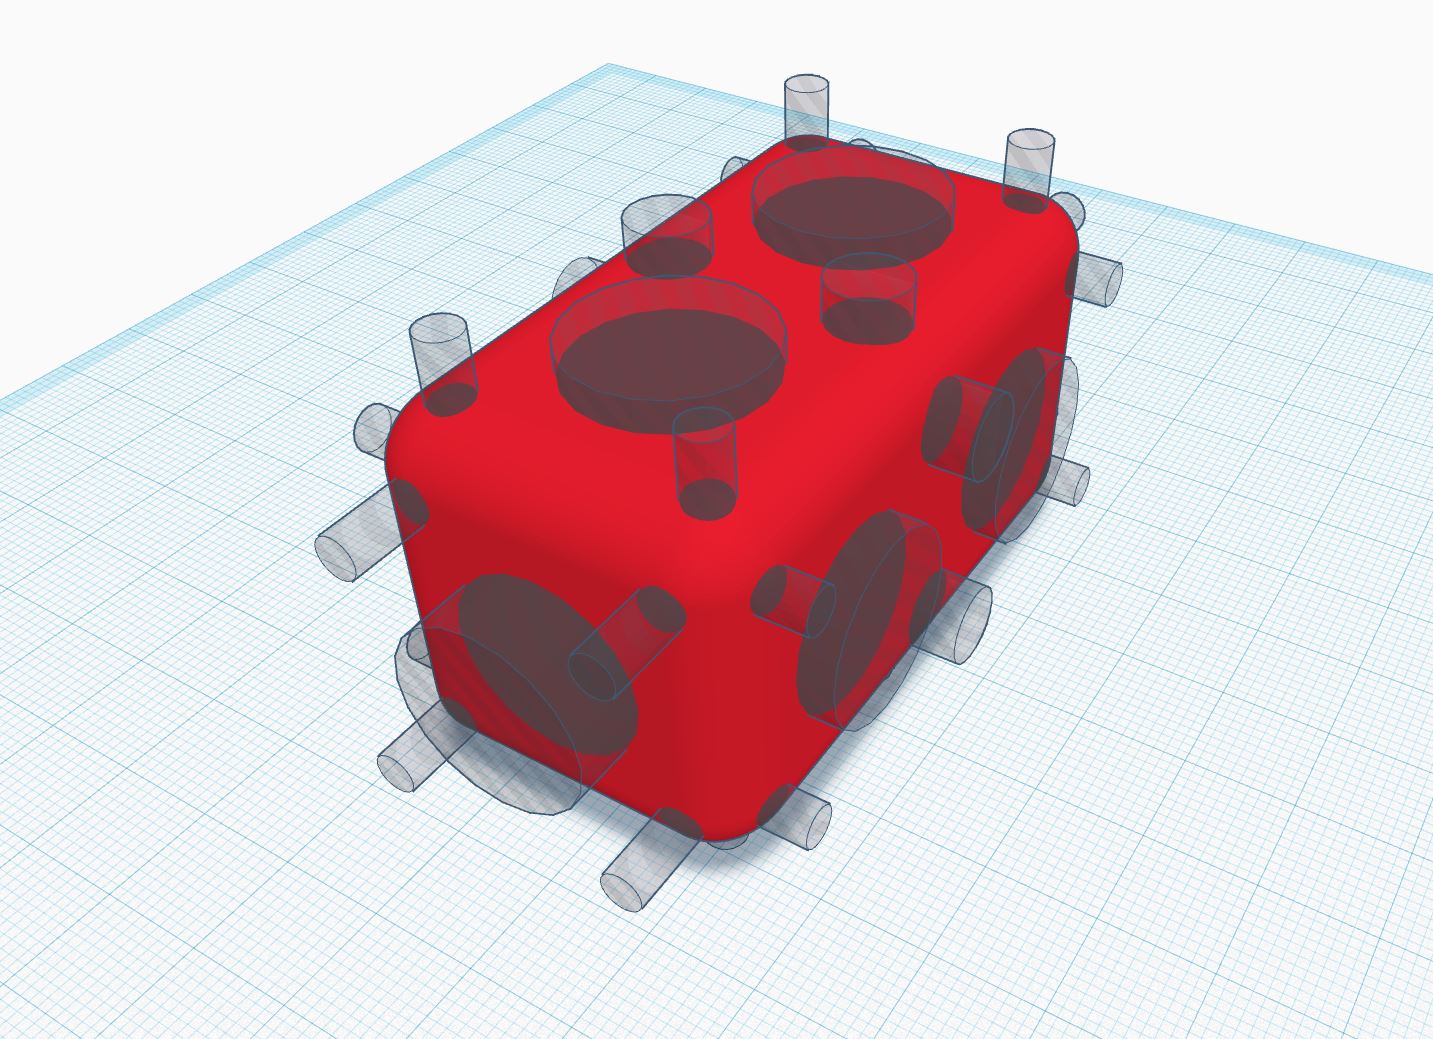
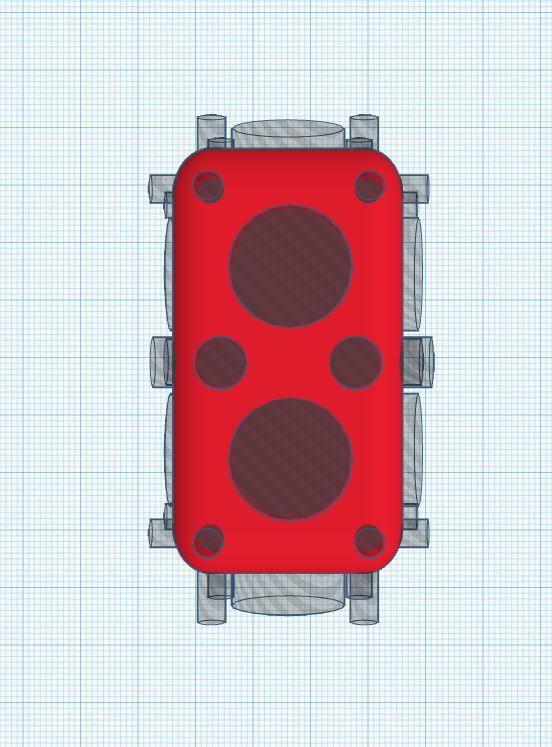
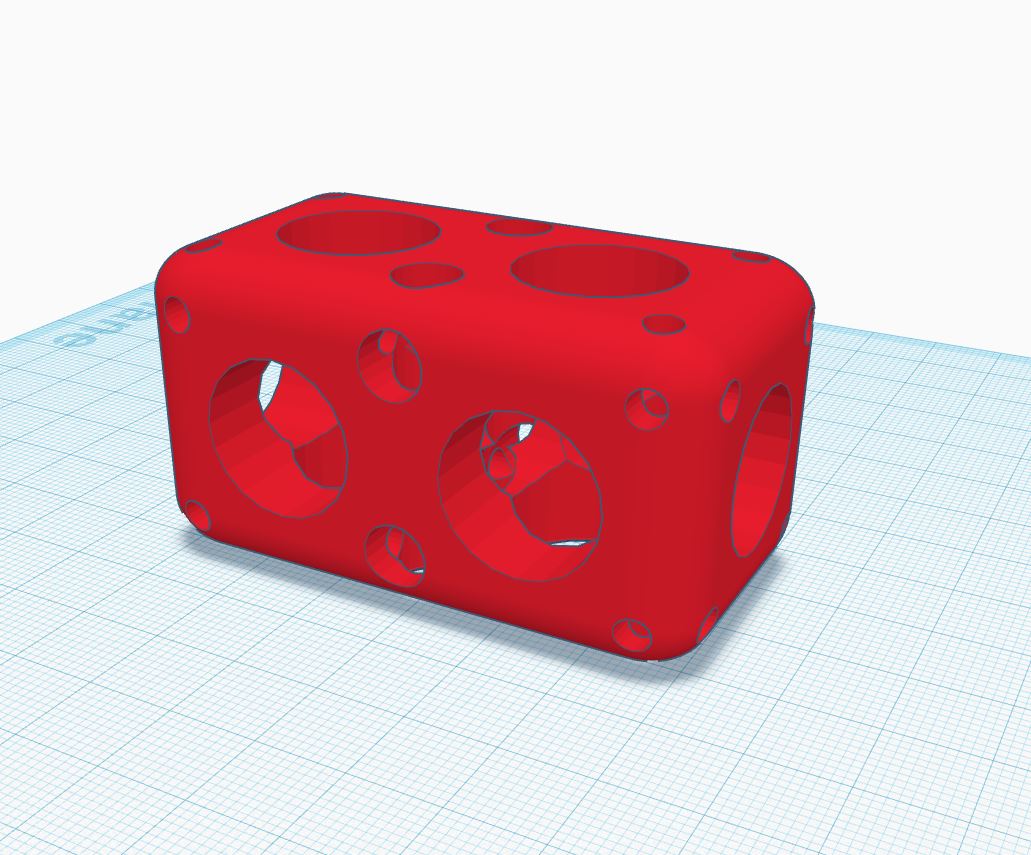
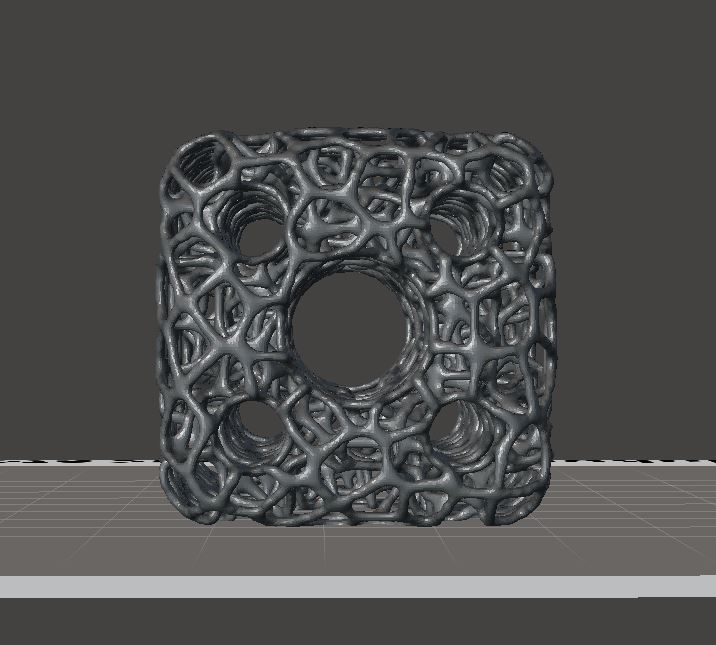
So, for version 2 I decided to work with round holes in all three planes, cylindric holes always yield a more organic appearance compared to triangles / prisms and I want to get more organic looking structures. Download version 2, solid and vorony version on Thingiverse.

tinkercad ungrouped rounded box v31tinkercad 2 ungrouped rounded box v31tinkercad rounded box v31tinkercad voro 3 rounded box v31tinkercad voro 2 rounded box v31     tinkercad voro 1 rounded box v31

Version 3 is a refinement of version 2 in that the smaller holes are bigger in diameter to better distinguish them better from the Vornoy holes generated automatically. Also, a greater diameter yields more surface to add the organic structure. Finally, I reduced the center holes to get a better average “wall” thickness, i.e. the distance between a hole and another hole or the sides from the box. In this way, the printer had a better chance to actually realise the Voronoy holes between the cyclinders.
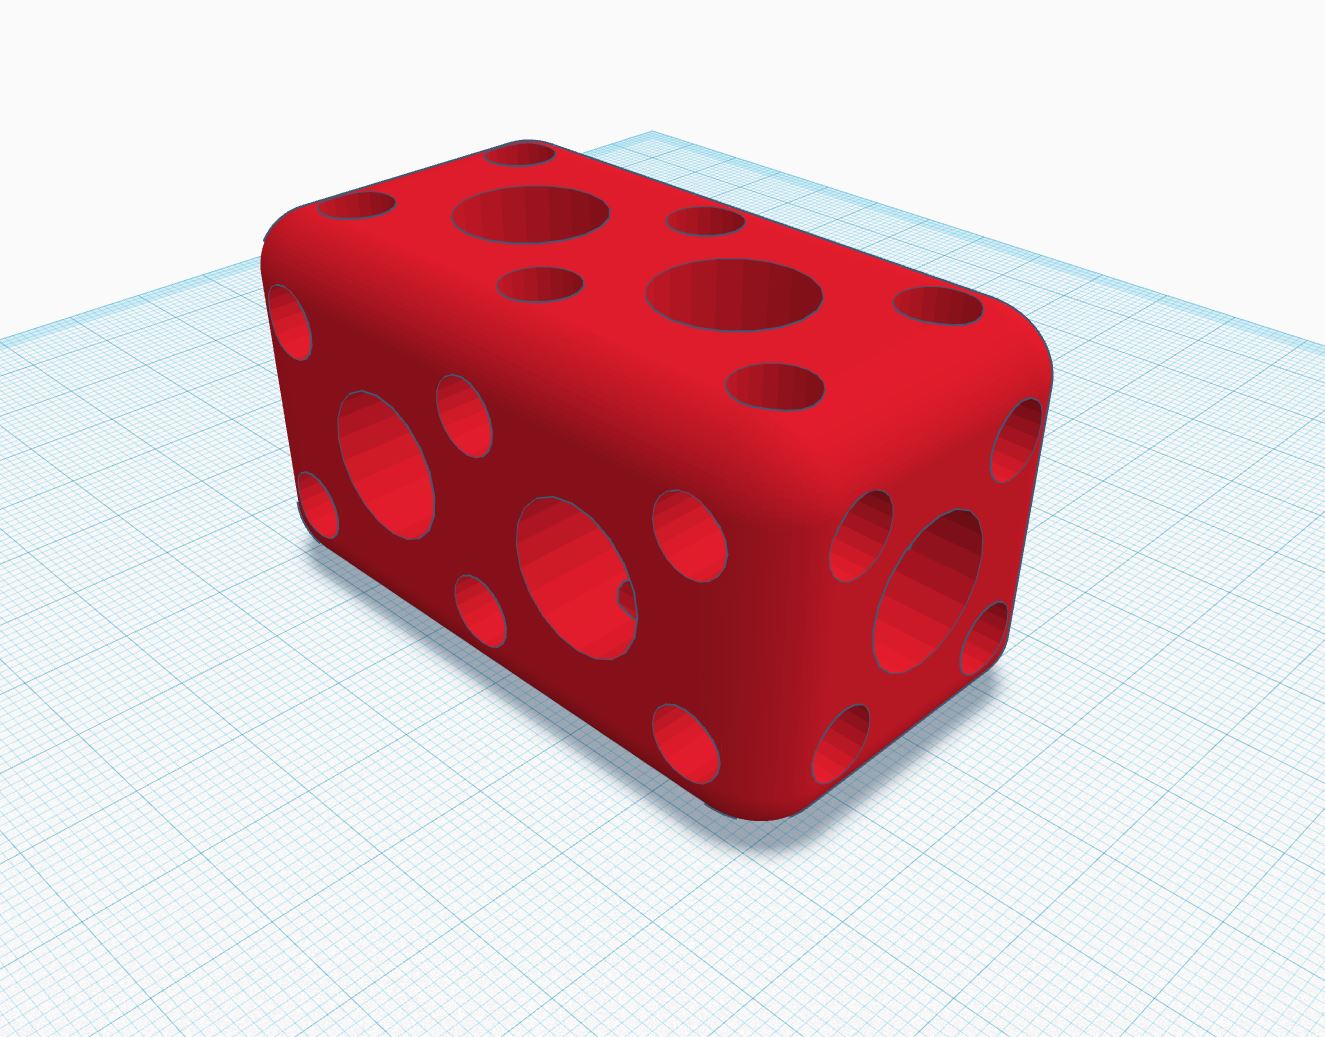
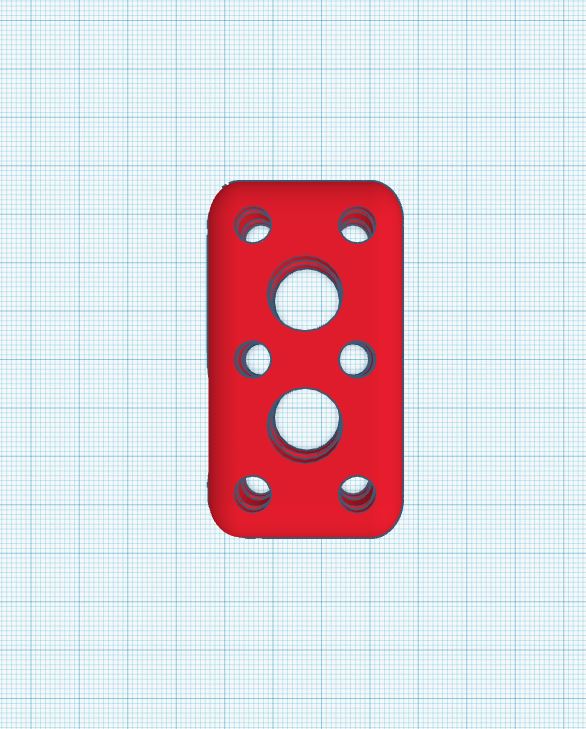
v4 solid tinkercadv4 solid top

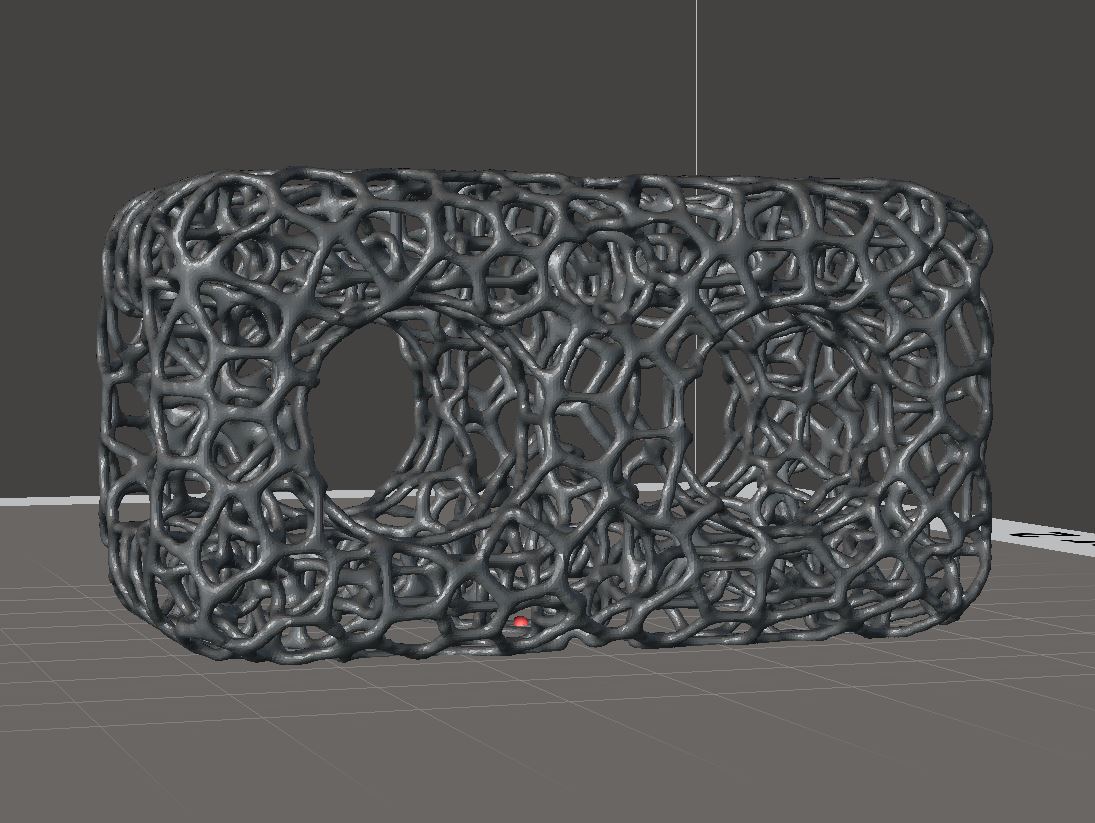
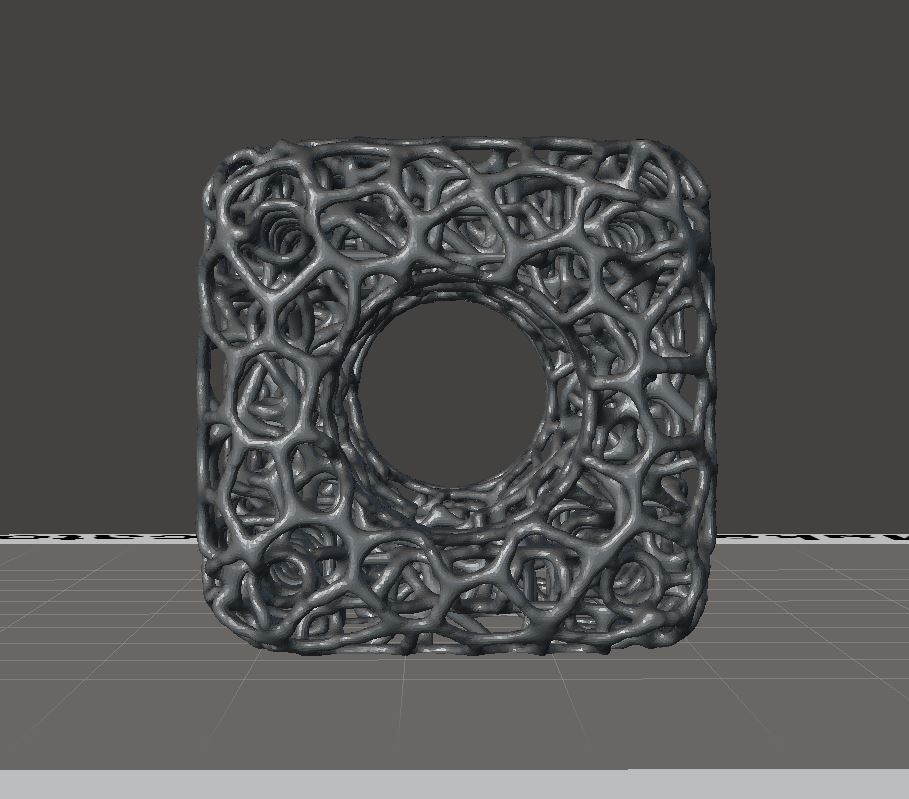
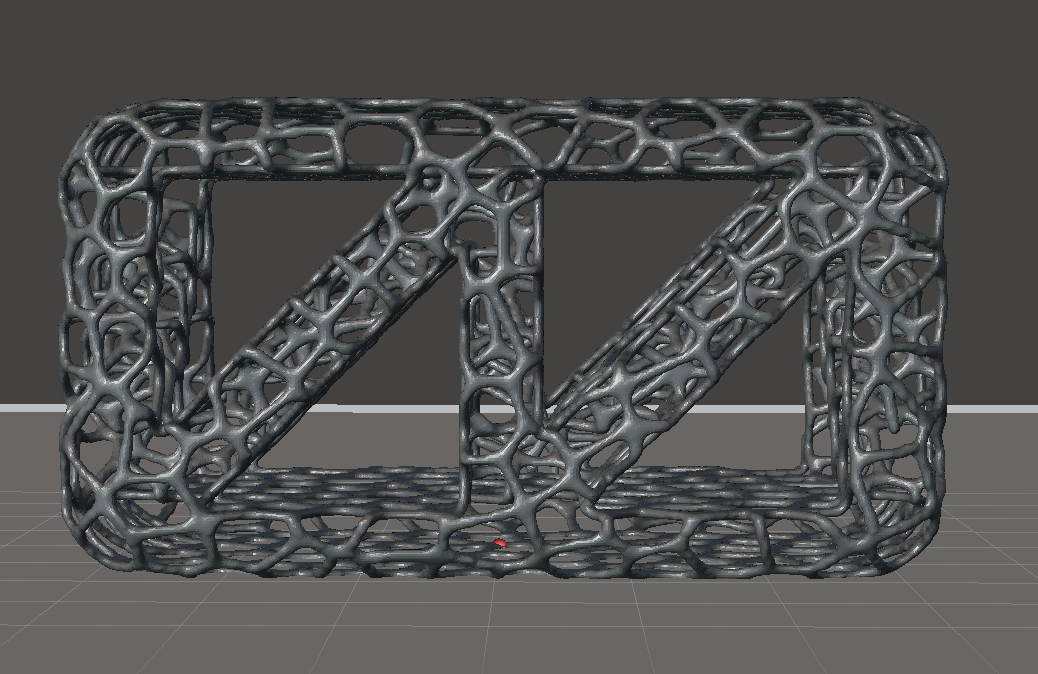
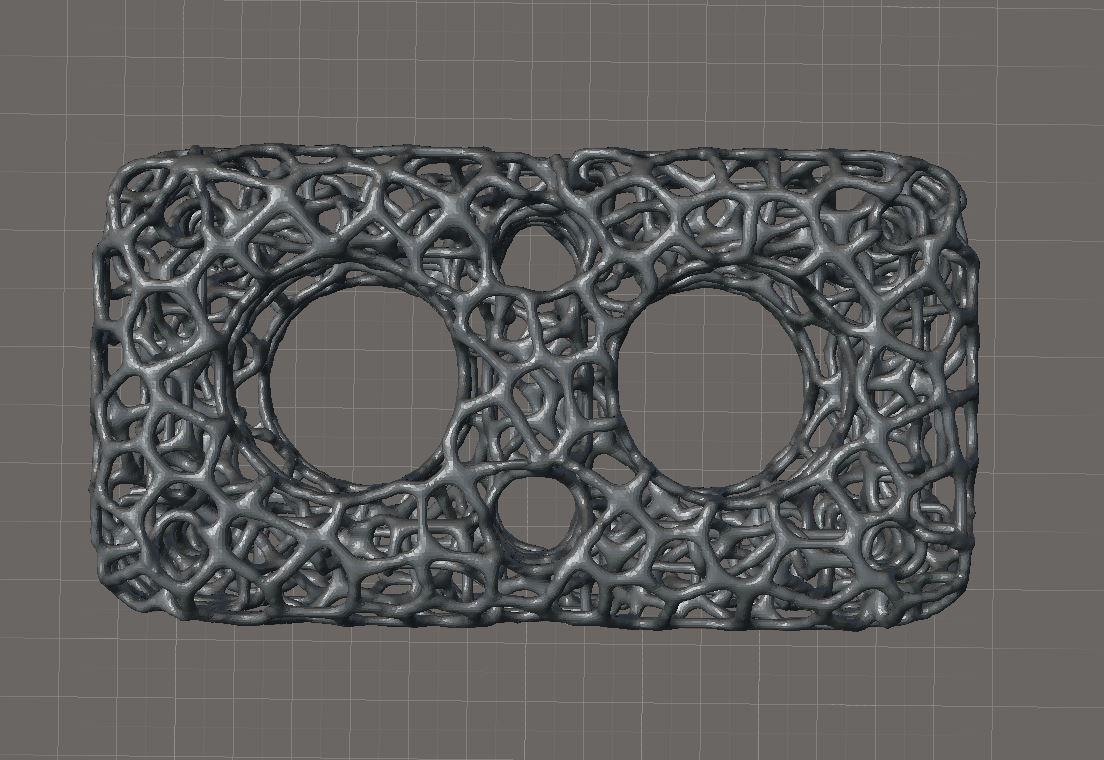
Finally, I produced the Voronoy version with a thicker structure, meaning that the lines were thicker and ideally the printer has a better chance to “find” them again in the next layer:

v4 voro1 v4 voro2 v4 voro3

Final versions for download here.

Learnings when printing:

I also reduced the printing temperature to 190 degrees from layer 3 on. The first layers I printed with 200 degrees to allow for a better sticking to the heat bed. I changed the bed to glass and used glue stick. These delicate structures have only a couple of touch points with the headbed so it is of outmost importance to have them sticking well. The servo housing shown in the end of the video was printed on pure glass without glue or spray, but the organic structures need more attention…


non-reversible reverse engineering of an electric toothbrush

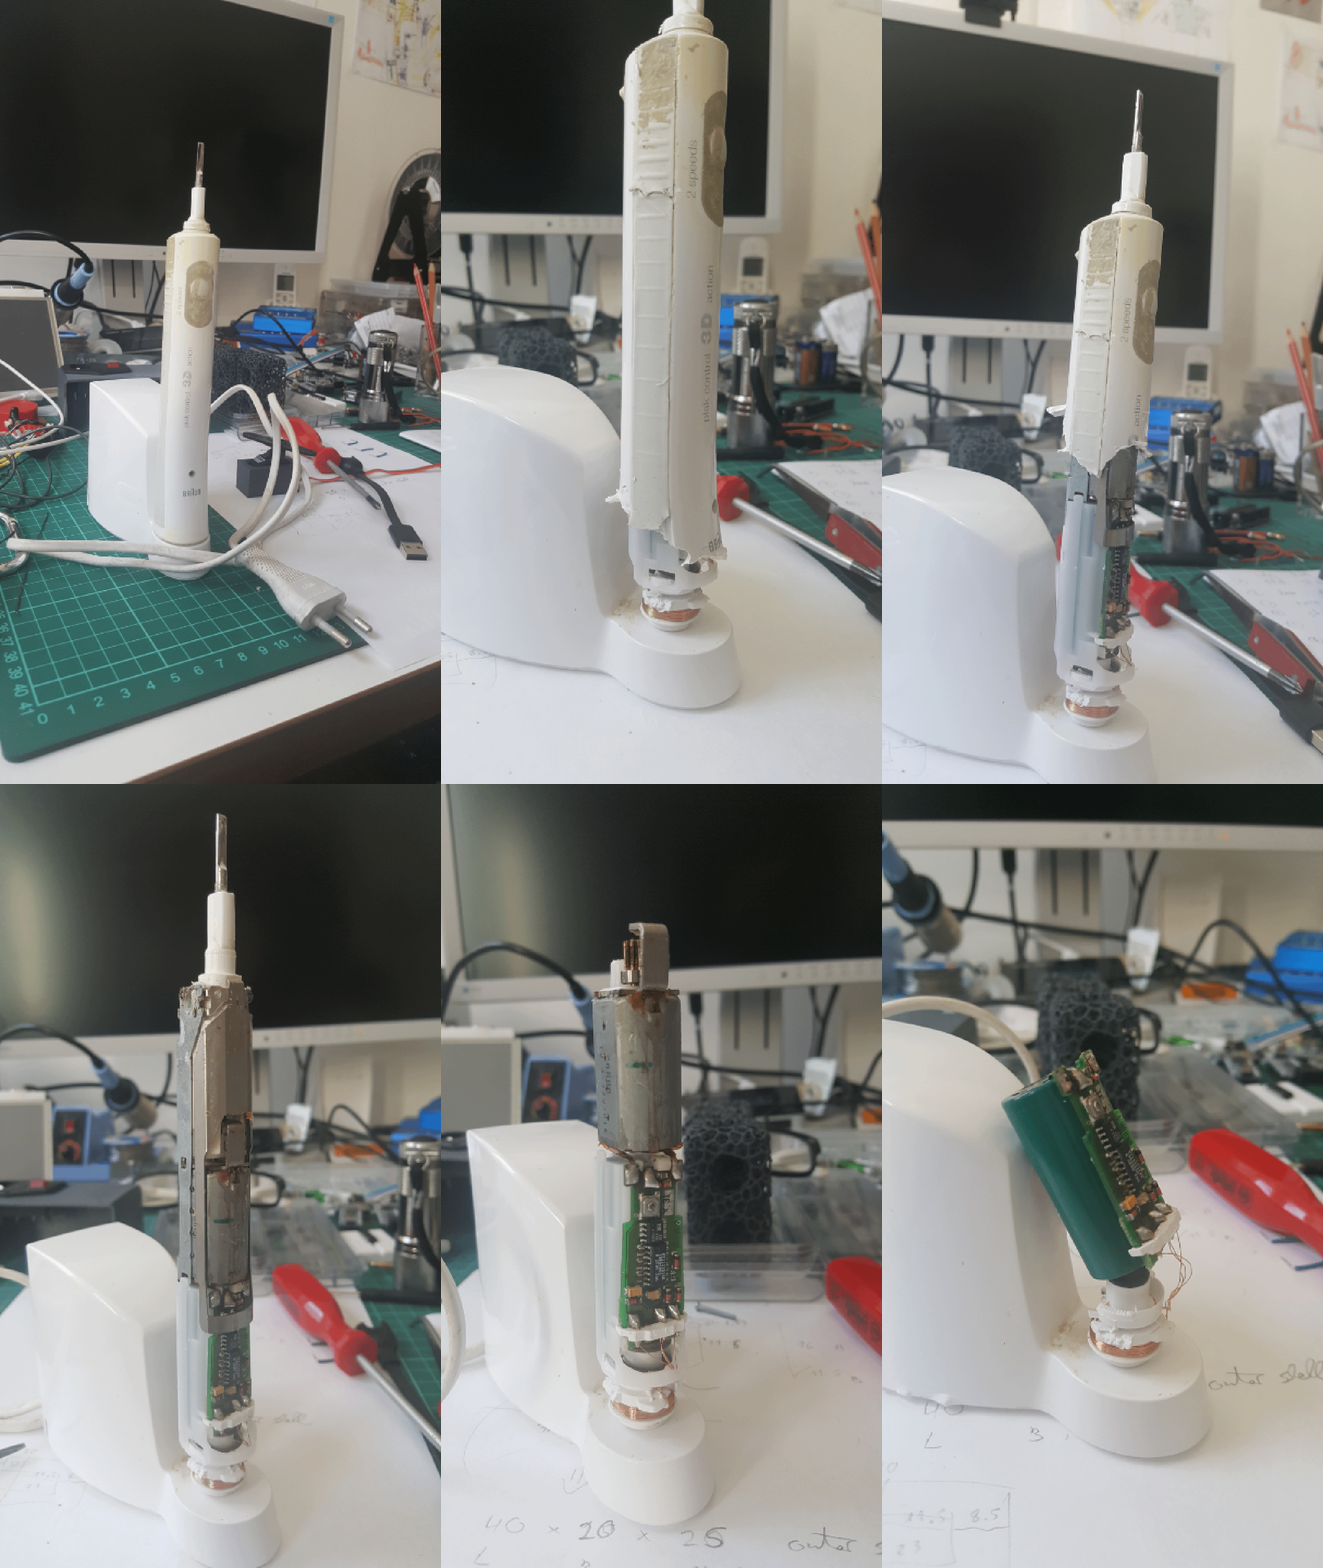
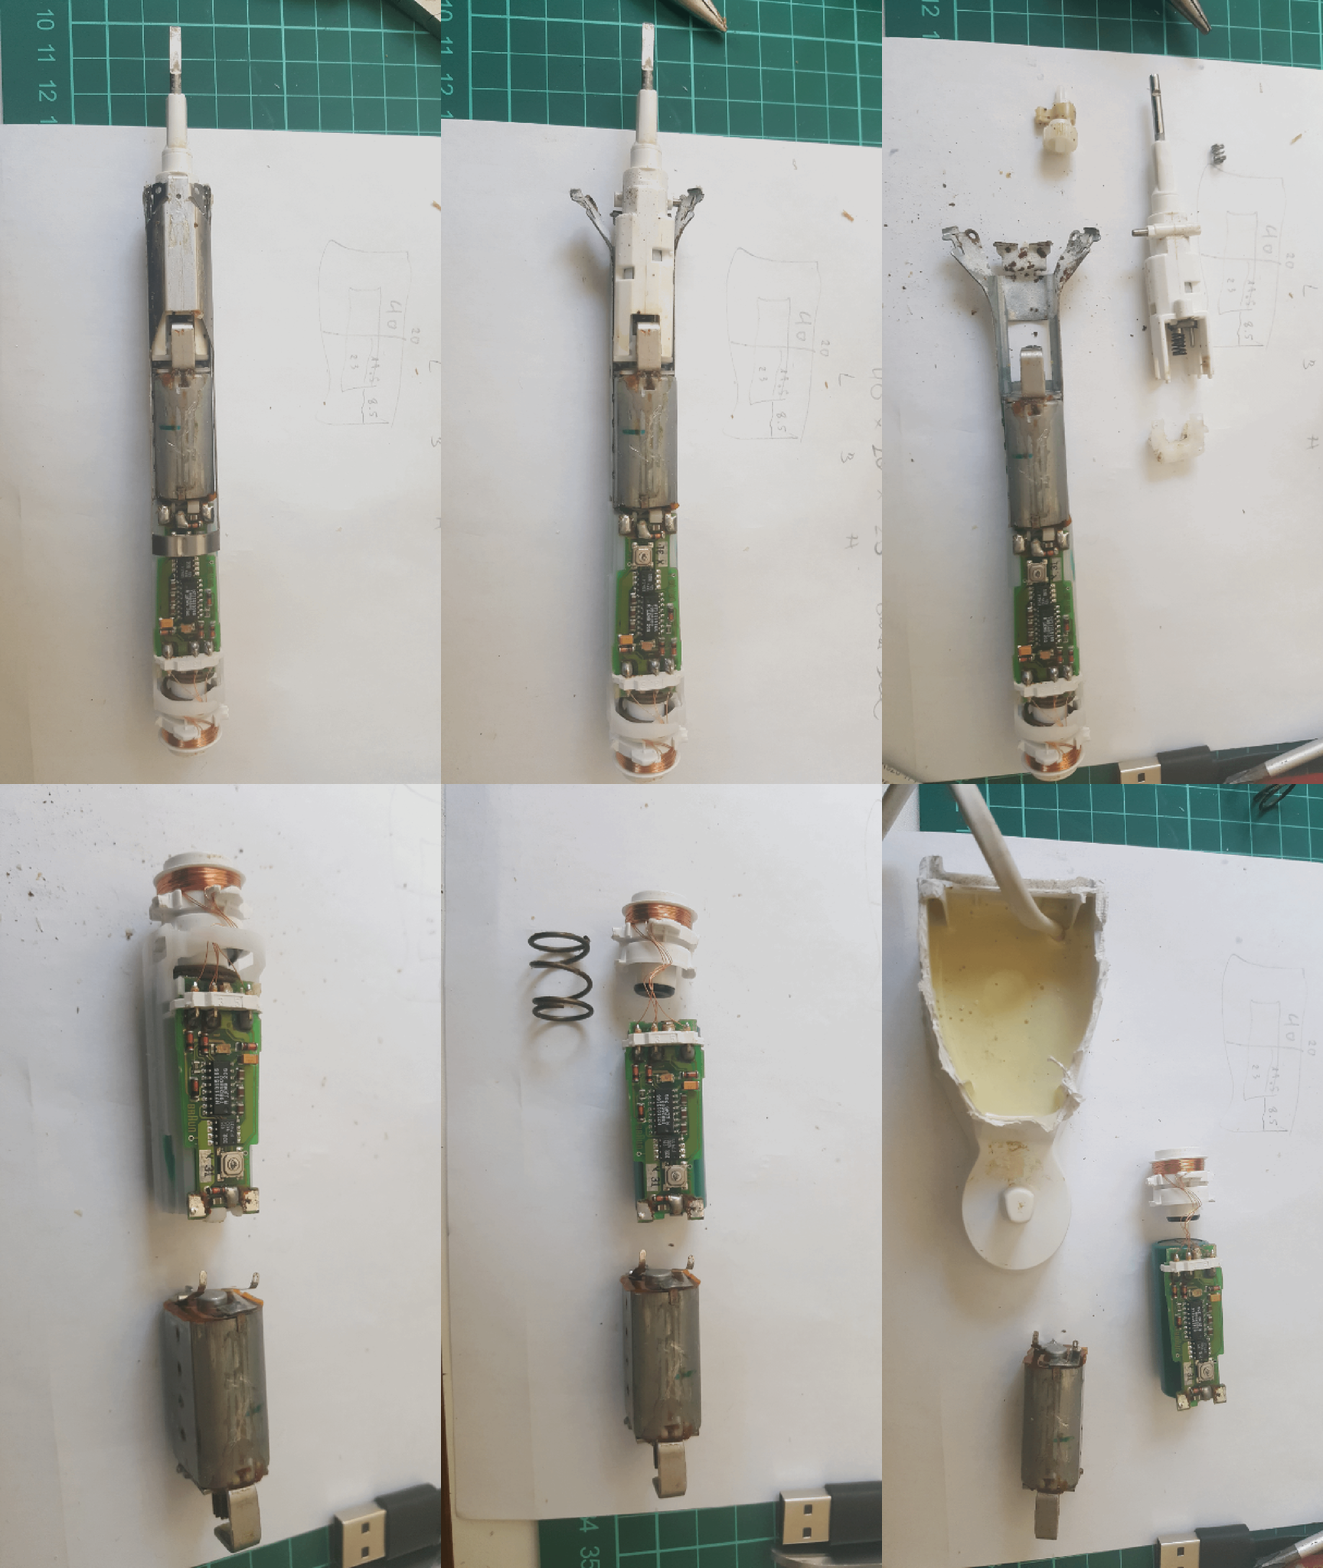
i always wanted to study how the inductive charging in such devices actually works and i decided to open an old braun tooth brush to study it.

here’s two gifs:

toothbrush standing

toothbrush


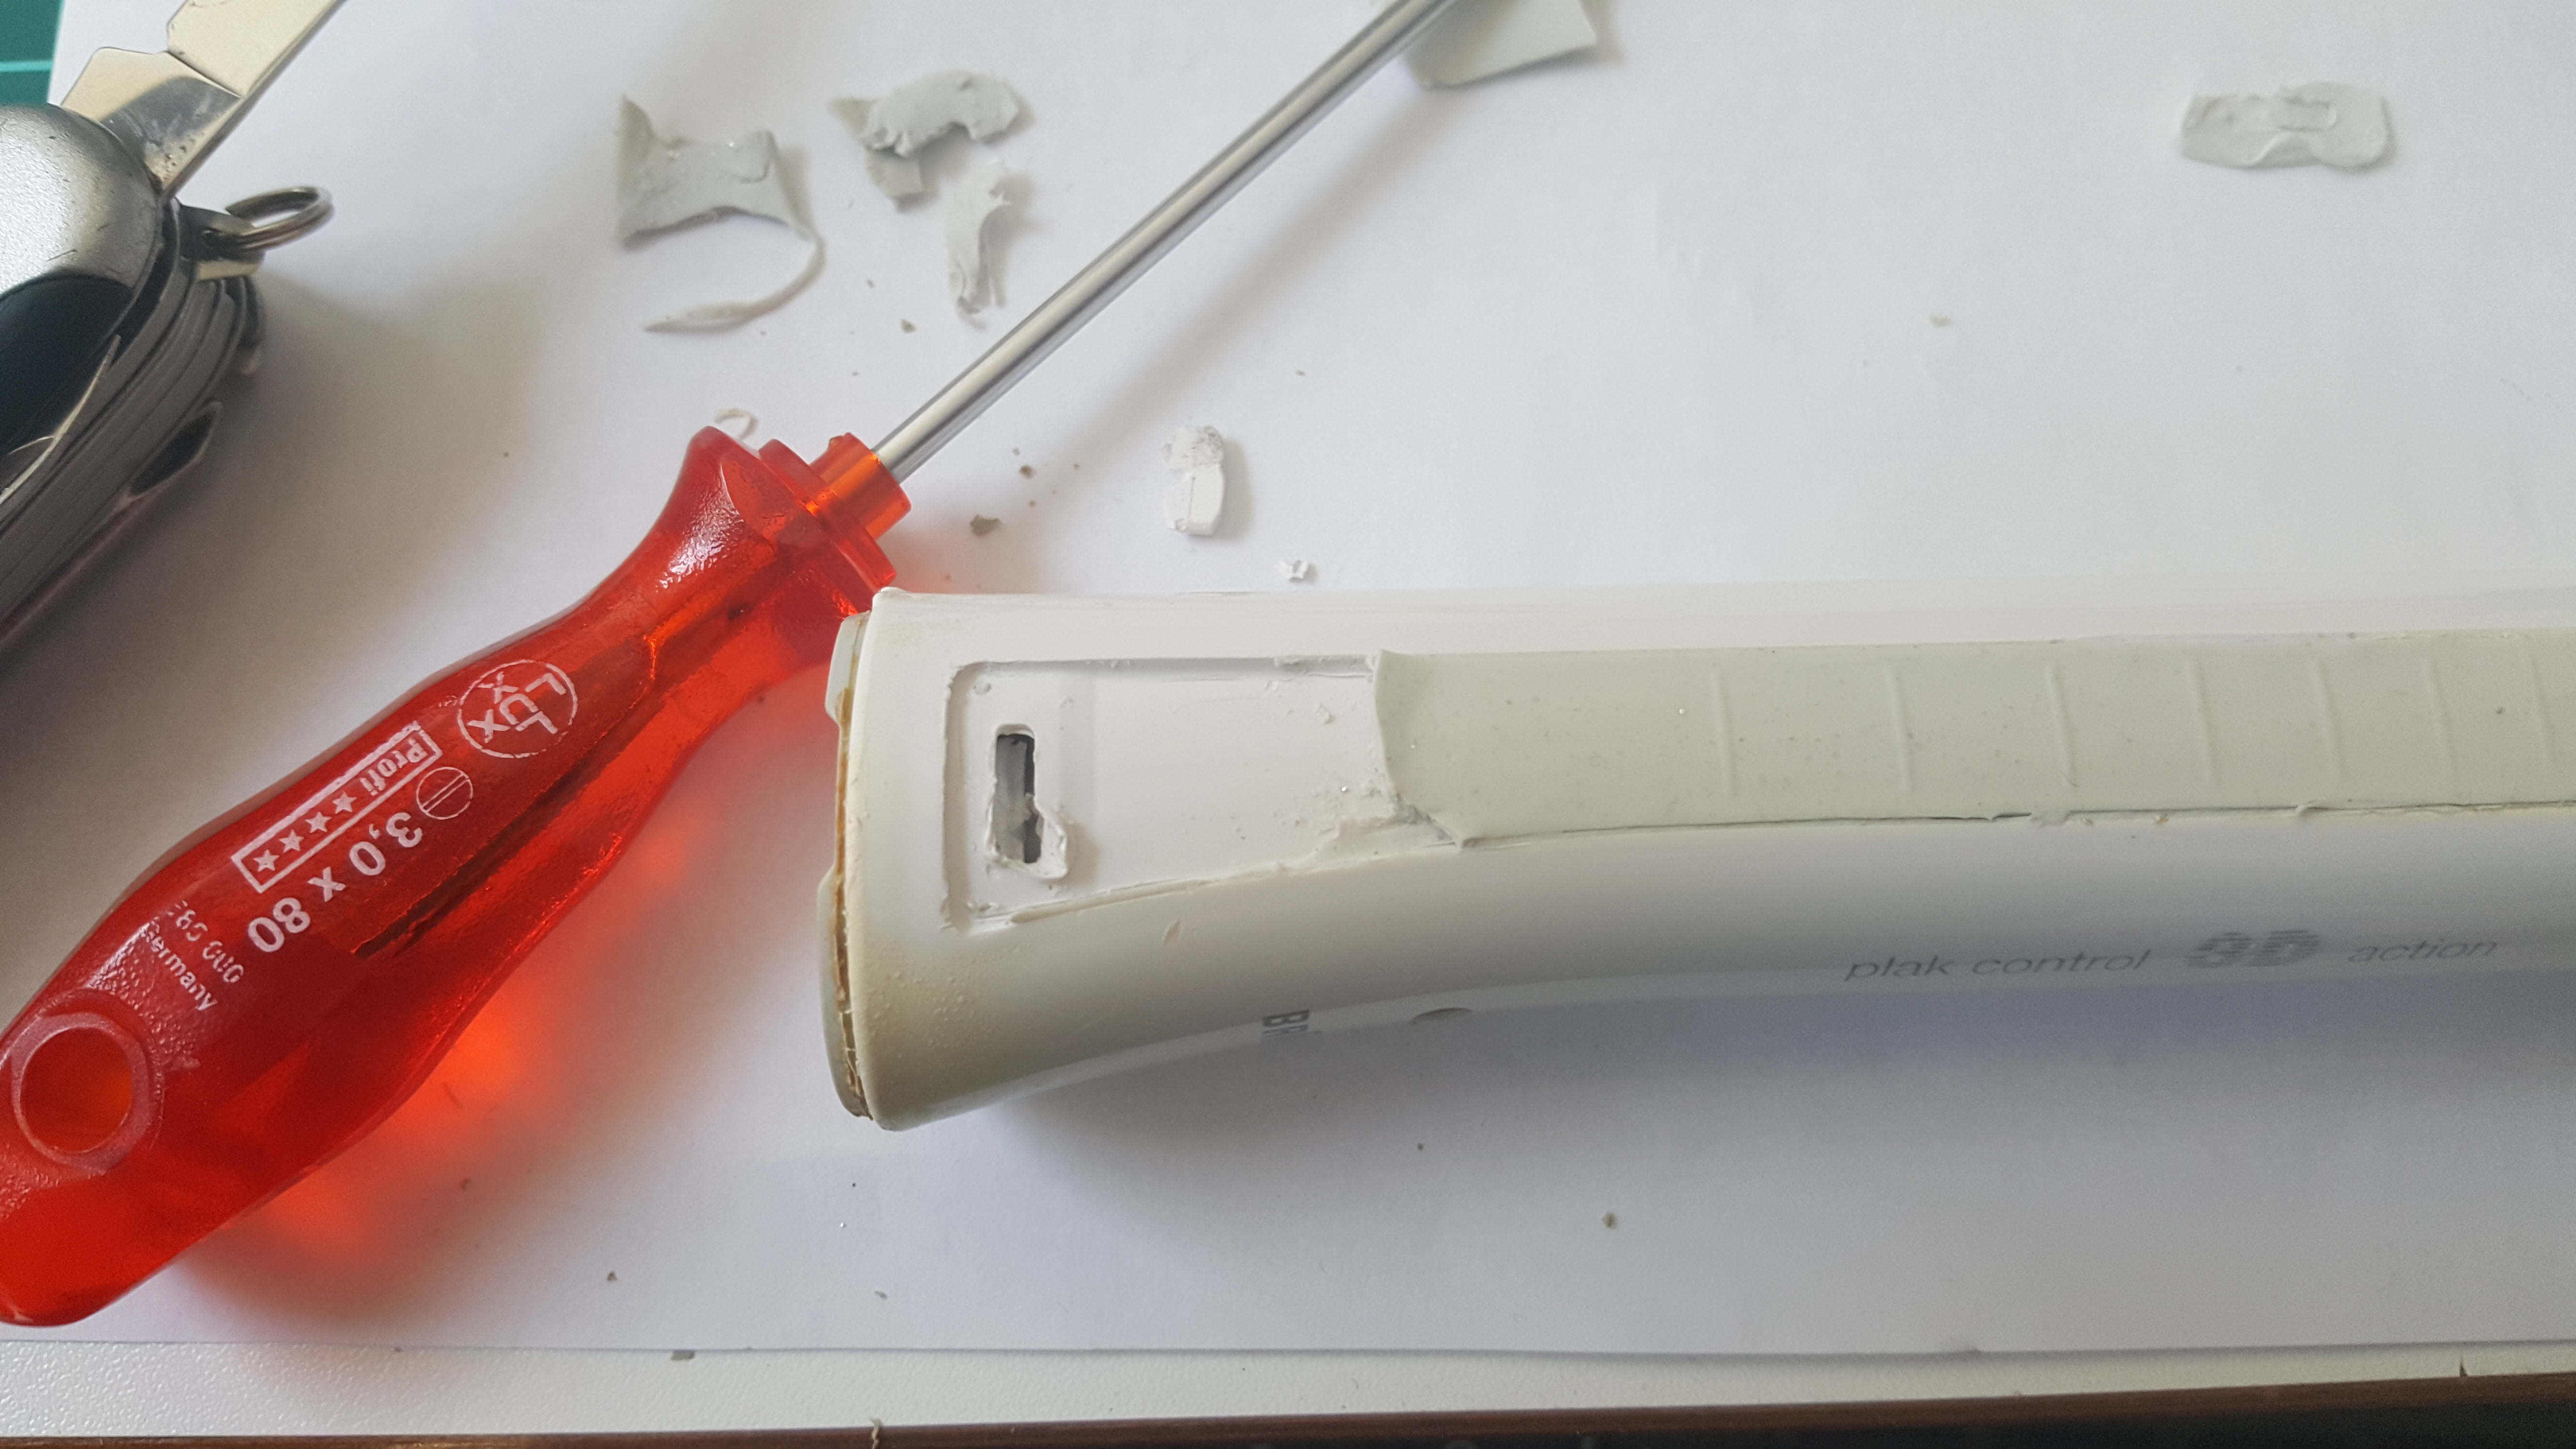
you can open the toothbrush by destroying the snap-ins underneath the plastic protection:

20170121_114136

20170121_122345


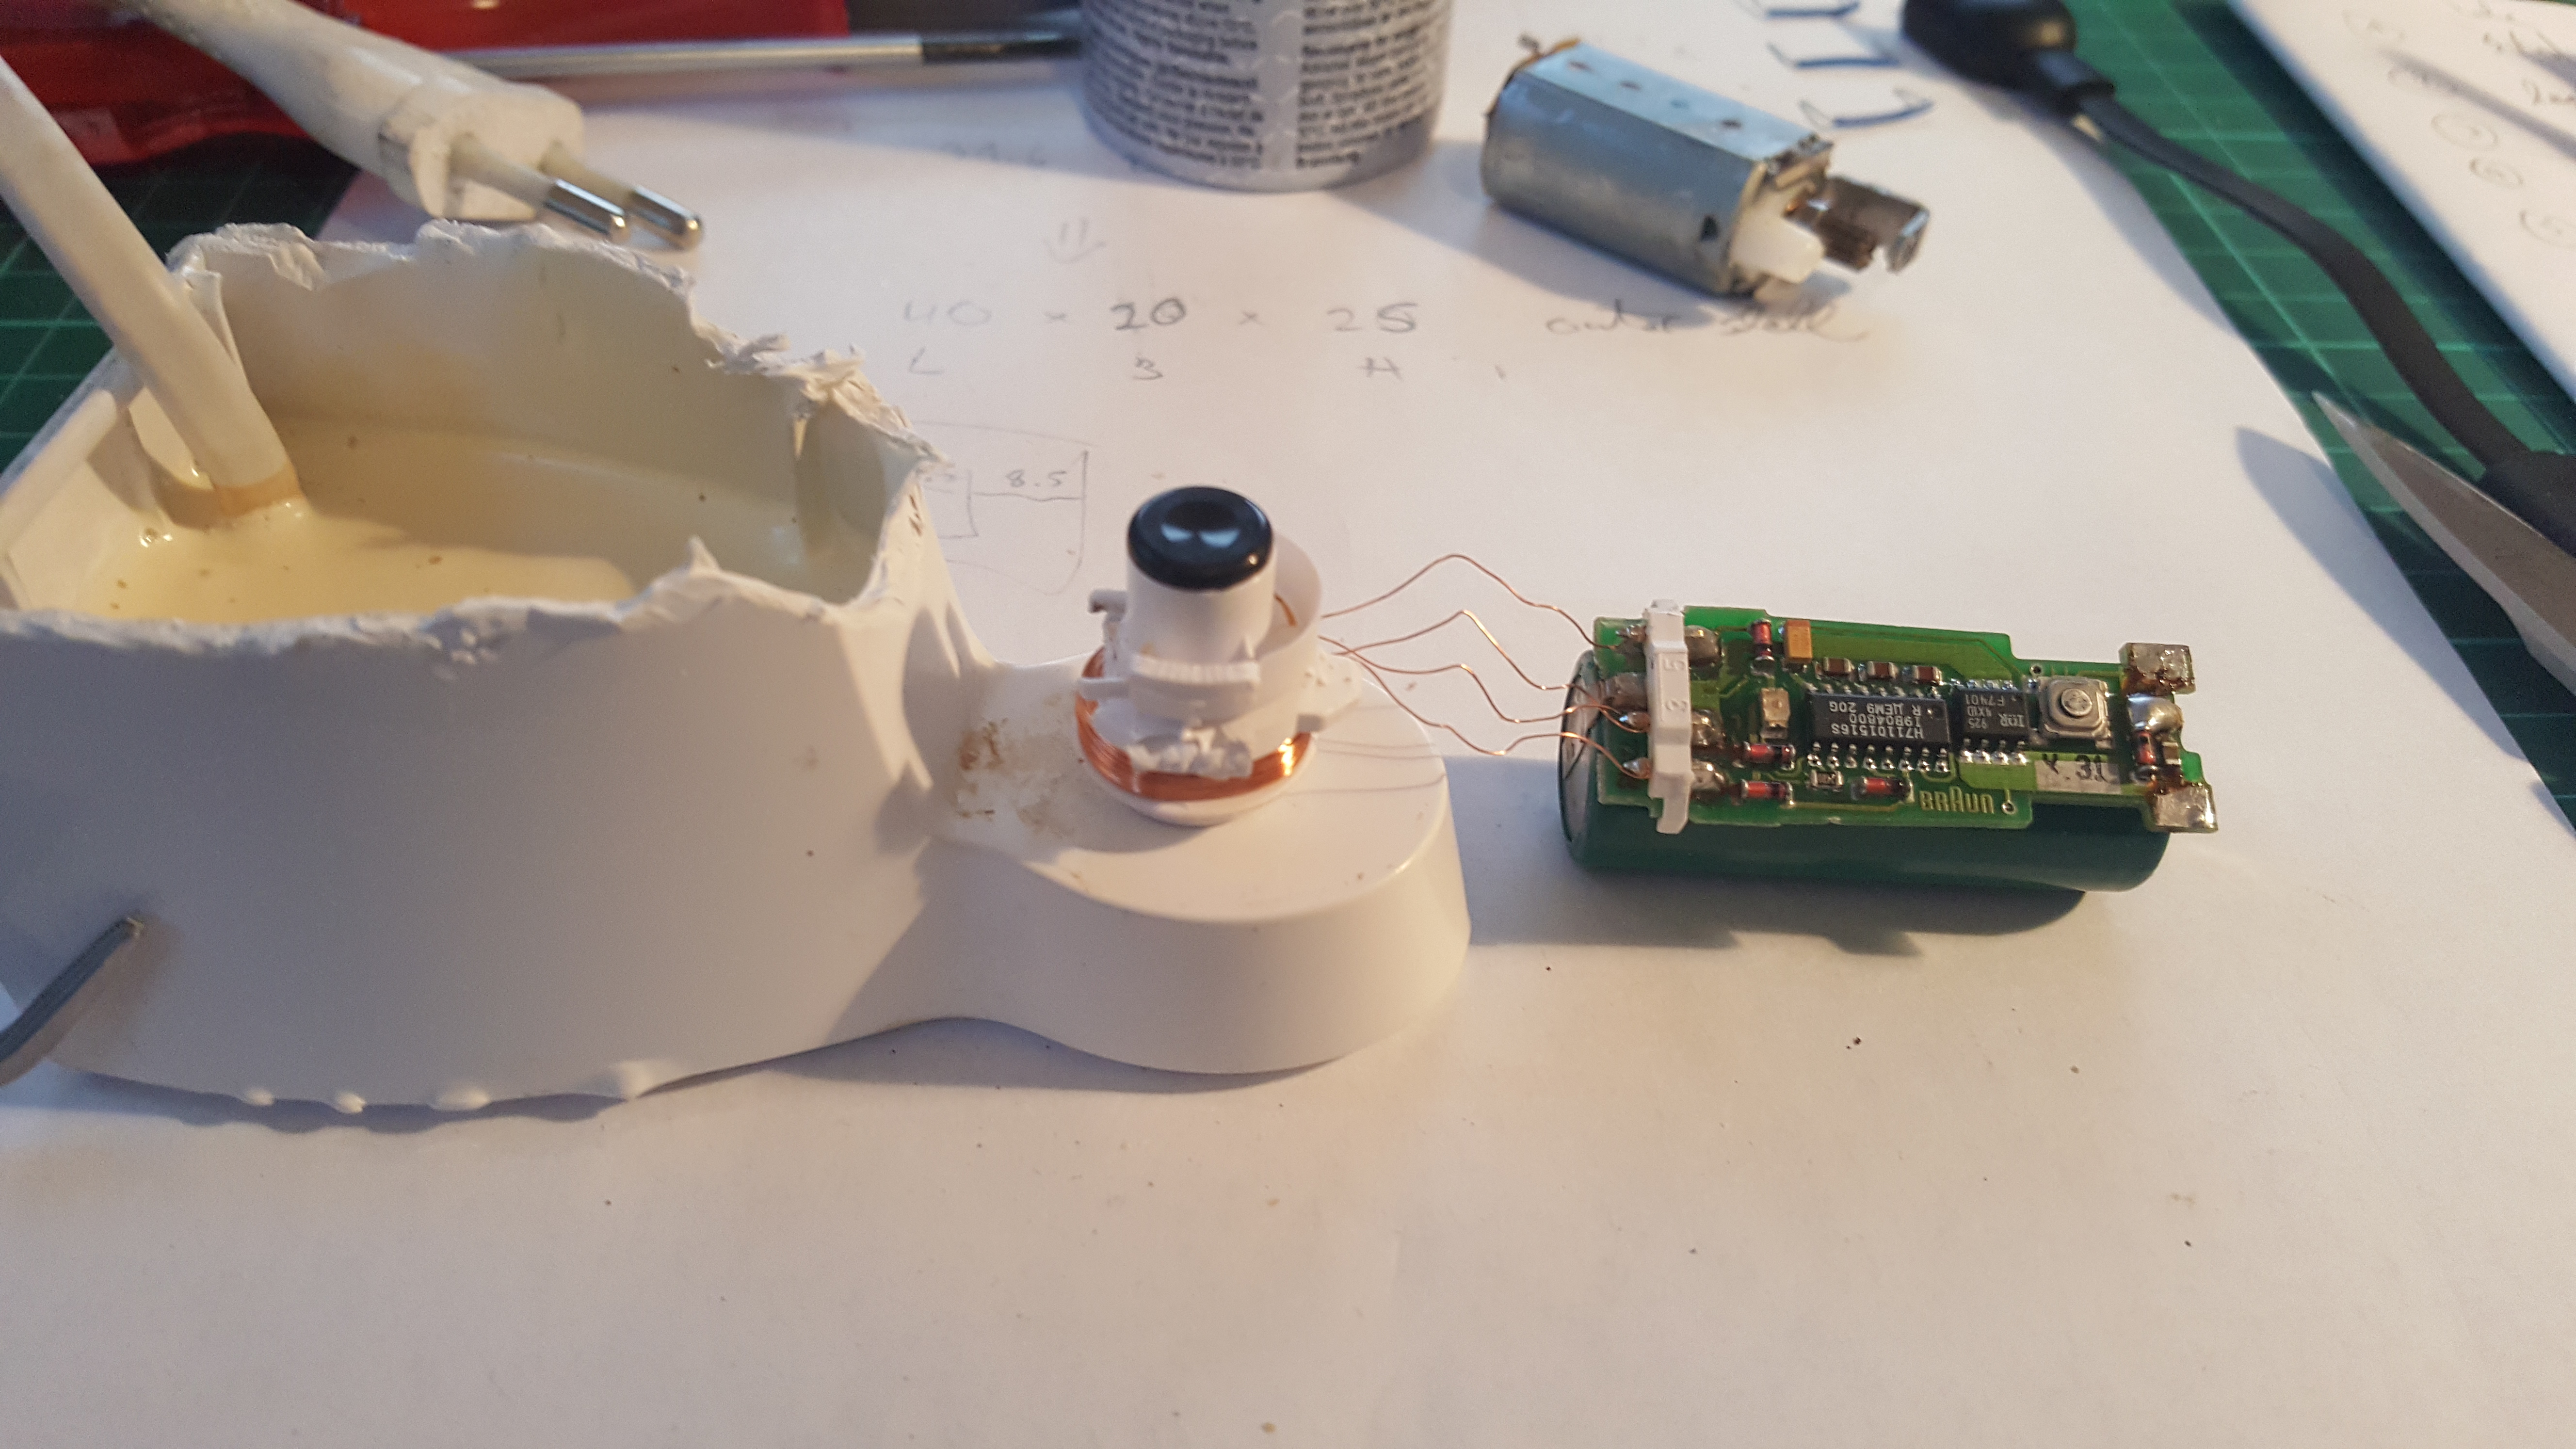
this is the final charging setup, in the end it didn’t work anymore, the battery is probably dead, i may connect a standard 1.2V NIMH battery to it and see what it does. the multimeter showed about 300mV on the receiving coil which seems a bit too low to me but that might also mean that the battery is dead?

20170121_170341

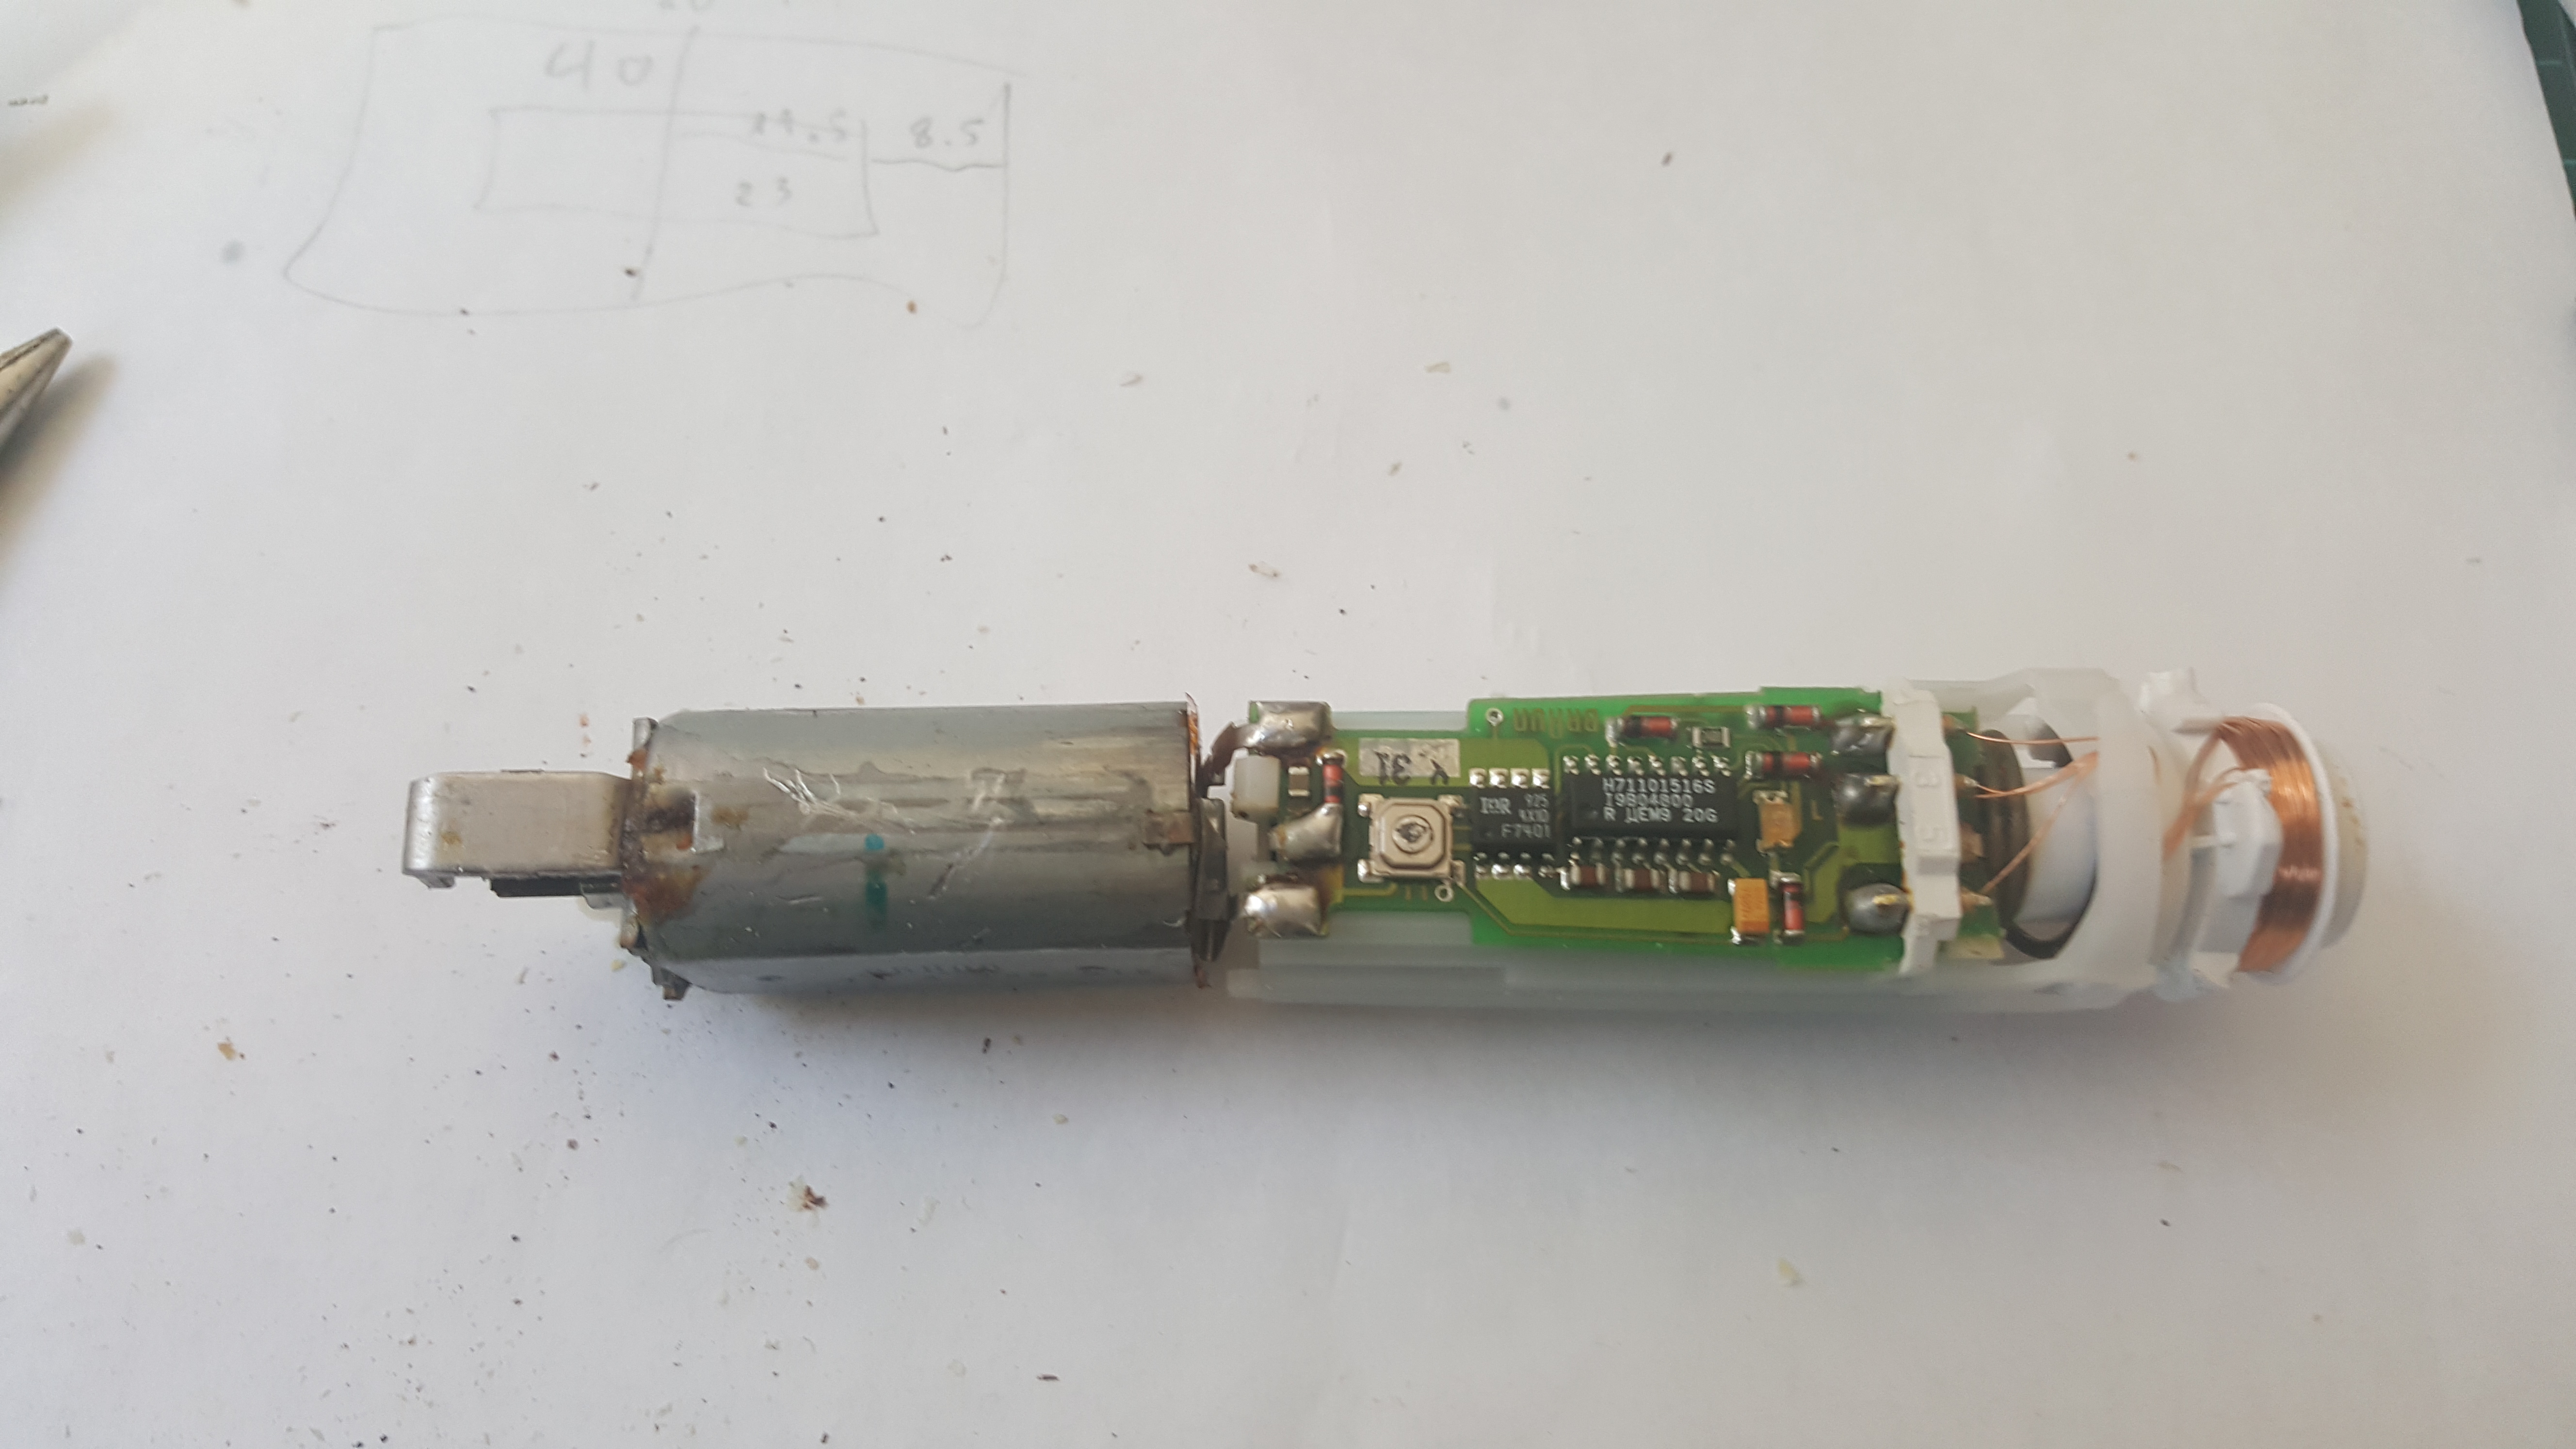
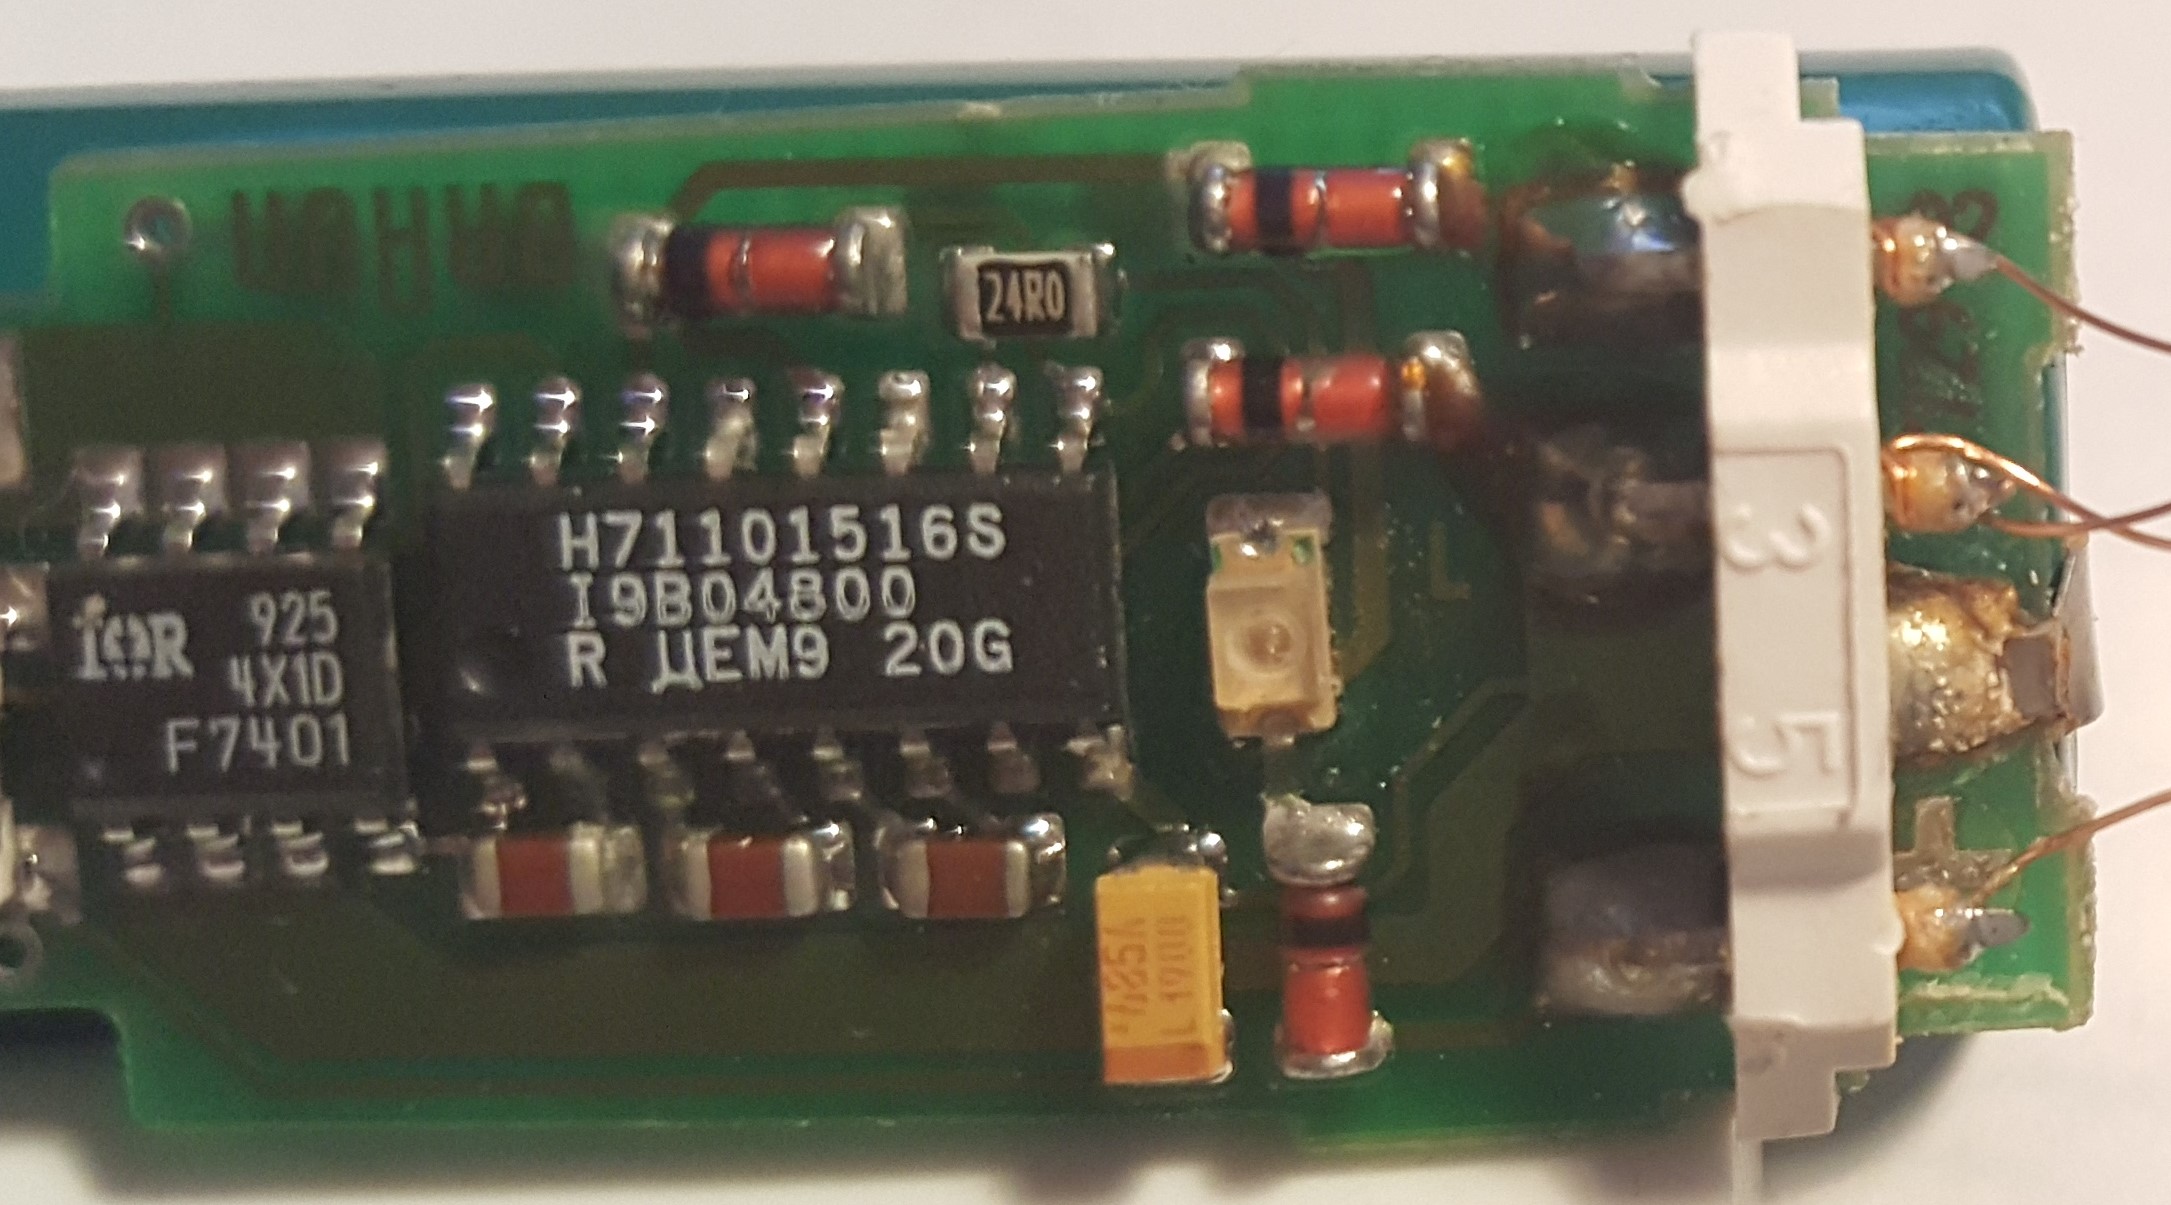
here’s the chips, if anyone’s interested:

20170121_171047

Diving into 3d printed light weight structures

I recently bought the cheapest a Prusa i3 clone on the planet, an Anet A8 at gearbest. Lovely to build and certainly great for an electronics hobbyist / maker. I never would buy a 600 or even 2000€ printer today, since I don’t think to have many usage scenarios.

But there was always one dream: to print “bones” for my walking robots to make them lighter and more “bionic”. So one of the first things I designed on Tinkercad was this structure:

light weight structure


I’ve been searching for a while to make structures more “bone”-like, i.e. some kind of organic or cell-like holes into them. That’s not too easy.

One tutorial I found is working with Autodesk Meshmixer. a software that is really nice to work with 3d models and view them. The tutorial leads to such structures:

The problem is that this depends on the amount of points given in the 3d model itself and tessalating them is cumbersome imho.

Another software I found is the Voronoization Online service which is EXACTLY what I want (upload STL, set parameters, download STL, bang!). The point is that you don’t care about the points of which your model consists:

meshed box

And here’s the video comparing the solid version and the Voronoy version:

This 6x3x3cm structure has a weight of five grams, it’s 20% infill, 3×1.5×1.5 solid sibling has six grams (but of course the solid one is MUCH sturdier).

I’ll now get into testing these parameters and understanding them in the context of 3d-printability. Exciting!


Arduino Tamagotchi, first power up!

That was more intense and exciting than I anticipated! I thought building my first “homebrew Arduino”  from an atmega 328p and controlling an OLED via I2C shouldn’t be too complicated.

In fact, it isn’t, but there are a couple of things you have to think of, especially when you do it in this contrained space.

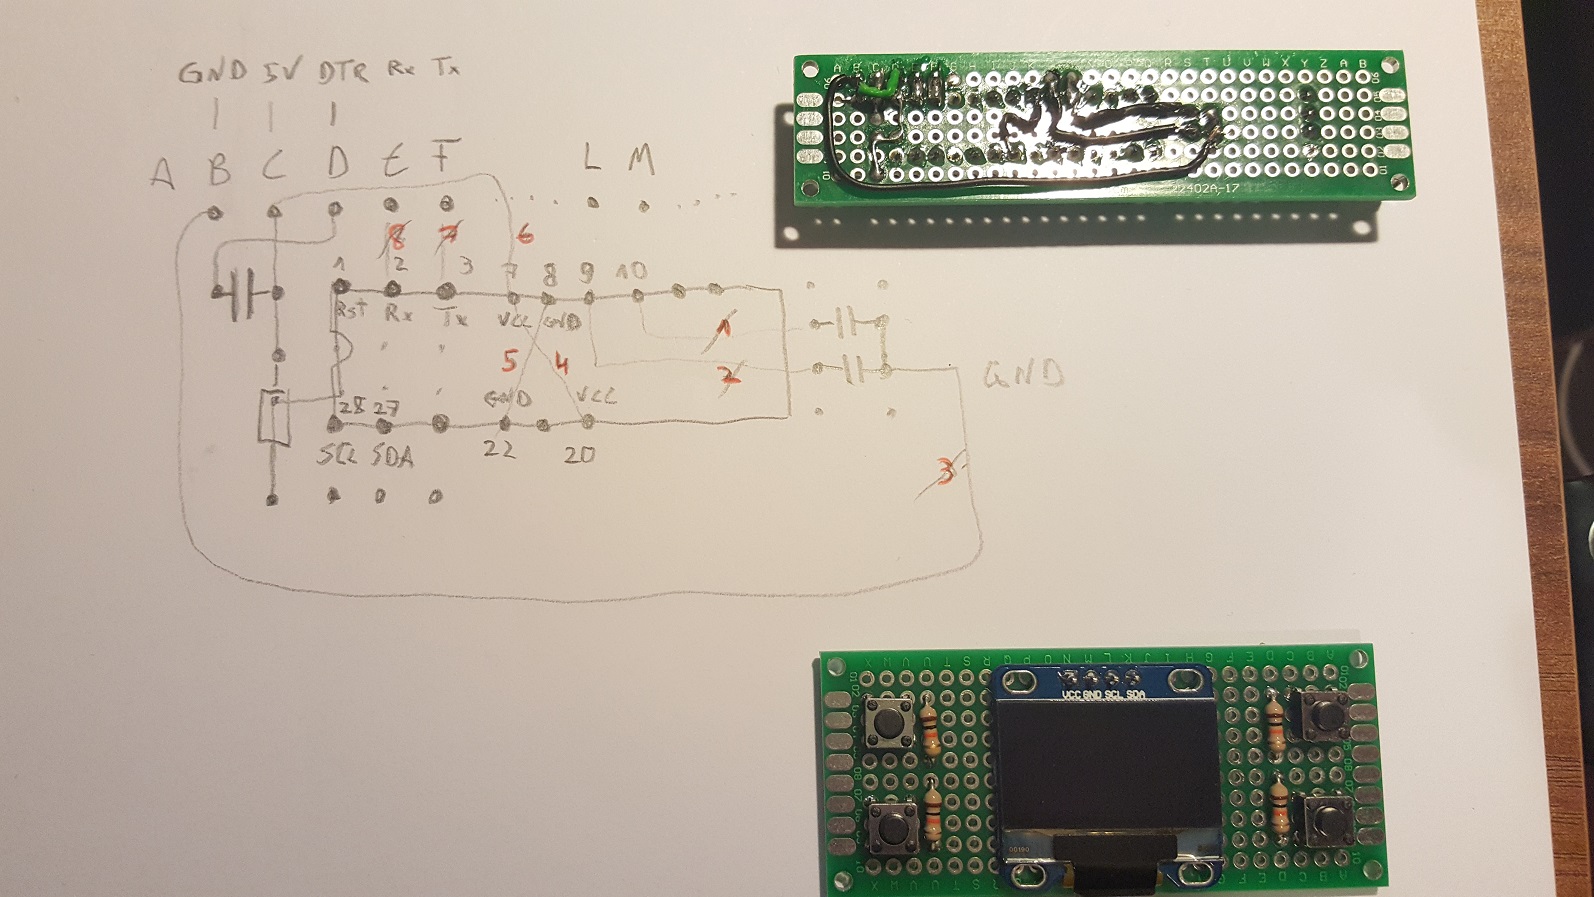
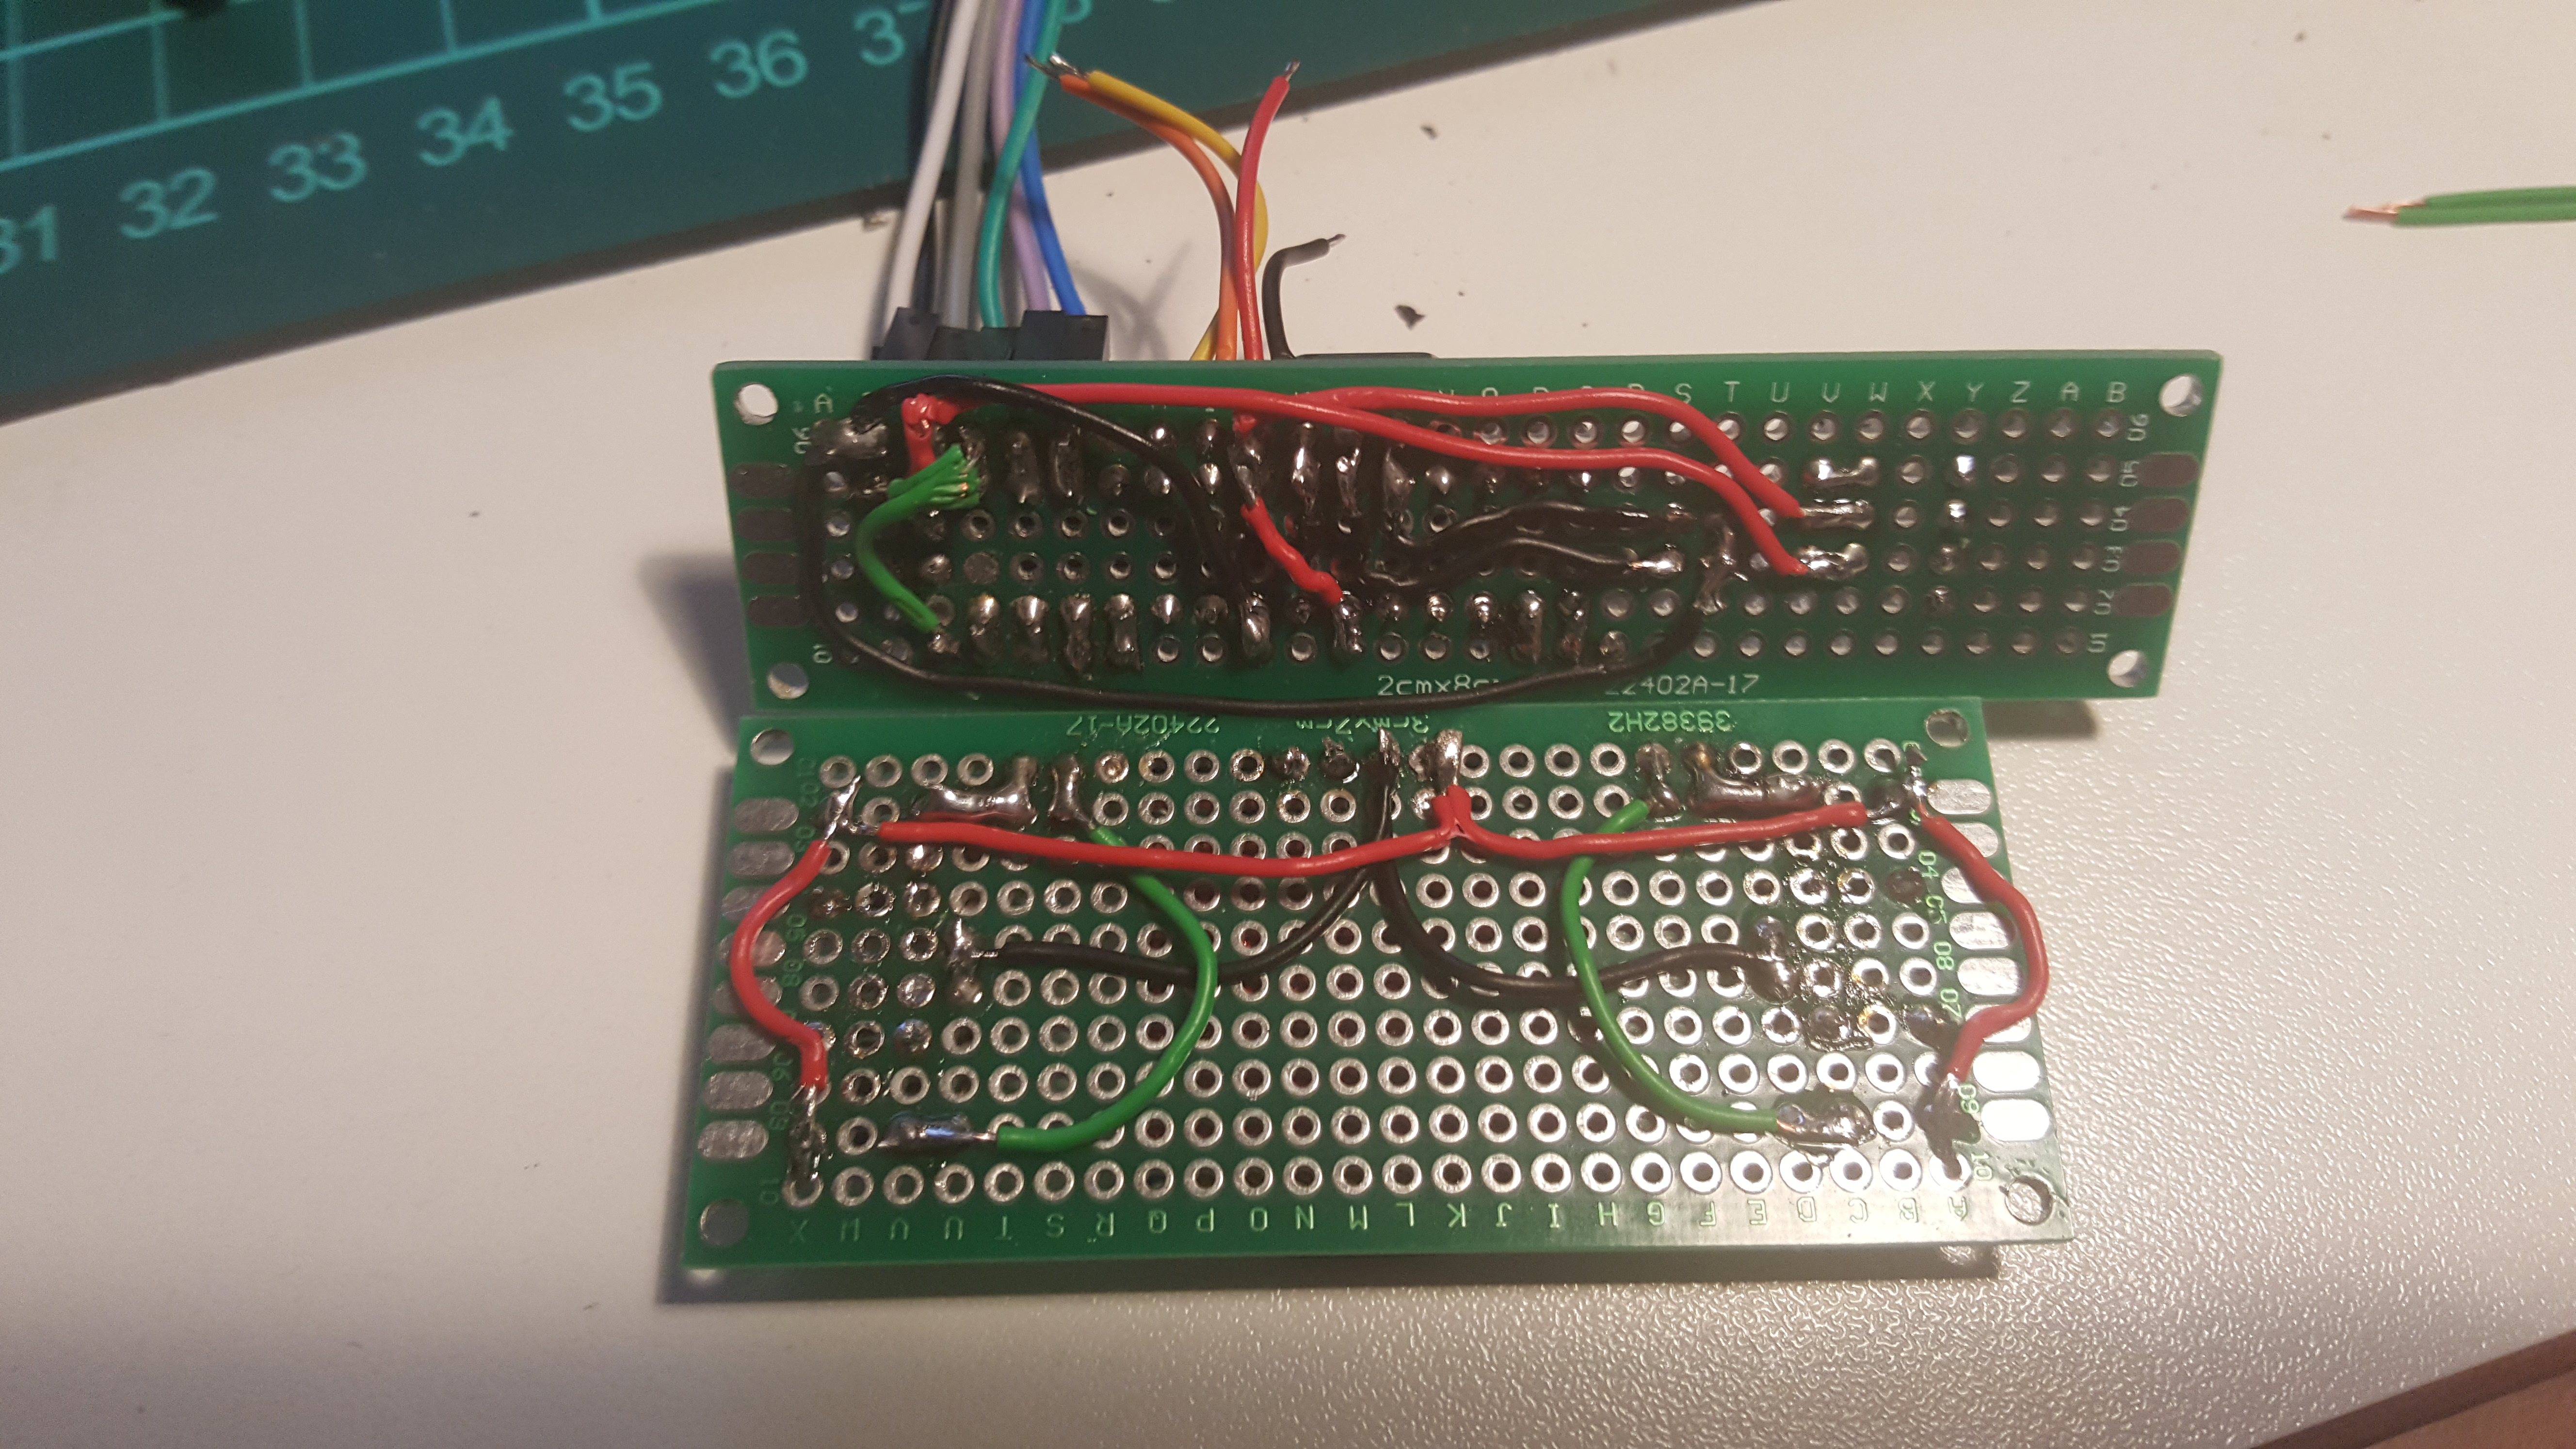
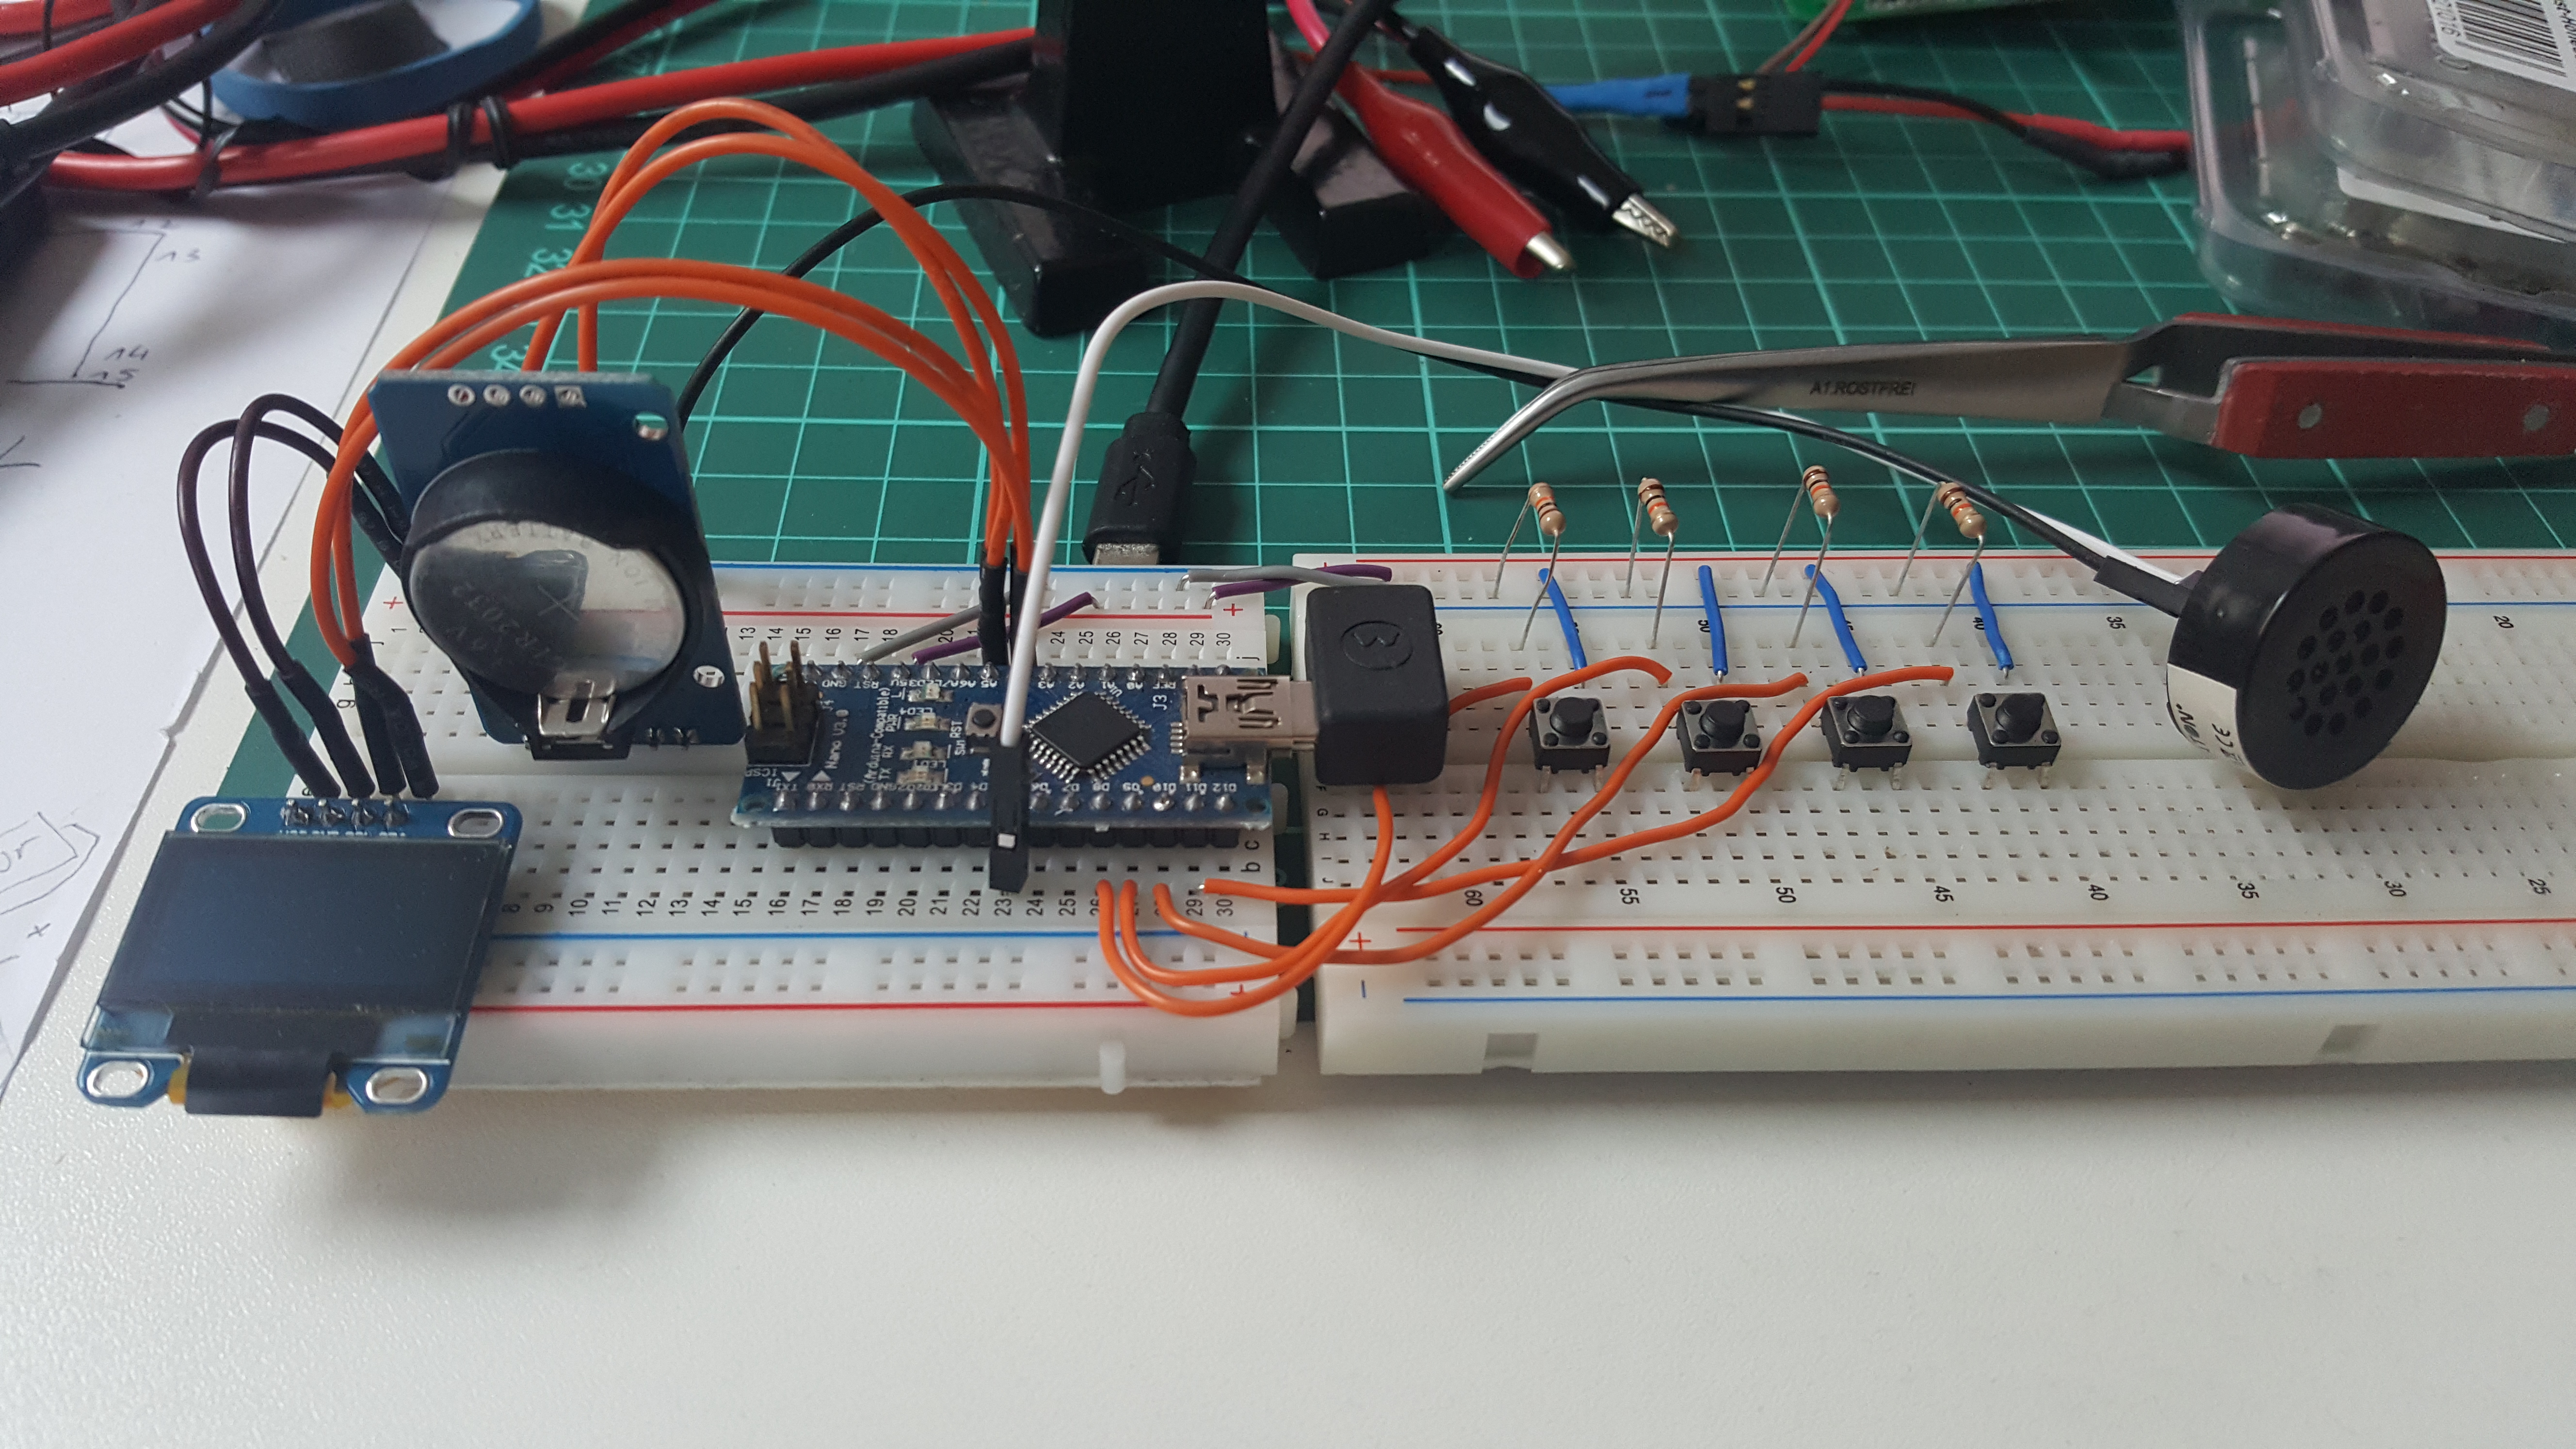
20161204_173740sAnd actually, you can see the wiring mistake I did up there, I connected the RST of the chip and the DTR of the FTDI port wrong. But chip, FTDI and capacitor survived it…

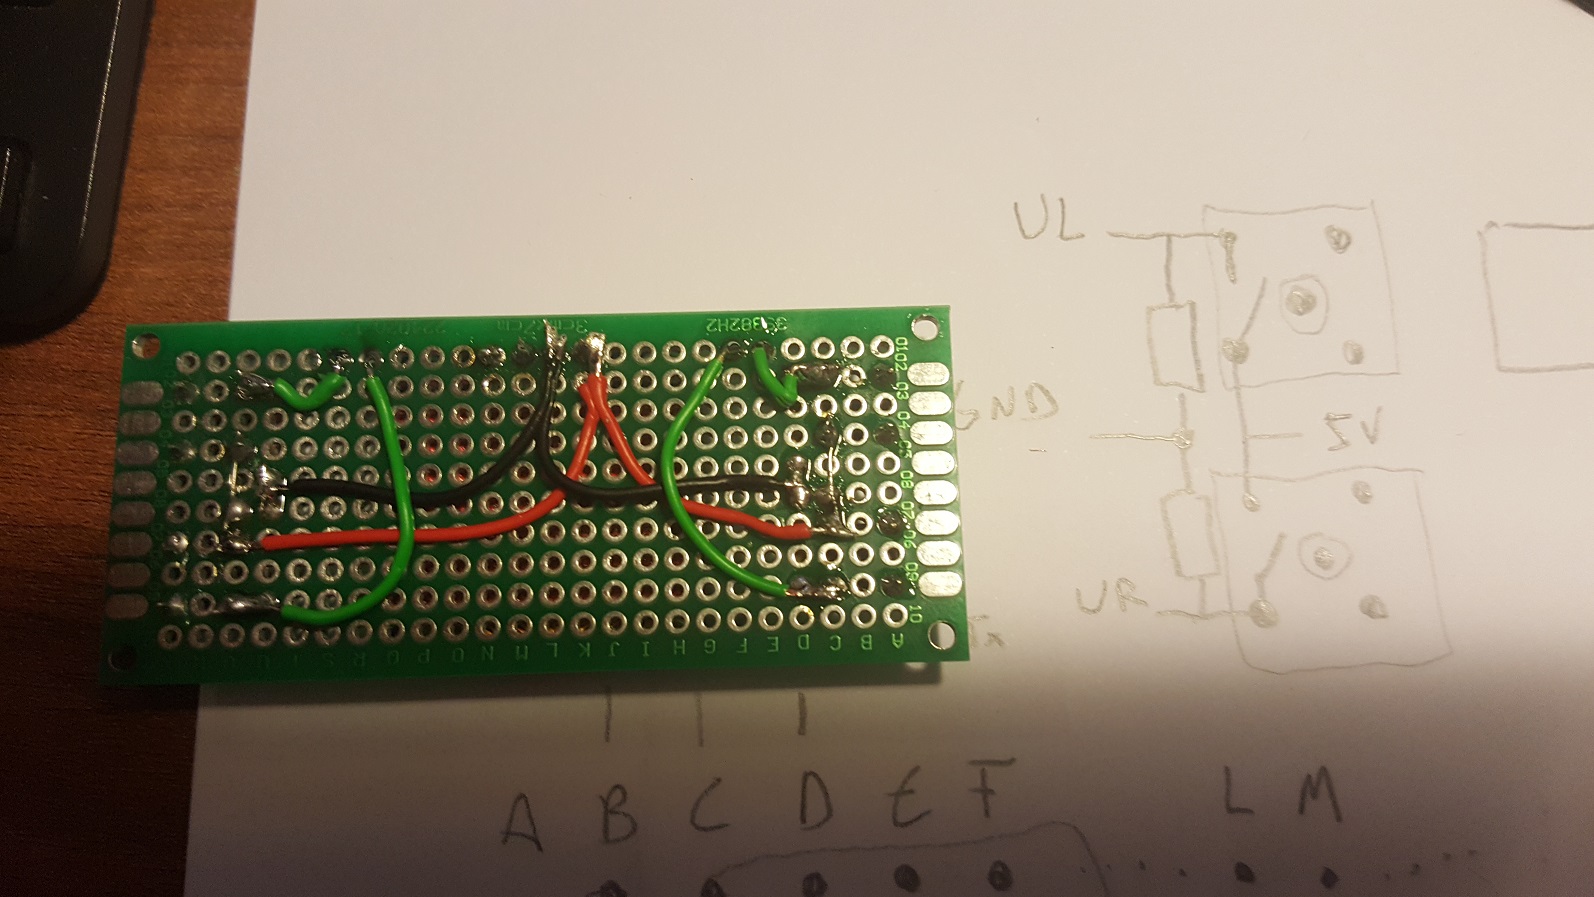
I also did the buttons wrong as the buttons were rotated and always ON / HIGH. So, I changed the layout from this:20161204_183737s

To this:20161211_212541So now the power is on the upper part of the buttons, instead of the right (for the left buttons).

Yeah, so finally, here’s the first power up! The date / time is wrong because the third perf board with the RTC and the speaker are not connected yet, so the clock starts when the atmega is powering up:


68k homebrew computer – parts list

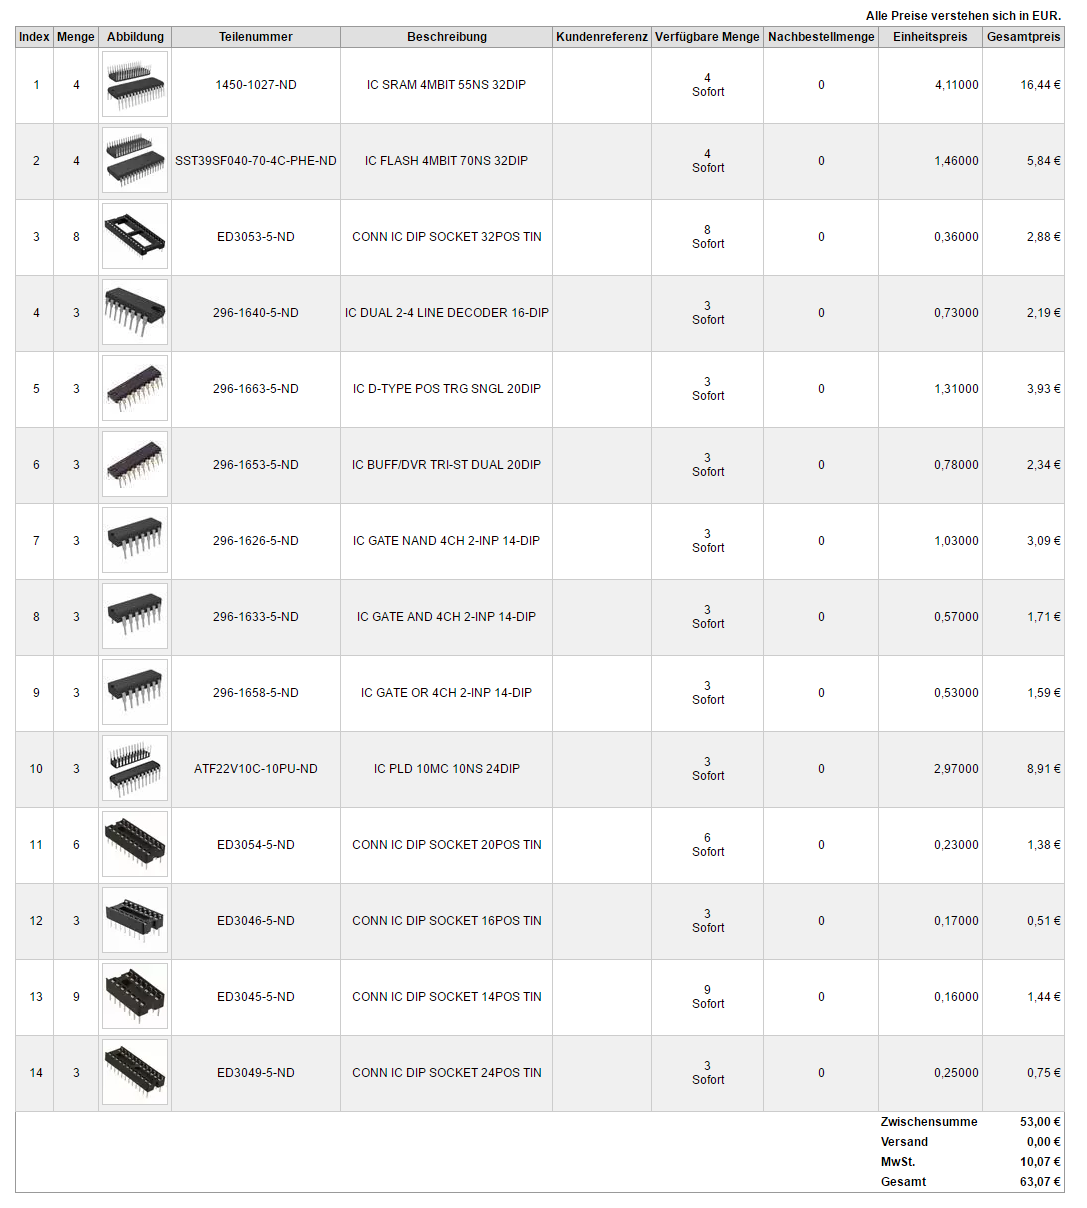
For building my own version of an 68000 based computer (actually, it’s the 68008, i.e. 8bit version) I recently, ordered all parts that are described in the 68k blog, here is a list together with the prices that I paid at Digi-Key. The package to about 10 days from the US.

Here’s a video walk through, followed by the list and data sheets of the chips:

all other chips for the 68k computer

all other chips for the 68k computer

Here’s the list of glue chips, together with their function and respective datasheets as links:

SN74LS244N: OCTAL BUFFERS AND LINE DRIVERS WITH 3-STATE OUTPUTS

SN74LS32N: quadruple OR gate

SN74LS08N: quadruple AND gate

SN74LS377N: flip-flops

SN74LS139: demultiplexer for deciding whether to access flash, RAM or serial.

SN74LS00N: NAND gates

More complex chips:

AS6C4008: 4MBIT RAM

SST39SF040: 4MBIT Flash ROM

ATF22V10C: GAL chip (programmable logic)

The USB host chip referred in the video is here, there is also shields for Arduino.

After posting this on Reddit, there was a great discussion on how to reduce the chip count. Some suggested that I could reduce the complexity by using the address lines in a clever way, i.e. using one pin to enable RAM access, one to enable flash access and one for the serial connector. I’d LOVE to try that out. Should I dare?


Arduino Tamagotchi – first board fitting (Pt 2a of 3)

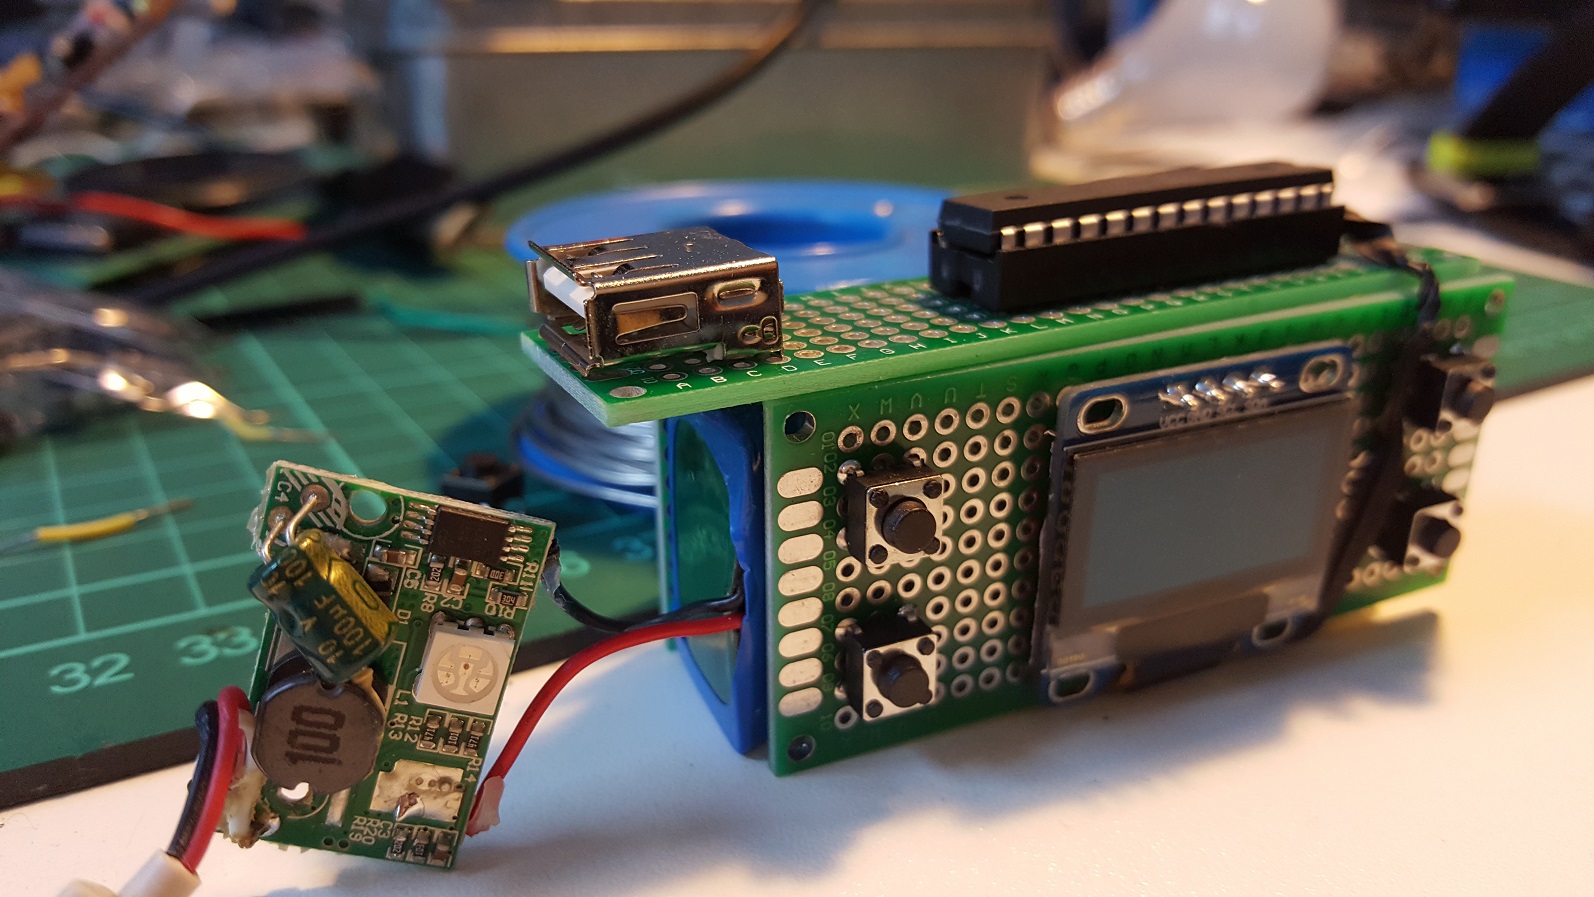
The design principle of keeping everything to a minimum is also paramount in the Tamagotchi project. In this case, I wanted to use the Arduino chip itself and layout a board around it by myself and luckily, I also found out that my slaughtered external phone battery delivered 5.1 Volts which is in the operating range of the Arudino.

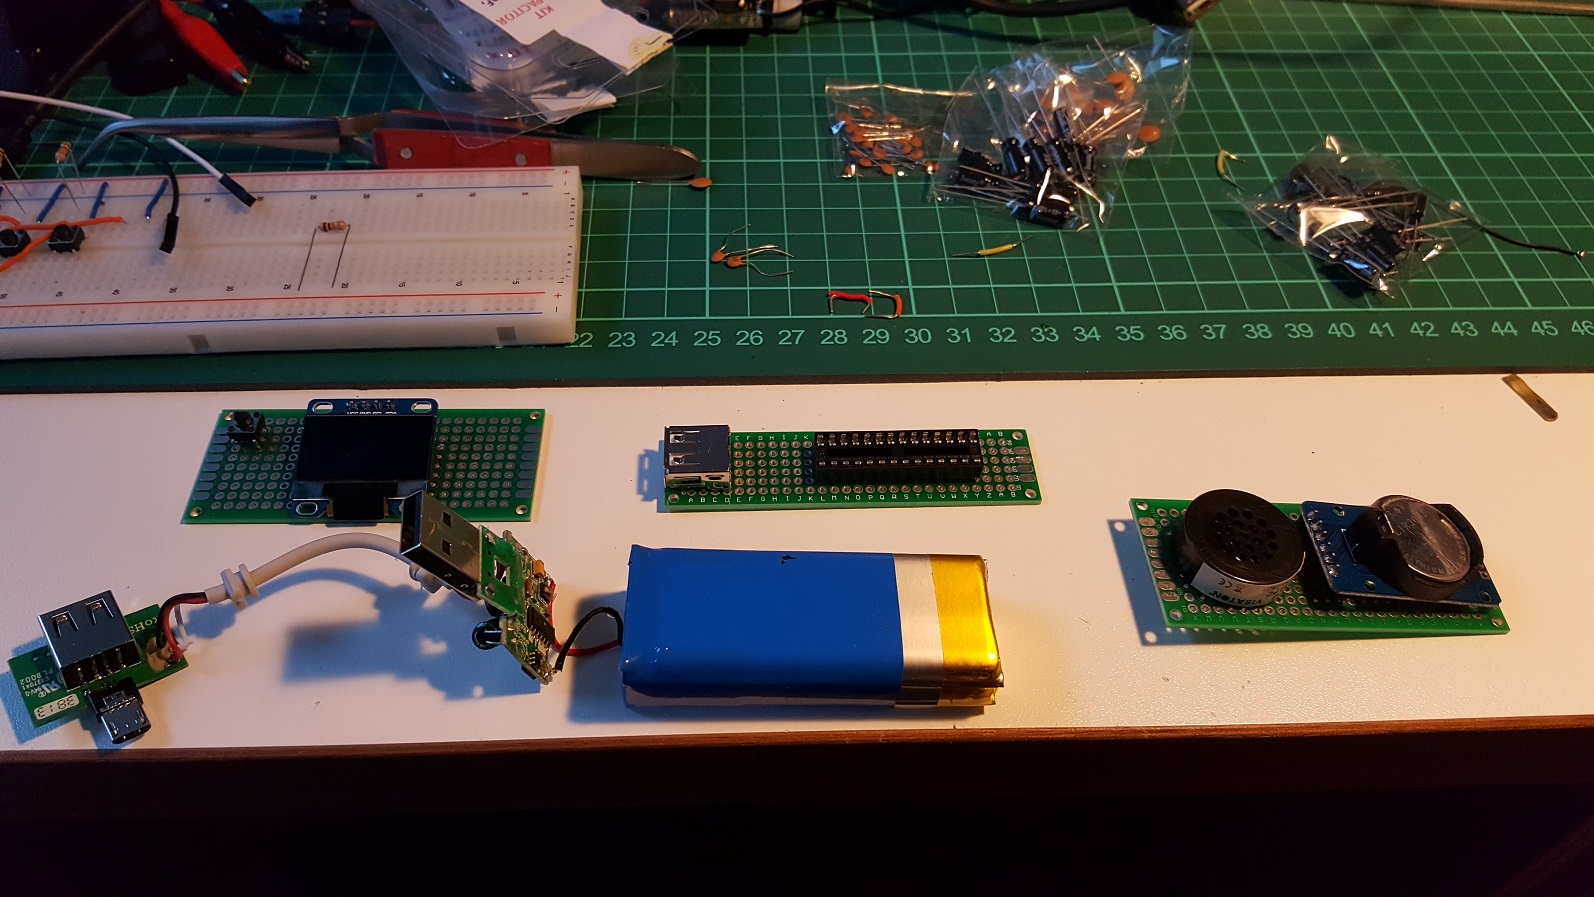
Tamagotchi PCBs

Tamagotchi PCBs

Top left, you see the front board with the display and the intended buttons (only one placed), top middle the board for the Arduino and it socket plus an USB port that will be used for the LiPo charger board (the one that is close to the battery) and on the right it’s the back plate containing the speaker and the RTC board. Continue reading

palmsize Tamagotchi

Recently, I’ve come across a really nice Tamagotchi project on Instructables.

Tamagotchies are virtual pets in little devices (later on also apps, etc) that the user has to feed, clean up after and play with. They are a nice addition in my thinking on social robotics. Also while still collecting knowledge for the 68k computer, I learned that I want to start with a stripped down Arduino, not a Nano I usually work with. So this is an ideal little weekend project to learn a few things. Continue reading

back to my computational teenage: building a 68000 homebrew computer

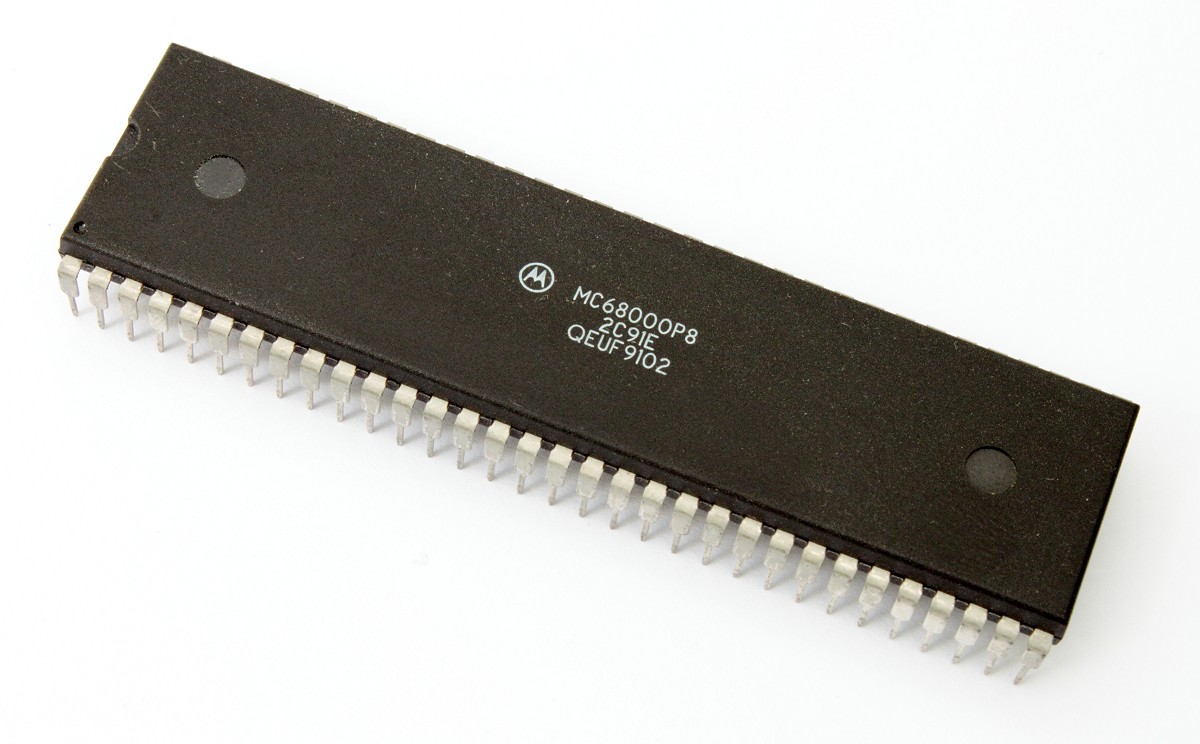
68000 chip (courtesy of CBM Museum)

after my first commodore c64, i was so much in love with the amiga and it took quite some time until i had my first amiga 500 in my hands. i still remember the smell of the package and the computer. the first boot up of the workbench, the mouse et cetera. a wonderful feeling. it was the computer i learned to program c on, after i had upgraded my basic from the c64 to amiga basic. i was fascinated by this computer, its graphics capabilities and the unbelievable amount of 512kb ram. after working with “atzec c“, upgrading to 1mb ram and having a ram disk to not always change the floppy disk all the time. i had the feeling that i needed to learn assembler.

at that time i was writing 3d routines, i wanted to design my own flight simulator. and assembler was a wonderful way of learning the aesthetics of minimality. having a table of clock cycles per command next to your computer and refining algorithms to run ever faster was a great joy.

later in my life i came across minix, the microkernel architecture of a unix derivate and “the father” or at least inspiration for linux. again, i loved the simplicity of everything. the beauty of “processes vs data, input vs output” and the beauty of microkernels. i never actually did anything with minix, but now that i own the whole family of raspberry pis i’m truly tempted to give it a go.

so, here we are: the combination of the two would be a great thing: bring 68000 back into my life and have minix running on it. fortunately, people have ported minix to the 68000, so i hope that this adventure will not leave me dead in the desert (since the ports are usually for macs or atari st).

searching the web for crazy people who’ve built a 68000 homebrew computer, i immediately was inspired by 64 Katy, since this seems a simplified computer enough for me. this guy managed it to build one on a BREADBOARD! later on, he built a new version using an fpga (if i understand correctly, a cpld is an fpga) for the glue logic and an etched board. this is too far away for me, but i’d love to build one using perfboards and ic sockets.

possibly, i could then increase its clock rate from the breadboard 2mhz to maybe four or six.

i love katy’s architecture because it does a minimalistic approach, reduces all parts needed and i hope to understand how these parts work all together. especially i’m interested to learn what you need beyond cpu, ram and rom to get a system going (there’s obviously all these 74er series going on that do the glue magic). moreover, i’m happy that the guy was not over-engineering the “surroundings” like graphics, sound, keyboard etc (there’s another guy who did that) but really relies on the serial connection for input and output.

so, the initial step would really be to build the 68008 version with 512k ram and 512k flash and get the monitor programm running.

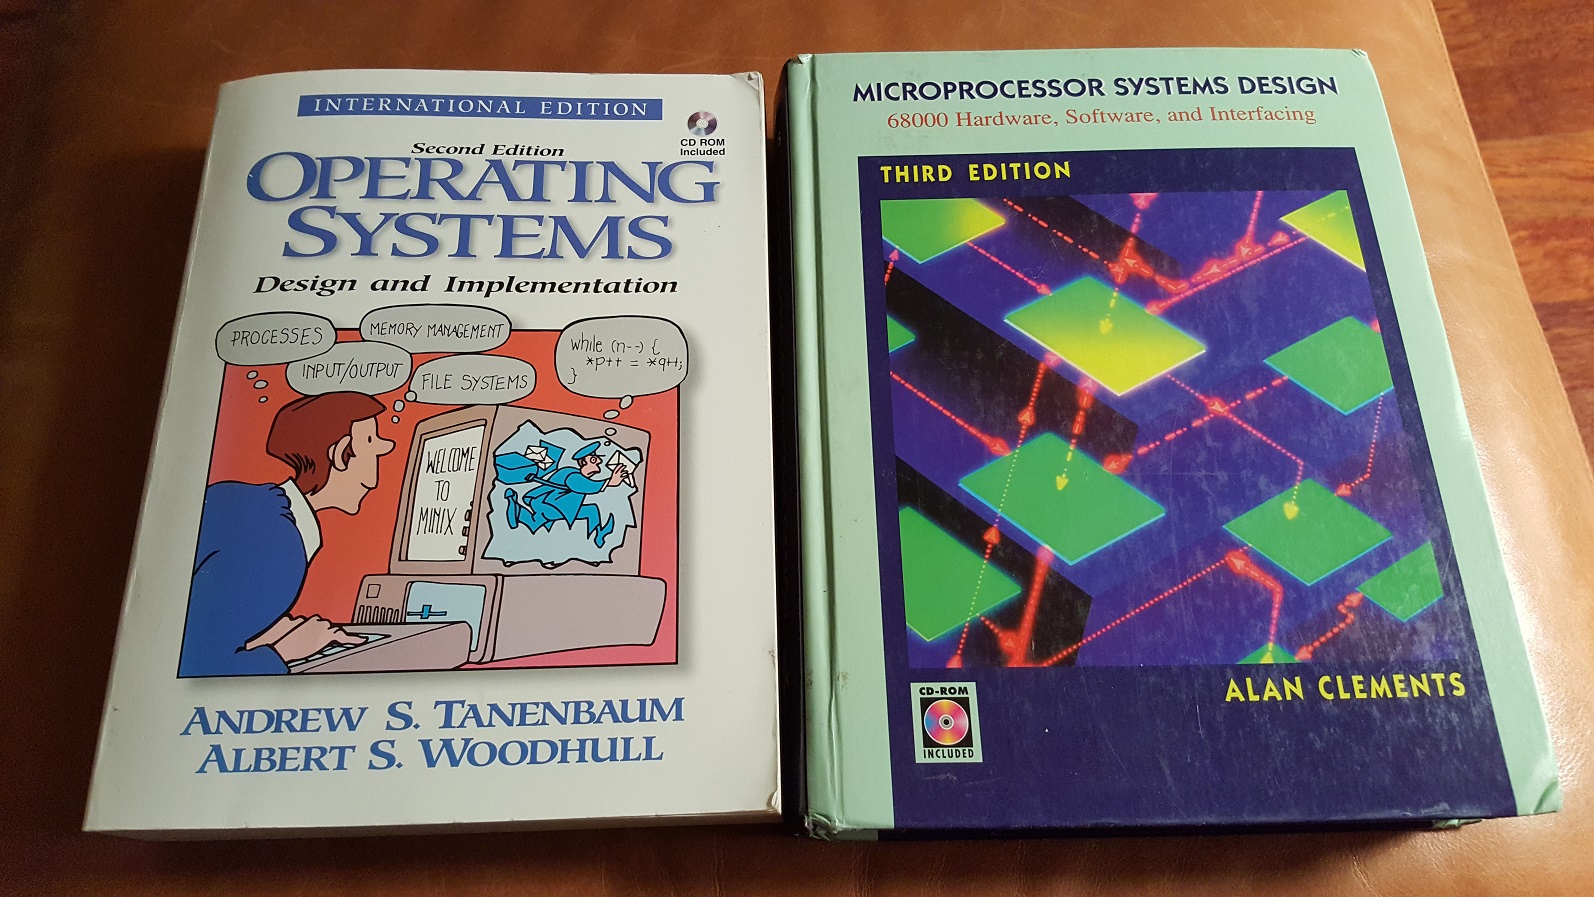
i already enjoy flipping through these two books:

20161020_192224

the 68k book also describes a single board computer, but that is also based on the 68000 chip which has the 16bit bus and thus would be a huge effort to build compared to the 68008 that is 8 bit.

people in the internet also refer to this book that obviously also describes another design.

interestingly, cpu, ram and flash cost about 12 euro altogether which is way less than the books :-D.


minimalistic way of building a 2 DoF servo “cluster”

as you know i love to design minimalistic mechanics and always try to simplify my previous designs. many of the things in trashbot 6 have been redesign to reduce weight and the number of parts.

one study of reducing complexity was the robot foot made from two servos and coat hanger wire and it actually received quite some attention.

with the progress made on trashbot 6, i also wanted to have a compact, yet lightweight way of connecting to parts with two servos so that these two parts could move in two dimension: the shoulders and the feet. Continue reading

first “unit test” in programming an arduino mini pro

so, after i’ve connected the head and its servos to trashbot 6, it’s now time to work on the actual control of the neck servos. unfortunately, the servo-board connected to the raspberry is not sufficient to control the neck servos since the body is already using 15 servos and the controller only has space for 16.

so i thought to use an arduino mini pro for this since it has 6 PWM outputs that can control six servos (people have noted that the output pin doesn’t necessarily have to be capable of PWM to control a servo). Continue reading