okay, i have a samsung charger for the first 10.1 inch tablet they had, usb 5.0v, 2.0a. the analyzer however shows 5.37v when nothing is connected. i think that this is even above the rasperry pi’s spec / acceptable voltage, but i have a 1.5m amazon (“premium”) usb cable and i assume that the voltage drops along the way to a non-lethal level.
i’ve connected the edimax wifi usb plug and a tiny mouse and an external, laptop sized mini-keyboard as well as a 7 inch hdmi display (touch controller not connected):
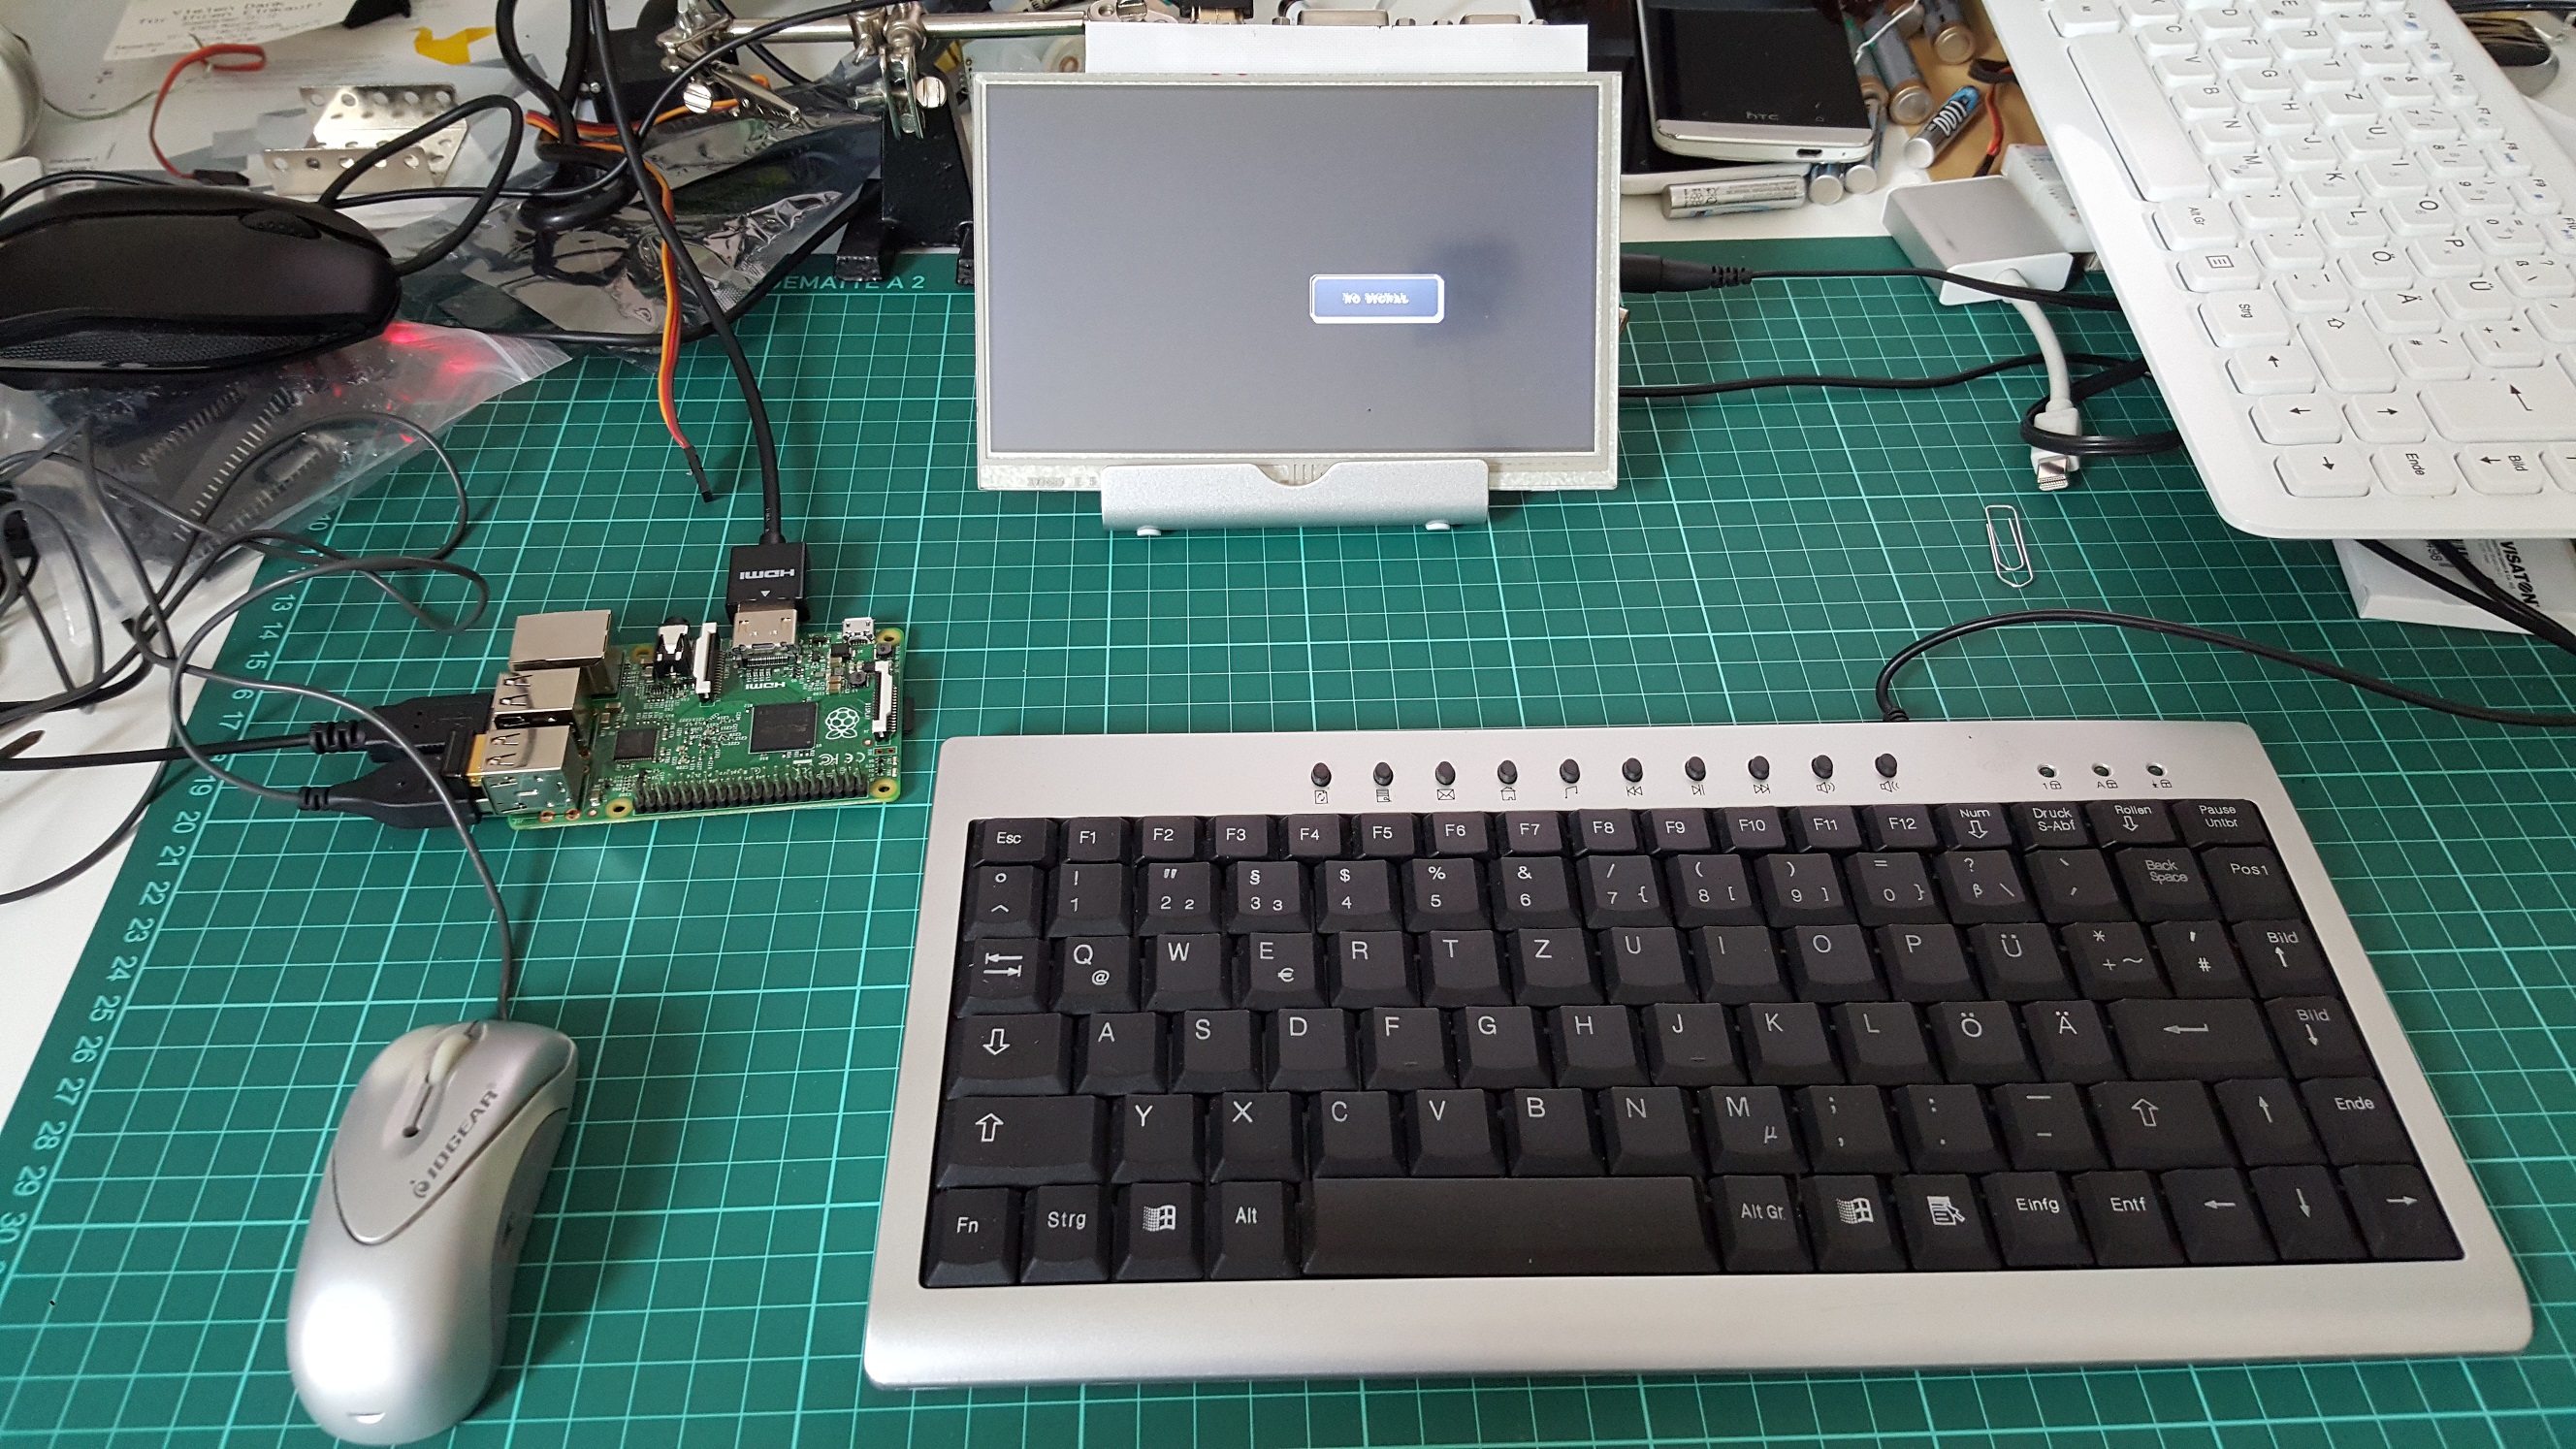
raspberry pi setup with keyboard, mouse and display
during boot up and seeking the wifi connectivity, the pi draws 0.33a. same after booting to the linux terminal.
next up: adding my sound board, but only the amplifier connected though the 5v rail of the pi’s gpio. the loudspeaker does a slight whizzing sound, but not hearable from 40cm away. the pi now draws 0.36a after booting when the pi isn’t playing a sound. phew! first boot with the sound board connected survived, so it seems that the wiring is ok or at least not destroying the pi 😀
okay, so i soldered a cut-off usb plug from a recycled old memory stick to the usb edge connector of the prototyping board and plugged it into the last free usb port of the pi.
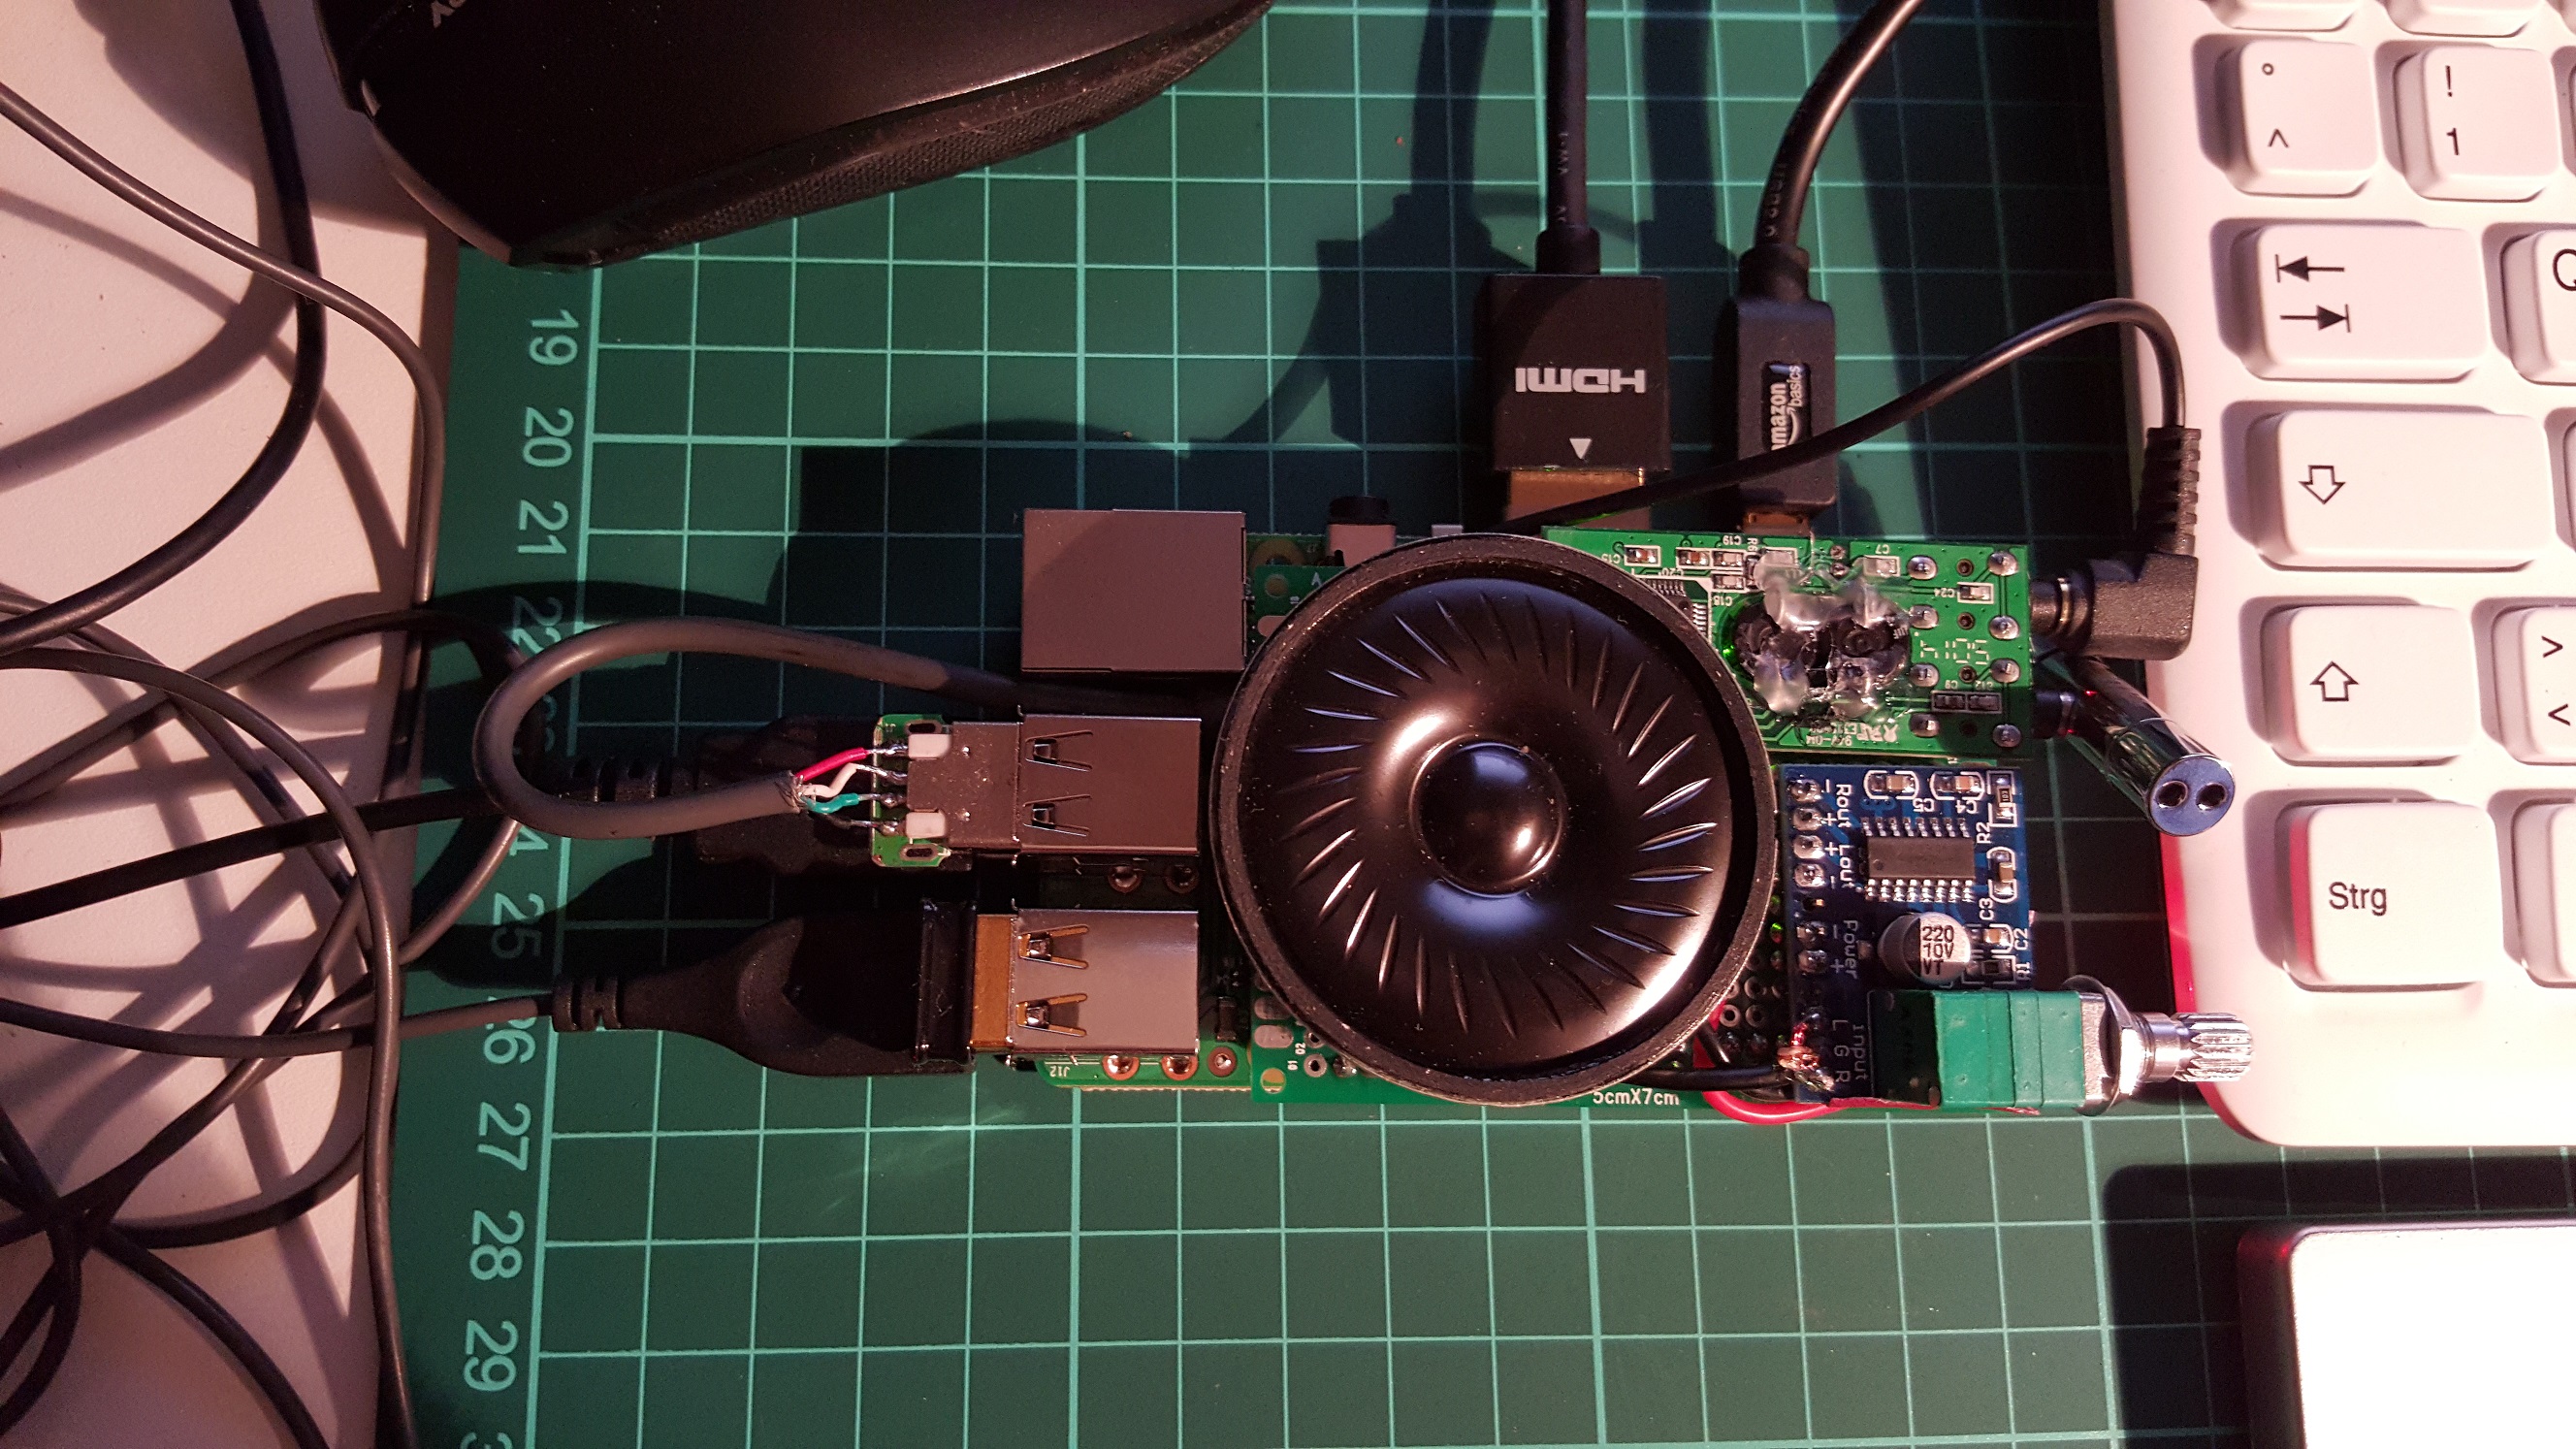
sound card connected via home made usb cable
after boot up, the amp meter shows 0.38a and after a while (linux working background?) it settles around 0.40a, which to me means that the sound card actually is connected decently on the power side.
linux command aplay -l actually lists one usb audio device, yay!
second thing i notice is that there is a acoustic feedback loop when i turn up the volume without playing a sound. interestingly, the power consumption also goes up to 0.57a and the little rainbow colored square appears on the screen (indicating that power supply is shakey afaik).
and now the final test for today:
arecord -D plughw:0,0 -f cd ./test.wav followed by
aplay ./test.wav